
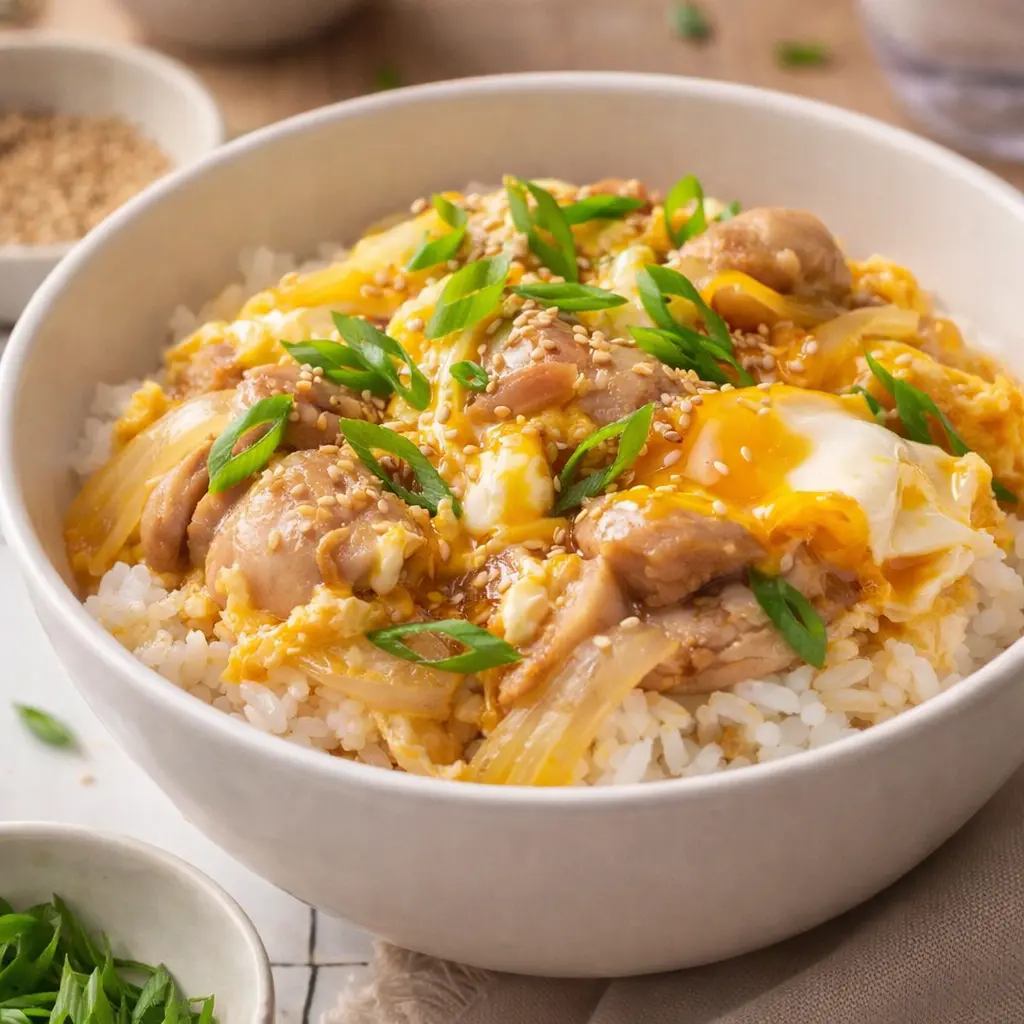
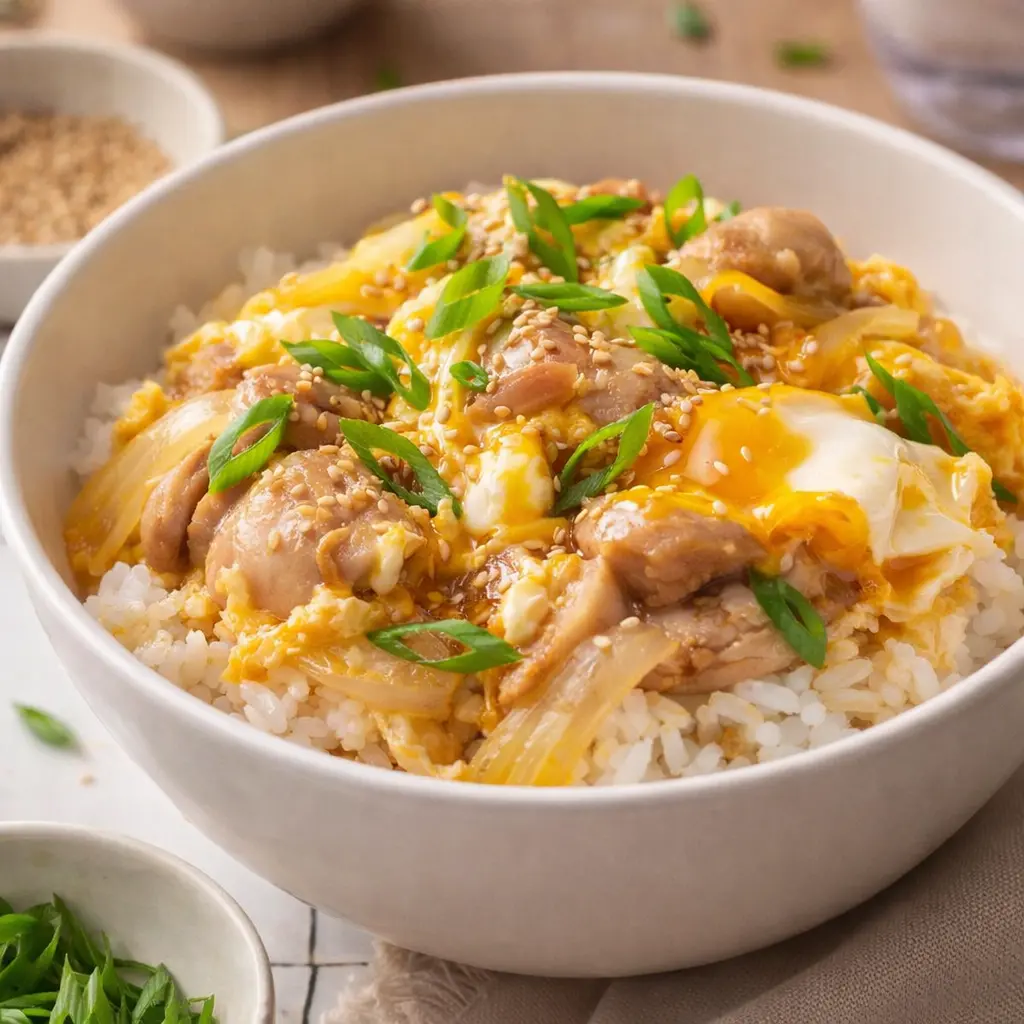
Authentic Japanese Chicken Rice Bowl Recipe
Ingredients
Method
- Combine the chicken, sake, salt, and white pepper in a bowl; set aside to marinate for 10 minutes.
- In a small mixing bowl, add the dashi, soy sauce, mirin, and sugar. Mix until the sugar dissolves; set aside.
- Crack the eggs into a bowl. Gently lift the egg yolks with chopsticks a few times, leaving the whites partially unmixed to create a marbled pattern.
- In a medium frying pan over medium heat, add the onions and dashi mixture. Simmer until fragrant, about 1-2 minutes.
- Add the chicken. Cook for 5 minutes, flipping halfway, until the chicken is no longer pink.
- Pour in the eggs. Gently scramble with a rubber spatula until just set with slightly runny tops.
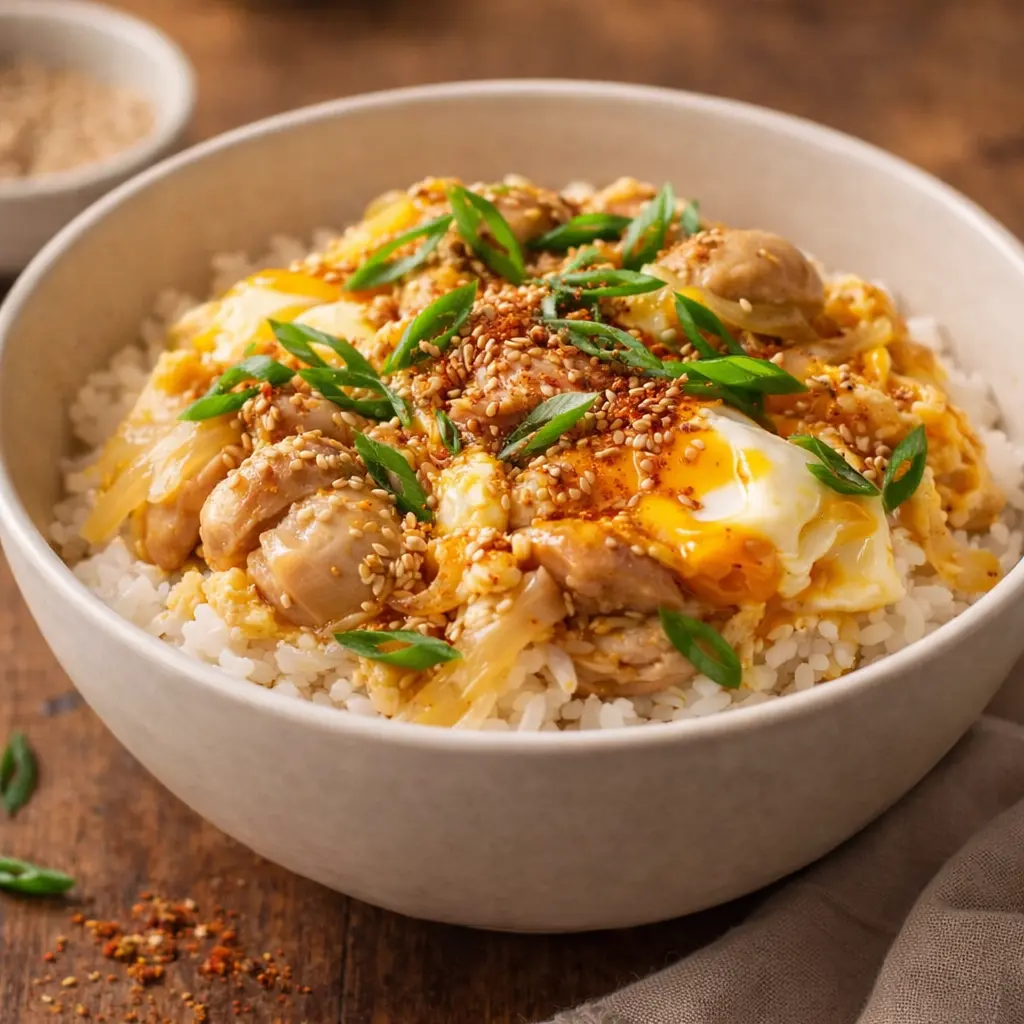
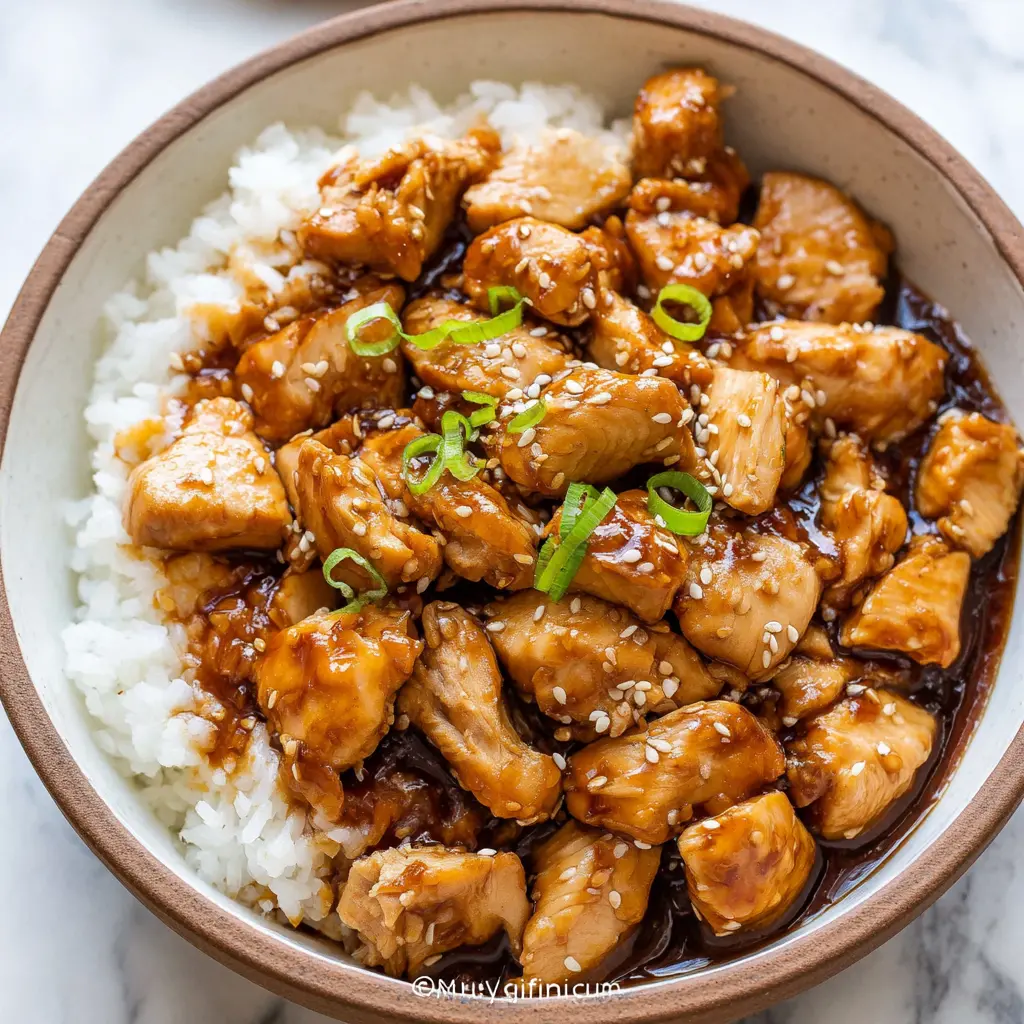
- Serve over white rice. Garnish with green onion, sesame seeds, and togarashi. Enjoy!
Nutrition
Notes
- Use high-quality eggs! Fresh eggs with a rich golden orange-yellow yolk will yield the best flavor and texture.
- Use scissors to cut the yolk. If you want the authentic chicken oyakodon look where the egg whites and egg yolks pop with contrast, use scissors to cut the egg yolks instead of mixing them.
- Cook the onions until softened. Cook the onions until they are translucent, fragrant, and lightly softened before adding the chicken. This will caramelize them for the final result.
- Remove from heat when eggs are slightly runny. Remove the eggs when they are set but slightly runny on top. The residual heat will continue to cook them when you serve them.
- Storage Instructions: Chicken oyakodon is best served immediately, but you can save any leftovers in an airtight container in the refrigerator for up to 3 days.
- Reheat: reheat in the microwave until warm or reheat on the stove in a pan over medium heat until warm.
Tried this recipe?
Let us know how it was!What is Oyakodon? A Japanese Chicken Rice Bowl Story
You know, there are those nights when you just crave something comforting, something that feels like a warm hug in a bowl, but you’re also thinking, “Ugh, takeout again?” I mean, honestly, it gets expensive, and sometimes you just want that homemade touch, right? I used to think making authentic Japanese food at home was super complicated, like a culinary Everest I wasn’t ready to climb. I’ve had my share of kitchen mishaps, believe me, but then I discovered the magic of Oyakodon.
Oyakodon, or parent-and-child rice bowl, is a classic Japanese dish that’s just amazing. It’s got tender chicken, sweet onions, and soft, custardy eggs, all simmered in a savory dashi-based sauce, and served over perfectly cooked rice. It’s a symphony of flavors and textures, and it’s probably one of the most satisfying, hearty dishes you can whip up for dinner.
It’s called “parent and child” because it uses both chicken (the parent) and egg (the child), which is kind of charming, don’t you think? It’s not just a meal; it’s an experience, and I’m going to show you how to make the best homemade japanese chicken rice bowl recipe that tastes just like your favorite Japanese spot, but without the fuss.
Why You’ll Love This Homemade Japanese Chicken Rice Bowl
Look, I’ll be honest, sometimes you just want to impress your family or friends without spending hours in the kitchen. This japanese chicken rice bowl recipe is absolutely perfect for that. It looks fancy, but it’s actually quite simple to put together, making it an ideal easy weeknight meal or a special treat for a relaxed weekend.
One of the biggest pain points for home cooks is getting that restaurant-quality flavor without specialized ingredients or techniques, and let’s not even talk about dry chicken or a bland sauce. I’ve been there, wasted good ingredients, and felt pretty frustrated. But this recipe? It’s designed to deliver tender chicken and a savory chicken sauce every single time, making you feel like a total pro.
Plus, it’s a healthy rice bowl option that’s incredibly satisfying. You’re getting lean protein, complex carbs from the japanese short grain rice, and lots of umami flavor without a ton of heavy ingredients. It’s a meal prep Japanese dream, honestly, and once you master this, you’ll be able to expand your culinary repertoire with so much confidence. You’ve got this!
The Heart of the Bowl: Essential Ingredients & Making Dashi
To make a truly authentic japanese chicken rice bowl recipe, you don’t need a pantry full of obscure ingredients, but a few key items really make a difference. Think of these as your building blocks for that incredible umami flavor we all crave. We’re aiming for a savory chicken sauce that’s just right.
Key Oyakodon Ingredients for Flavor
You’ll want boneless, skinless chicken thighs for that perfectly tender texture, though I’ll tell you later, chicken breast works too if that’s what you prefer. For the liquid, dashi Japanese soup stock is non-negotiable for that deep flavor. You’ll also need soy sauce, mirin substitute (remember, no alcohol here), and a touch of sugar for balance. Yellow onion and large eggs round out the main components, and don’t forget your cooked white rice for serving.
For garnishes, think fresh green onion, a sprinkle of toasted sesame seeds, and maybe some shichimi togarashi for a little kick. Pickled ginger (gari) also adds a lovely bright contrast. These little additions really make the donburi toppings pop, I mean, presentation is half the fun, right?
Making Your Dashi Stock for Umami Flavor
Now, about dashi. Homemade dashi is nice, but honestly, it’s not strictly necessary for this simple dish. There are so many other strong flavors, you know? You can totally use a good quality instant dashi powder or dashi packet, which is what I often do on busy weeknights. Just follow the package directions for the right ratio of dashi powder to water.
If you’re feeling a bit more ambitious, making your own dashi is surprisingly easy. You’ll need kombu (dried kelp) and dried shiitake mushrooms. When we make this, we actually rehydrate dried shiitake mushrooms and use the soaking water for part of the dashi. It gives it such a boost of flavor, and it’s a fantastic way to add even more umami. Just simmer the kombu gently, then add the rehydrated shiitake and their soaking water, simmer a bit more, and then strain. Simple, effective, and so good.
Crafting Your Perfect Japanese Chicken Rice Bowl (Step-by-Step Narrative)
Alright, let’s get into the good stuff. This is where we bring everything together. The goal here is tender chicken, flavorful sauce, and those beautiful, soft-set eggs. It’s easier than it looks, I promise.
Prepping Your Chicken and Onion
First up, the chicken. You want to slice the chicken thin so that it cooks rapidly and absorbs all that delicious sauce. I recommend using the Japanese cutting technique called “Sogigiri.” This gives each piece equal thickness and creates more surface area for faster cooking and better absorption of flavors. Cutting the chicken into 3/4-inch (2-cm) pieces works best, honestly. Big pieces tend to separate from the other ingredients, but smaller pieces incorporate with the onions and eggs beautifully.
Next, thinly slice your yellow onion. You want it delicate enough to soften quickly in the sauce. This isn’t being fussy, it’s the difference between chunky, raw-tasting onion and sweet, perfectly integrated onion. Trust me on this one.
Simmering the Savory Sauce and Eggs
Now for the sauce. In a medium frying pan, you’ll combine your dashi, soy sauce, mirin substitute, and sugar. Bring it to a gentle simmer. Once it’s bubbling softly, add your sliced onions and chicken. Five to seven minutes is plenty of time for thighs, and three to four minutes should do for breast. Don’t let chicken overcook! That’s how you end up with dry, rubbery chicken, and we definitely don’t want that. We’re aiming for perfectly tender.
While the chicken simmers, gently beat your eggs. Here’s a pro tip: don’t overbeat eggs! You want to see distinct sections of egg white and yolk. Chopsticks are my favorite tool for this; just “cut” the egg whites 5-6 times, lifting them to break them into smaller clumps. This prevents them from falling in all at once. If the yolks haven’t broken, you can gently break them a little. The goal is a marble pattern, not a uniform yellow. The standard is 2 eggs per serving, but for two servings in a medium pan, I’ll use 3 eggs.
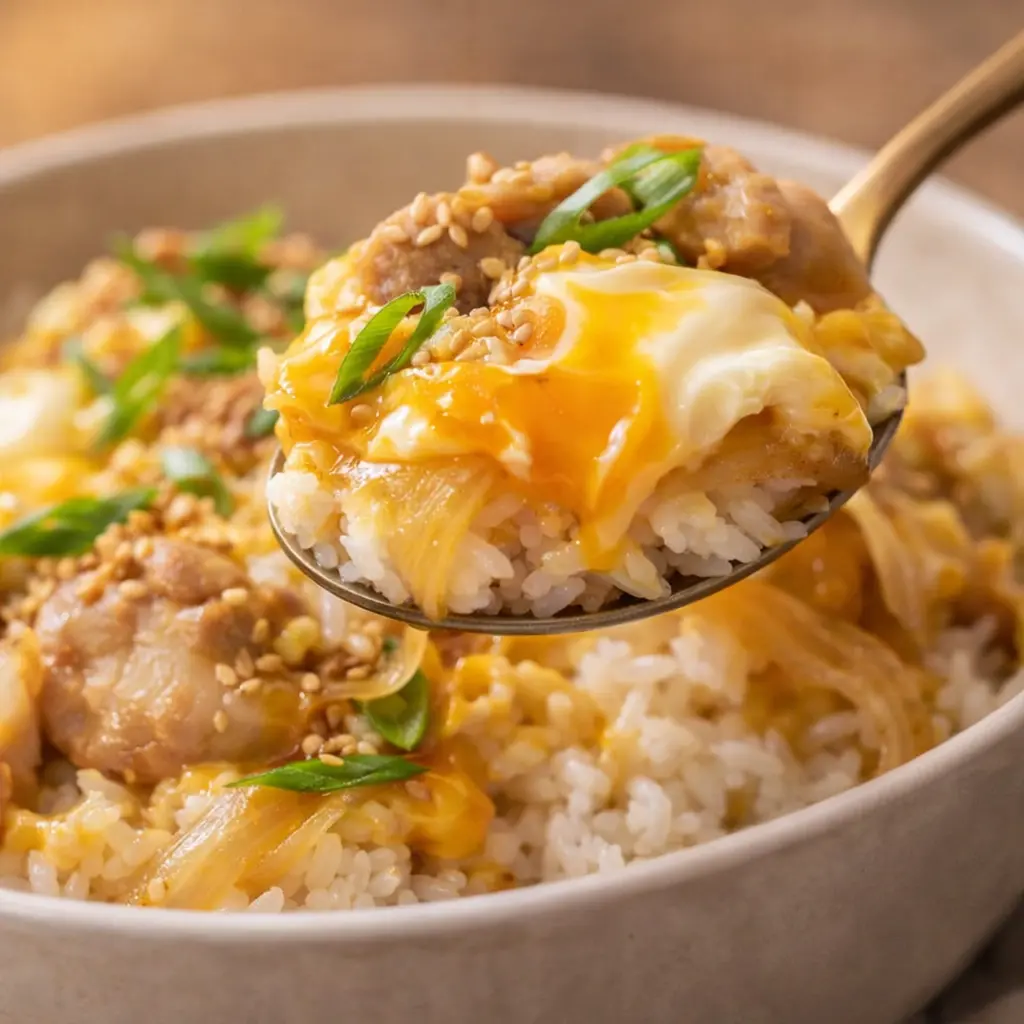
Once the chicken is almost cooked through, add two-thirds of the eggs (ideally more egg whites) to the center of the pan, avoiding the edges. Let it cook for a minute, then add the remaining one-third of the eggs (ideally more egg yolks) to the entire surface. Cook uncovered if you prefer a more intense sauce, but if you want fully cooked eggs, you might want to use a lid for a minute or two. I mean, traditionally, you’d cover and simmer until they’re about half set, but nobody is stopping you from cooking them however you like them. Personally, I like to mix things up a bit by adding an extra egg white to the beaten eggs, reserving the yolk, cooking the oyako to medium, then adding the extra raw egg yolk back to the top of the bowl for mixing in.
Assembling Your Perfect Bowl
Once the eggs are cooked to your liking (I usually go for slightly runny yolks, but if you’re outside Japan, cook slightly longer for food safety, you know?), it’s time to assemble. Scoop a generous amount of perfectly cooked rice into a donburi bowl. Then, carefully slide the chicken and egg mixture right on top of the rice. That beautiful golden brown color of the egg against the white rice is just so appetizing.
Garnish with plenty of chopped scallions. If you can get your hands on mitsuba, this is the place to use it for that authentic touch. A sprinkle of toasted sesame seeds and some shichimi togarashi or ichimi (Japanese chile powder) for those who like a little heat, and you’re good to go. It’s so good, you’ll feel so proud.
Expert Tips for a “Just Right” Oyakodon
Achieving that “just right” feeling in your japanese chicken rice bowl recipe really comes down to a few key techniques. These are the things I wish someone had told me when I first started out, you know?
Achieving Perfectly Tender Chicken
The biggest mistake I see people make is overcooking the chicken. It’s so easy to do! Remember those thin slices we talked about? They cook super fast, so five to seven minutes for thighs is usually enough. For chicken breast, it’s even quicker, just three to four minutes. You want it cooked through, but still juicy and perfectly tender. It shouldn’t be tough or dry. Keep an eye on it, trust your instincts, and pull it off the heat as soon as it’s ready.
The Secret to Fluffy, Flavorful Rice
For the best japanese chicken rice bowl, you absolutely need Japanese medium or short grain rice. Please, not jasmine rice! It has a different texture and stickiness that just isn’t right for donburi. Rinse your rice thoroughly until the water runs clear; this removes excess starch and helps it cook up fluffy, not gummy. I think a good rice cooker is invaluable here; it takes all the guesswork out of it. If you’re cooking on the stovetop, a tight-fitting lid is crucial to trap that steam and ensure perfectly cooked rice.
Mastering the Egg Texture
Getting the eggs just right is probably the most intimidating part for some, but it’s actually quite forgiving. The trick is not to scramble them completely. We’re looking for that beautiful marbling of distinct whites and yolks. Adding the eggs in two stages helps achieve an ideal egg texture with whites that are somewhat firm but still wobbly, and yolks that remain soft and runny. Following another reviewer’s suggestion, I only cooked the egg for 3 minutes so it stayed creamy and fluffy. For the best-looking oyakodon, aim for high color contrast between the white and yellow parts of the eggs. It’s worth it, honestly.
Sauce Savvy: Adjusting Flavor and Avoiding Watery Results
The sauce is your flavor base, and it needs to be savory and robust. If you’re cooking for two servings at a time, you’ll get a more intense sauce. When you try to cook four to six servings in a medium frying pan, the seasonings won’t evaporate as efficiently, and you’ll end up with a lot of sauce, almost like a soup. Overcrowding the pan will take a long time to cook, and you’ll lose that concentrated flavor. Cook oyakodon uncovered (no lid required!) to let excess moisture evaporate, yielding a more flavorful sauce. You can always add a little more soy sauce or a touch more sugar to taste. I’ve found cutting back to 2 tablespoons soy sauce and 1 tablespoon sugar is perfect for a slightly more savory taste.
Common Mistakes & Fixes for Japanese Chicken Rice Bowl
Mistake: Dry, rubbery chicken.
Solution: You probably overcooked it. Slice chicken thinly, and cook for just 3-7 minutes, depending on the cut. It cooks faster than you think!
Mistake: Bland sauce.
Solution: Ensure you’re using good quality dashi, and don’t be afraid to adjust seasonings to your taste. Sometimes a little more soy sauce or a pinch of salt makes all the difference.
Mistake: Overcooked, scrambled-looking eggs.
Solution: Don’t overbeat the eggs! Aim for distinct whites and yolks. Add eggs in two stages for that perfect soft-set, custardy texture. Cook just until set, then remove from heat.
Mistake: Watery sauce in the bowl.
Solution: You might have overcrowded the pan or cooked with a lid on the whole time. Cook in smaller batches and try cooking uncovered to allow some liquid to evaporate and concentrate the flavor.
Mistake: Gummy or hard rice.
Solution: Make sure you’re using Japanese short grain rice and rinsing it thoroughly. Investing in a good rice cooker can really help achieve perfectly cooked rice every time.
Oyakodon Variations & Smart Substitutions
One of the things I love about a good japanese chicken rice bowl recipe is how adaptable it is. You can totally make it your own, you know? Don’t have exactly what the recipe calls for? No problem!
If you prefer, you can easily use chicken breast instead of thighs. Just remember it cooks even faster, so keep a close eye on it to avoid dry chicken. For the mirin substitute, you can find alcohol-free versions at most Asian markets or even larger supermarkets. If you can’t find dashi, chicken broth or vegetable broth will work in a pinch, though it won’t have that authentic umami depth. I’ve had to use chicken broth this time myself when I couldn’t find dashi locally, and it was still good. For alternative cooking methods, you might also enjoy preparing a marinated chicken rice bowl in an air fryer for extra crispiness.
Want to add more veggies? Sliced shiitake mushrooms are an amazing addition. Just add them with the onions and let them cook down. Peas are another lovely pop of color and sweetness. I also pan-fried the chicken pieces with some salt and white pepper for a bit more flavor, which was a nice touch. For a richer finished dish, use four eggs per two servings, reserving two of the yolks to add to the finished bowls just before serving. Lastly, I’ve topped it with a pinch of furikake, which adds another layer of texture and savory goodness. It’s all about making it work for you! If you’re looking for even more inspiration, explore other delicious marinated chicken rice bowl recipes for new flavor combinations.
Storing, Reheating & Serving Your Delicious Bowl
So, you’ve made this incredible japanese chicken rice bowl recipe, and maybe you’ve got some leftovers. That’s a win in my book, because it means another delicious meal is just a quick reheat away!
Keeping Leftovers Fresh
To store leftovers, let your Oyakodon cool completely first. Then, transfer it to an airtight container. You can store the chicken and egg mixture separately from the rice if you prefer, or combine them. It’ll keep beautifully in the refrigerator for up to 2-3 days. This makes it a great option for meal prep Sundays, honestly, when you’re planning out your week’s lunches.
Reheating for Best Flavor
When it’s time to reheat, you’ve got a couple of options. For the chicken and egg mixture, a quick warm-up in a saucepan over low heat is best. Add a tiny splash of water or dashi if it seems a little dry. For the rice, a microwave works, or you can steam it gently. Avoid overcooking the eggs when reheating, you know? If you’ve got them separately, it’s easier to maintain that perfect texture. I think this might actually freeze quite well after being dished up too, which would be amazing for quick lunches or dinners.
Delicious Serving Ideas
This marinated chicken rice bowl Japanese style is a complete meal on its own, but it’s also great with a few simple sides. Japanese people often enjoy various donburi types as fast food, so sides aren’t a huge deal. Some things you could have with it are a variety of pickled vegetables (tsukemono), maybe some gyoza or some tofu prepared in a number of ways. A simple tossed salad with a sesame dressing is always a good idea too, especially during these mild spring months in Los Angeles when fresh produce from the Santa Monica Farmers Market is just amazing. Garnish with chopped scallions and shredded savoy cabbage, or a pinch of furikake. For those who like a little heat, a sprinkle of shichimi togarashi or Japanese sansho pepper on the side for a peppery fragrance is perfect. For those interested in exploring different regional flavors, consider trying a Chinese chicken rice bowl recipe for a distinct culinary experience.
Common Questions About Japanese Chicken Rice Bowls (FAQ)
Your New Favorite Weeknight Meal
So there you have it, your complete guide to making a truly amazing japanese chicken rice bowl recipe right in your own kitchen. I mean, who knew something so comforting and delicious could be this achievable? You’ll be amazed at how easily you can recreate that authentic taste, and honestly, your family or guests will be so impressed.
When you make this, you’ll feel that incredible satisfaction of mastering a new dish, and you’ll probably wonder why you ever hesitated. It’s a healthy rice bowl, a simple chicken donburi, and a savory chicken sauce all rolled into one. Grab your ingredients on your next Ralphs or Trader Joe’s run, and give it a try this week. Let me know how it goes in the comments!
For more inspiration and easy weeknight meal ideas, browse my Pinterest boards. I share tons of variations and tips there!
Source: Nutritional Information

3 Responses
This Oyakodon recipe is a lifesaver! I made it last night, and it truly took only 15 minutes. The chicken was so tender, and the sauce was perfectly balanced. My whole family devoured it!
Your explanation of Oyakodon as ‘parent and child’ was so charming and made me want to try it even more! This recipe delivered exactly what you promised – comfort in a bowl. It felt like a warm hug, and it was surprisingly simple to make. Definitely adding this to my regular rotation!
Overall, a really solid recipe for Oyakodon! The dashi sauce was delicious and easy to make. My only small note is that my egg seemed to cook a bit faster than I expected, turning less custardy. I might try whisking it less next time or adding it a little later.