
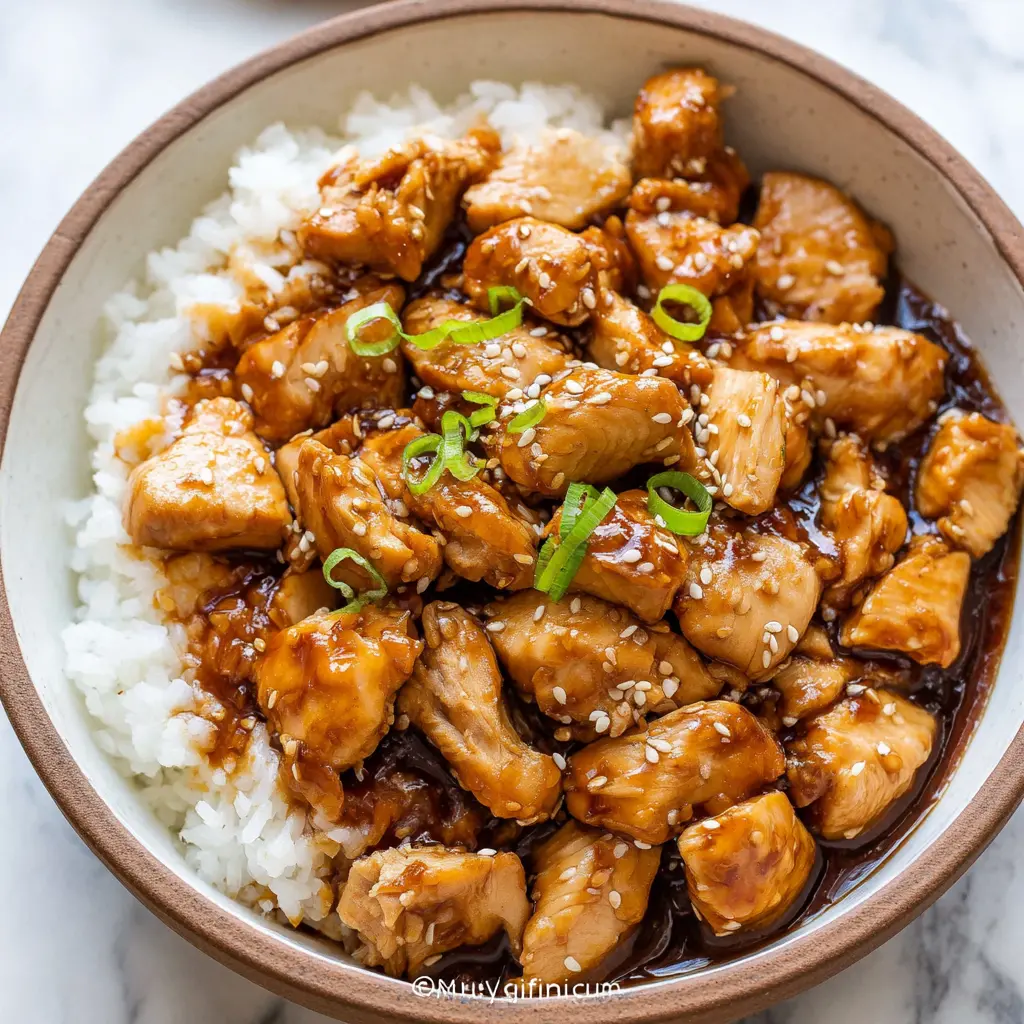
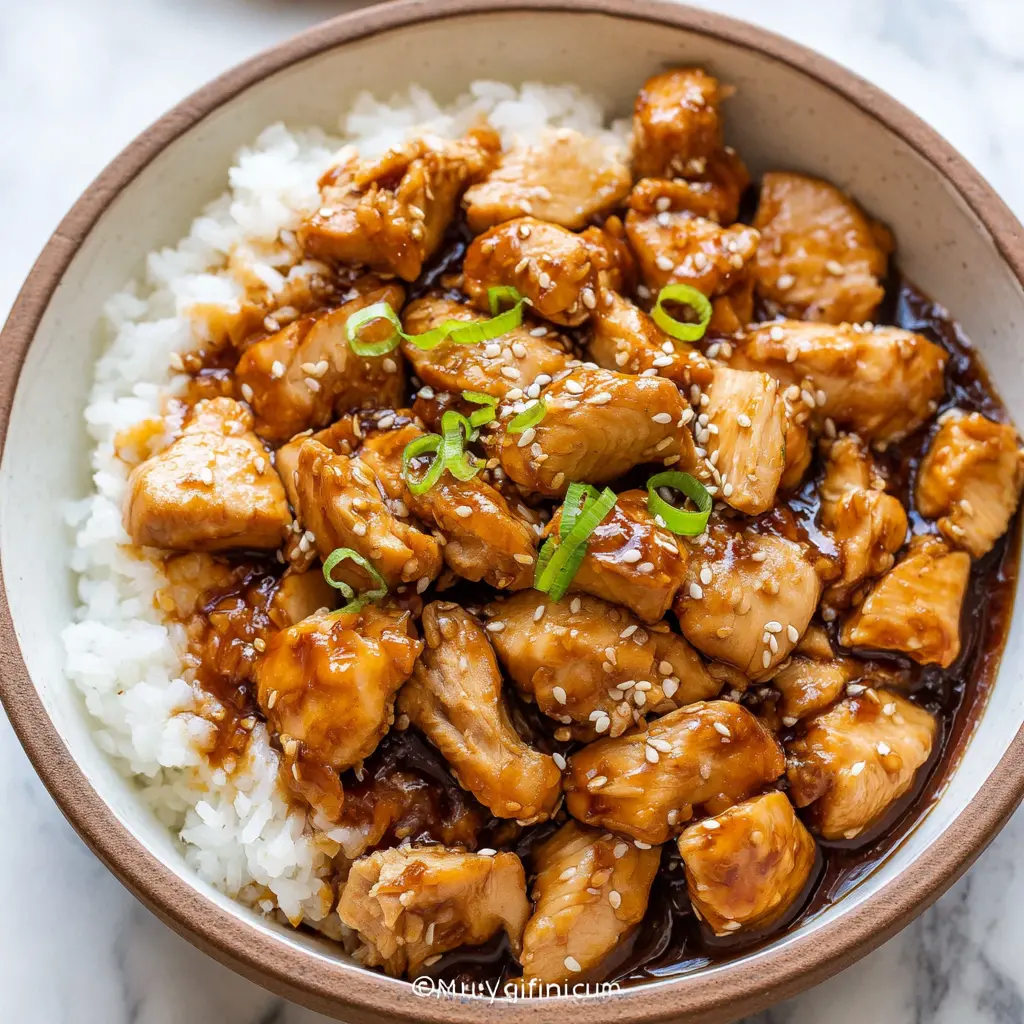
California Teriyaki Chicken Rice Bowl
Ingredients
Method
- Heat the olive oil in a large skillet over medium-high heat.
- Add the cubed chicken and cook until golden brown and cooked through, about 6-8 minutes.
- While the chicken cooks, whisk together the soy sauce, water, brown sugar, rice vinegar, sesame oil (if using), ginger, garlic, honey, and cornstarch in a medium bowl until smooth.
- Pour the sauce over the cooked chicken in the skillet. Stir and cook until the sauce thickens and coats the chicken, about 2-3 minutes.
- Serve immediately over steamed rice and veggies. Garnish with sesame seeds and sliced green onions.
Nutrition
Notes
Tried this recipe?
Let us know how it was!Why This California Teriyaki Chicken Rice Bowl Works
I’ll be honest with you. I totally burned my first batch of teriyaki sauce. Like, blackened it. The sugar just… seized up and turned into this awful, bitter mess. My kitchen smelled like a caramel factory fire. My kids looked at me like I’d lost my mind. And I almost gave up on making easy teriyaki chicken at home forever.
But here’s the thing. I knew that glossy, sticky, restaurant-style teriyaki chicken couldn’t be that hard. And it isn’t. Not even close. This homemade teriyaki chicken recipe is the one I wish I’d had that night. It’s forgiving. It’s fast. And it uses ingredients you probably already have in your pantry.
No mirin. No sake. No special trips to an Asian market. Just simple, honest ingredients that come together in about 25 minutes. That’s less time than it takes to order takeout and wait for delivery. And honestly? This tastes better. Fresher. Brighter. You can actually taste the ginger and garlic, not just sugar and salt.
This easy teriyaki chicken rice bowl is my go-to for those nights when I need dinner on the table fast. The kids love it because it’s sweet and familiar. I love it because it’s one pan, minimal cleanup, and I don’t have to argue with anyone about eating their broccoli.
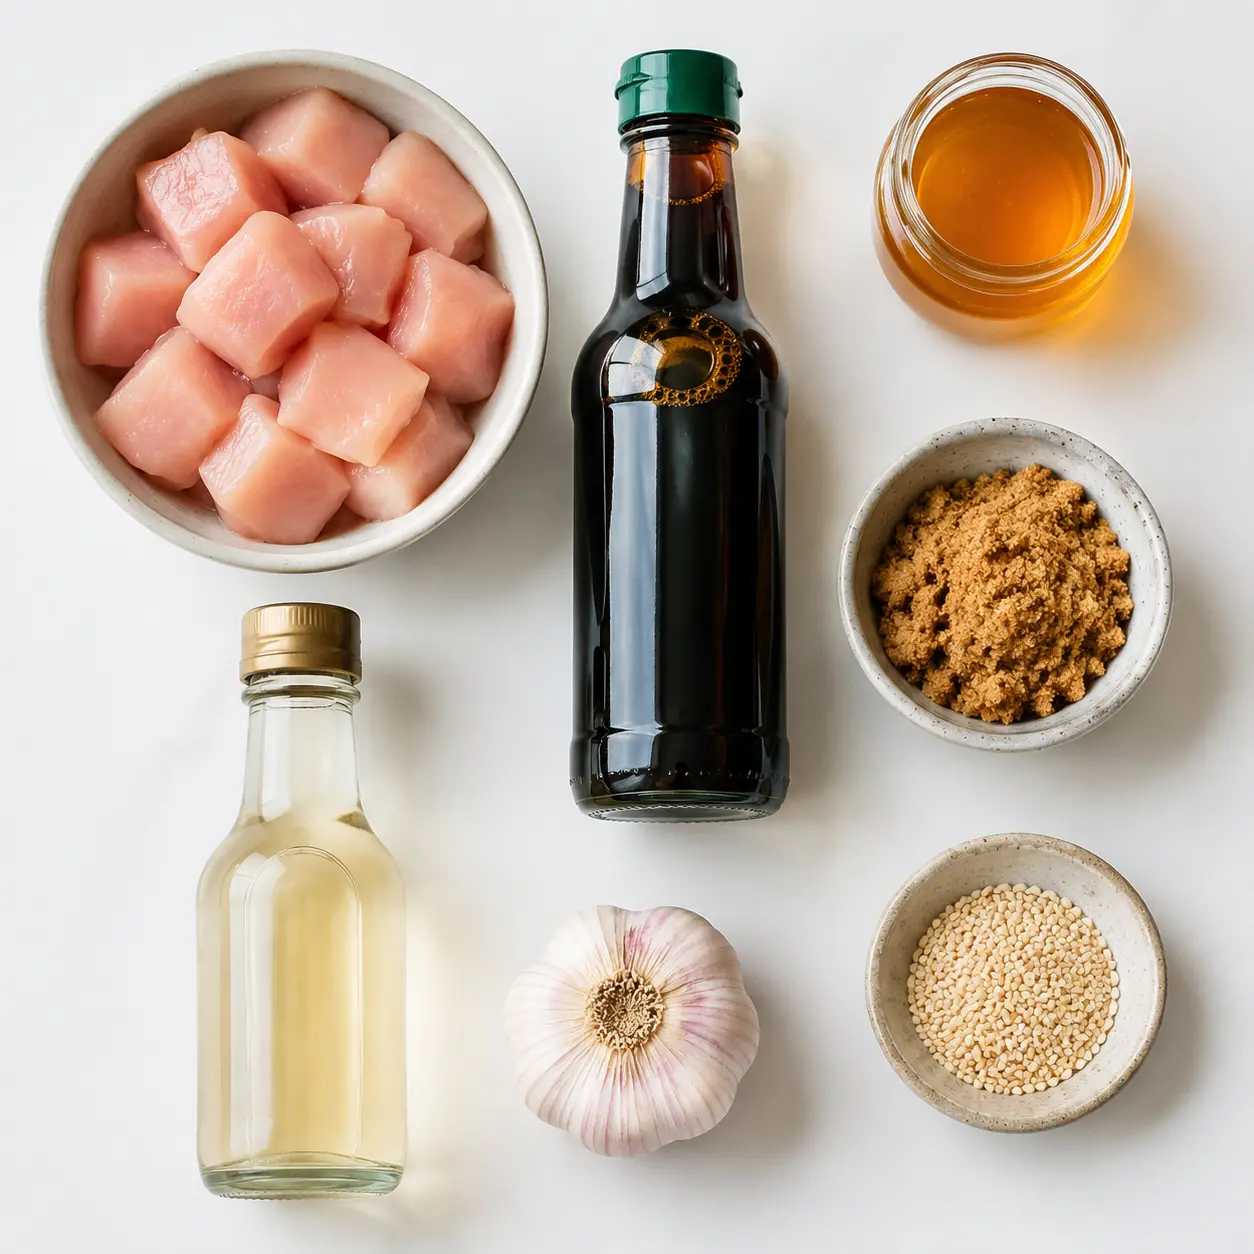
Ingredients for Teriyaki Chicken Rice Bowl
Let’s talk about what goes into this easy teriyaki chicken. Nothing fancy, I promise. You might even have everything already.
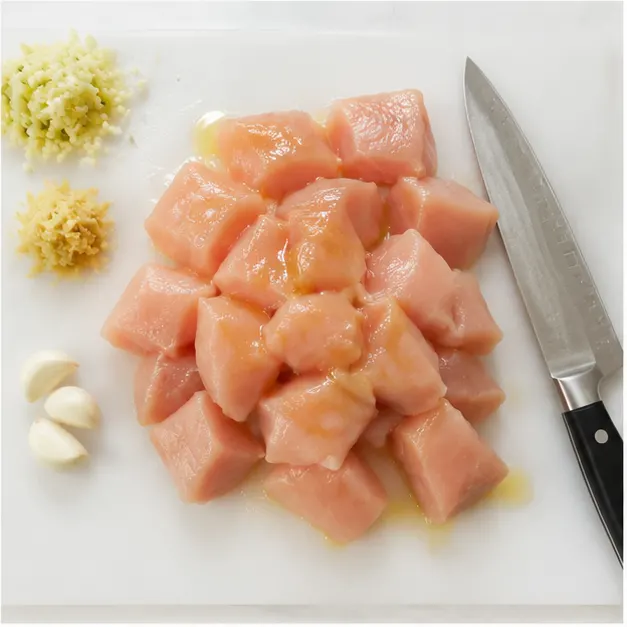
For the chicken, you’ll want boneless skinless chicken fillets. I cut mine into bite-sized cubes. About 1 1/2 pounds is perfect for four servings. That’s a standard pack from Ralphs or Vons.
The sauce is where the magic happens. Here’s what you need:
- Low-sodium soy sauce 1/2 cup. Go low-sodium here. Regular soy sauce will make it way too salty.
- Water 1/2 cup. Helps balance the sauce so it’s not overpowering.
- Packed light brown sugar 3 tablespoons. This gives that signature sweetness and helps with the glaze.
- Rice vinegar 2 tablespoons. Adds a little tang. Don’t skip it.
- Sesame oil 1/2 teaspoon. Optional, but it adds that nutty aroma you get from takeout.
- Ground ginger 1 teaspoon. So much easier than fresh ginger for a weeknight.
- Minced garlic 2 teaspoons. I use the jarred stuff. No shame.
- Honey 2 tablespoons. Adds depth and helps with that glossy finish.
- Cornstarch 3 teaspoons. The secret to that thick, sticky sauce without reducing forever.
For serving, you’ll want cooked white or brown rice and some steamed broccoli or snap peas. And don’t forget the garnishes sesame seeds and sliced green onions make it look restaurant-quality.
I like to grab my produce from the Santa Monica Farmers Market when I can. The green onions there are always so fresh and punchy. But honestly, the ones from Trader Joe’s work just fine.
How to Make Teriyaki Chicken (Step by Step)
This is where it all comes together. Four simple stages. That’s all it takes to make this easy teriyaki chicken.
Stage 1: Sear the Chicken
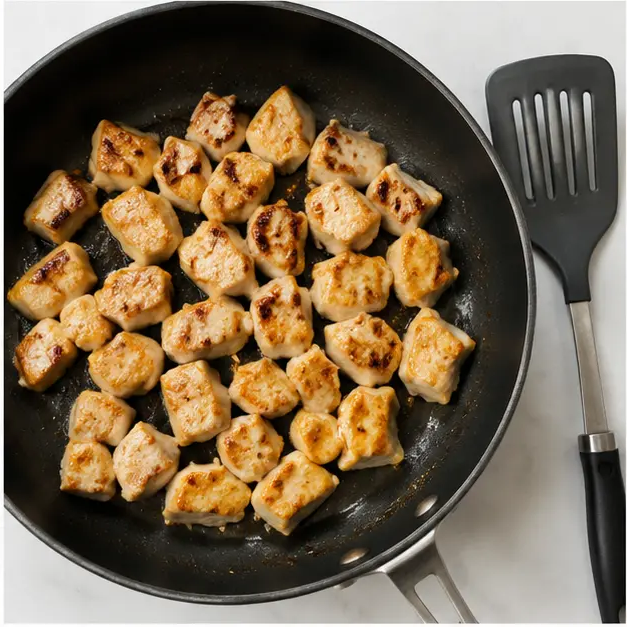
Heat a tablespoon of California olive oil in a large skillet over medium-high heat. You want it shimmering but not smoking. Add your cubed chicken in a single layer if you can. Don’t overcrowd the pan that’ll steam the chicken instead of browning it. Let it cook undisturbed for a few minutes. You’ll hear that beautiful sizzle. That’s the sound of dinner happening. Flip the pieces and cook until golden brown all over, about 6-8 minutes total. The chicken should be cooked through and have some nice caramelized spots.
Stage 2: Make the Sauce
While the chicken is cooking, whisk together your sauce ingredients. In a medium bowl, combine the soy sauce, water, brown sugar, rice vinegar, sesame oil, ground ginger, minced garlic, honey, and cornstarch. Whisk until the cornstarch is fully dissolved. No lumps. The sauce will look thin now, but trust me. It thickens fast once it hits the heat.
Stage 3: Glaze the Chicken
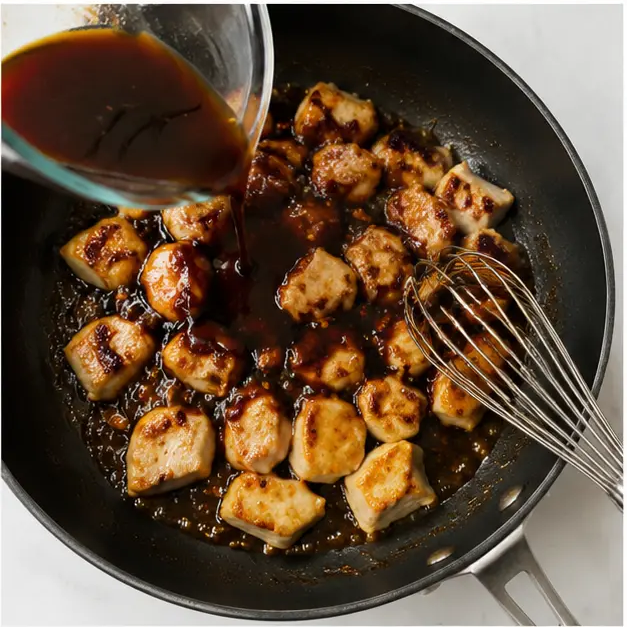
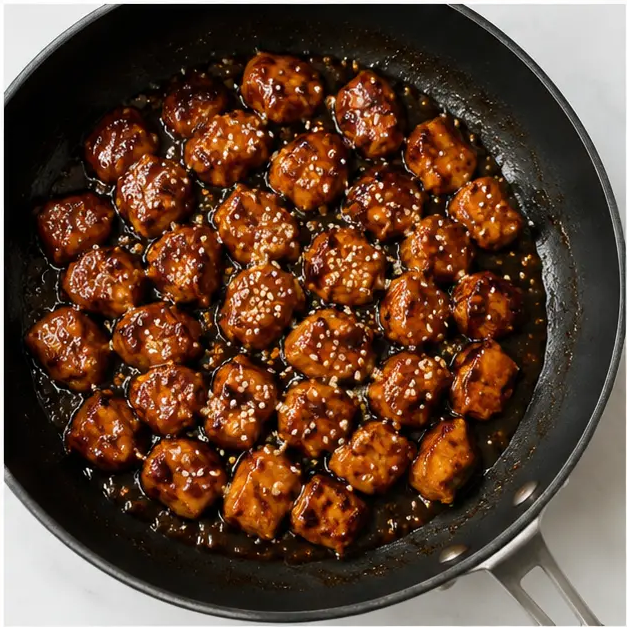
Pour the sauce over the cooked chicken in the skillet. Turn the heat up to medium-high and stir constantly. Watch as the sauce transforms. It’ll go from watery to glossy in about 2-3 minutes. You’ll see it start to coat the chicken pieces, each one getting that beautiful, sticky sheen. The cornstarch does its job here. Keep stirring so nothing burns on the bottom.
Stage 4: Serve and Garnish
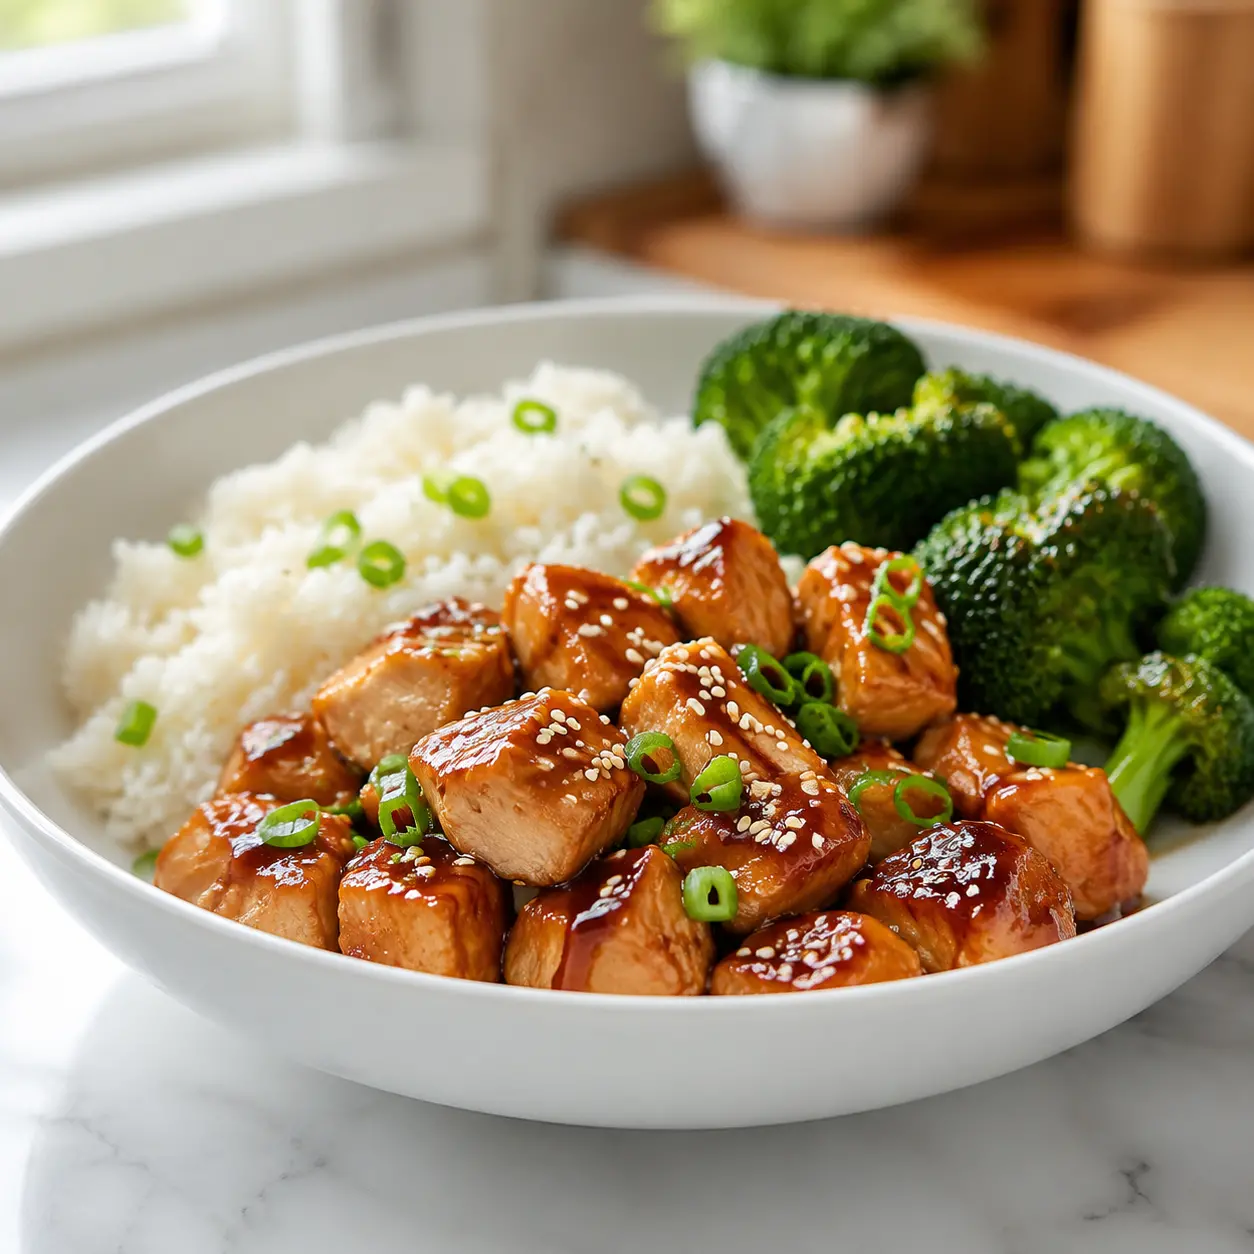
Once the sauce has thickened and every piece of chicken is coated, you’re done. Serve immediately over steamed rice and veggies. Sprinkle with sesame seeds and sliced green onions. The contrast of the white rice, green broccoli, and dark glossy chicken is just gorgeous. And that first bite? The sauce is sweet, savory, a little tangy. The chicken is tender. The rice soaks up all that extra sauce.
Recipe Tips for Perfect Results
I’ve made this easy teriyaki chicken more times than I can count. And I’ve learned a few things along the way. Here are my best tips so you don’t make the same mistakes I did.
Pro Tips for Success
- Don’t overcook the chicken. Chicken fillet cubes cook fast. Once they’re golden and cooked through, move on. Overcooking makes them dry and tough.
- Whisk the cornstarch well. If you leave lumps, you’ll get weird gelatinous blobs in your sauce. Nobody wants that.
- Use low-sodium soy sauce. Regular soy sauce will make this dish inedibly salty. Trust me on this one.
- Keep stirring when you add the sauce. The sugar and honey can burn if you walk away. Stay at the stove for those 2-3 minutes.
- If the sauce gets too thick, add a splash of water or extra rice vinegar. It’ll loosen right up.
One more thing. If you’re using chicken fillets that are uneven in thickness, try to cut them into uniform cubes. That way they all cook at the same rate. Nobody wants a piece that’s dry on the outside and raw in the middle.
Variations and Customizations
This easy teriyaki chicken recipe is super flexible. Here are some ways to make it your own.
Gluten-free version: Swap the soy sauce for tamari or coconut aminos. Everything else stays the same. The flavor will be slightly different, but still delicious.
Spicy teriyaki: Add 1/4 teaspoon of red pepper flakes to the sauce. It gives it a nice little kick without being overwhelming. My husband loves this version.
Extra veggies: Throw in some bell peppers, snap peas, or even sliced carrots. Add them to the pan after the chicken is cooked, then pour the sauce over everything.
Chicken thighs: You can use boneless skinless chicken thighs instead of fillets. They’re a bit more forgiving and stay juicier. Just cut them into similar-sized cubes and cook a minute or two longer.
Less sweet: If you prefer a less sweet teriyaki, reduce the brown sugar to 2 tablespoons and skip the honey. Add an extra tablespoon of rice vinegar for more tang.
I’ve also made this with pre-cubed chicken from Costco. It saves a few minutes of prep time. Just make sure you pat the pieces dry before cooking so they brown properly.
What to Serve with Teriyaki Chicken
This easy teriyaki chicken is a complete meal when you serve it with rice and veggies. But here are some other ideas if you want to switch things up.
- Steamed white or brown rice Classic. The rice soaks up all that extra sauce.
- Steamed broccoli or snap peas Adds color and crunch.
- California avocado slices The creamy avocado pairs beautifully with the sweet and savory chicken. So good.
- Japanese cucumber salad A light, refreshing side that cuts through the richness.
- Miso soup For a full Japanese-inspired meal.
I usually just steam some broccoli in the microwave while the chicken cooks. It takes about 3 minutes. Easy. And my kids actually eat it when it’s coated in a little of that teriyaki sauce.
If you’re meal prepping, this dish is perfect. Make a big batch on Sunday, portion it out with rice and veggies, and you’ve got lunches for the week.
Storage and Reheating Tips
Leftovers of this easy teriyaki chicken are a gift. But you need to store and reheat them right so the chicken doesn’t dry out.
Store the chicken and sauce in an airtight container in the refrigerator. It’ll keep for up to 3-4 days. I like to keep the rice and veggies separate so they don’t get soggy.
For reheating, the microwave works fine. Just add a tiny splash of water to the chicken before you zap it. That helps the sauce loosen up and keeps the chicken moist. Heat in 30-second bursts, stirring in between, until warmed through.
You can also reheat it in a skillet over medium-low heat. Add a tablespoon of water, cover the pan, and let it steam for a few minutes. The sauce will come back to life and coat the chicken again.
Freezer option: This freezes really well. Portion the chicken and sauce into individual Ziploc bags. Squeeze out the air and lay them flat in the freezer. They’ll keep for up to 3 months. Thaw overnight in the fridge before reheating.
I always double the recipe and freeze half. It’s such a lifesaver on those nights when I just can’t cook.
Frequently Asked Questions
I hope you love this easy teriyaki chicken as much as my family does. It’s become one of those recipes that I just know by heart now. No recipe card needed. And honestly? That’s the best kind of recipe to have in your back pocket.
If you make it, let me know how it goes. Tag me in your photos. I love seeing your creations. And if you’re looking for more quick dinner ideas, check out my other recipes.
Happy cooking!
Source: Nutritional Information

6 Responses
I’ve tried several teriyaki recipes and this one is by far the simplest and most flavorful. The sauce is perfectly balanced—not too sweet, not too salty. Will definitely make this again next week!
I followed the recipe exactly but my sauce seemed a bit thin. Should I cook it longer to thicken, or did I do something wrong? The chicken itself was delicious though.
Hi David, if your sauce was thin, try simmering it for an extra minute or two after adding the chicken—it should reduce and thicken as it glazes the meat. Also make sure you’re using a wide pan so the liquid can evaporate properly. Glad the chicken turned out well!
Great recipe! I substituted the rice vinegar + water with just regular rice vinegar since I didn’t have the exact ratio on hand, and it still came out tasty. Just wondering, could I use chicken breast instead of thighs? I prefer white meat.
Hi Mike, yes you can use chicken breast! Just be careful not to overcook it since breast meat dries out faster. I’d recommend pounding it to even thickness and cooking for about 4-5 minutes per side. Glad the substitution worked for you!
This was my first time making teriyaki chicken from scratch and it turned out amazing! I was nervous about burning the sauce after reading your story, but following the timing carefully worked perfectly. The whole family loved it.