
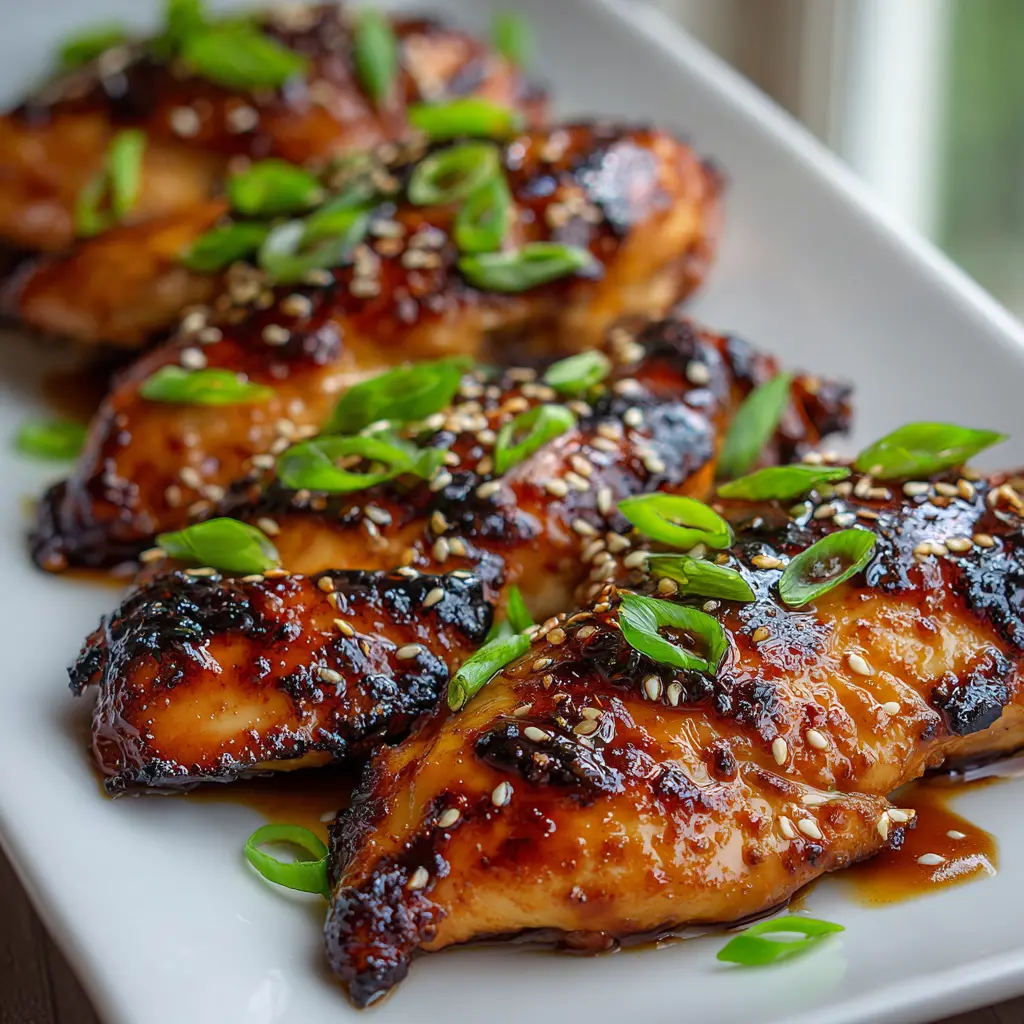
Why This Hawaiian Teriyaki Chicken Works
I’ll be honest with you. For years I thought teriyaki chicken was just… chicken with soy sauce dumped on it. You know? Something you grab from a food truck when you’re too tired to cook. And then I made this Hawaiian teriyaki chicken for a block party last summer, and everything changed.
The secret isn’t some fancy technique. It’s the pineapple juice. It adds this natural sweetness that caramelizes on the grill like nothing else. Plus the acid helps tenderize the meat. So you get these juicy, charred pieces of chicken that taste like they came from a restaurant on the North Shore.
And here’s the thing. This isn’t some complicated recipe that takes all day. We’re talking 15 minutes of prep, 20 minutes of cooking. That’s it. The kind of meal you can throw together on a Tuesday after work and still have energy to hang out with the family.
This Hawaiian teriyaki chicken recipe checks all the boxes. It’s sweet, it’s savory, it’s got that little kick from the red pepper flakes. Kids love it. Adults love it. And it looks impressive enough for a 4th of July cookout without making you stress all day.
Key Ingredients for the Teriyaki Sauce
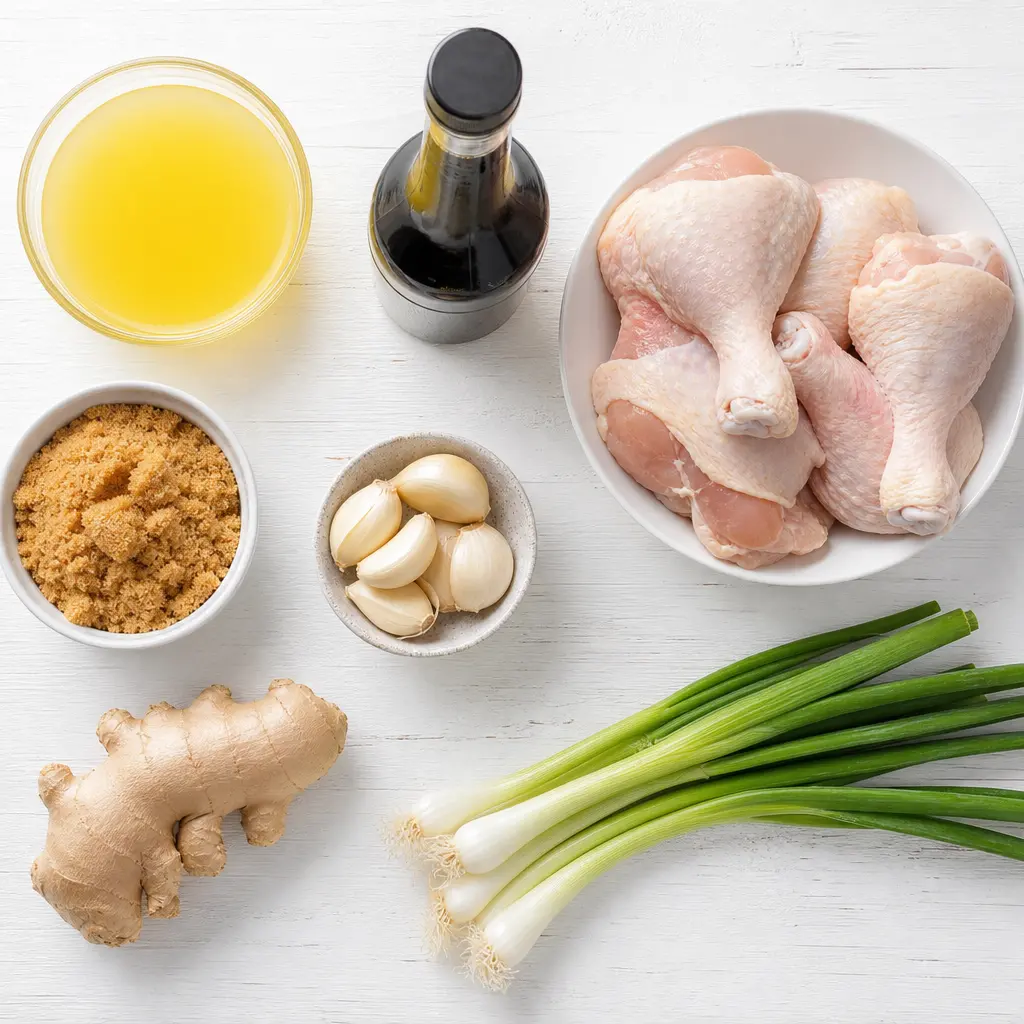
Let’s talk about what makes this sauce special. Because honestly, the homemade teriyaki glaze is the star here. Way better than anything from a bottle.
- Pineapple juice – This is the Hawaiian twist. It adds sweetness and helps create that sticky, caramelized exterior on the grill.
- Soy sauce – The salty base. Use low-sodium if you’re watching your salt intake. I usually grab whatever’s at Ralphs.
- Brown sugar and honey – Double sweetness for depth. The honey, preferably local California honey, adds a floral note that plain sugar doesn’t.
- Rice vinegar – A little tang to balance all that sweetness. Don’t skip it.
- Toasted sesame oil – That nutty aroma that makes you think of your favorite teriyaki spot.
- Garlic and ginger – Fresh, not powdered. Trust me on this. The difference is night and day.
- Crushed red pepper flakes – A tiny kick. Adjust to your spice tolerance.
- Cornstarch – For the slurry that thickens the sauce into a glossy glaze.
That’s it. No weird ingredients you have to hunt down at a specialty store. Everything’s probably in your pantry right now, or at least at Vons down the street.
How to Marinate the Chicken
Here’s where people get nervous. How long do you marinate? Can you over-marinate? Let me simplify this for you.
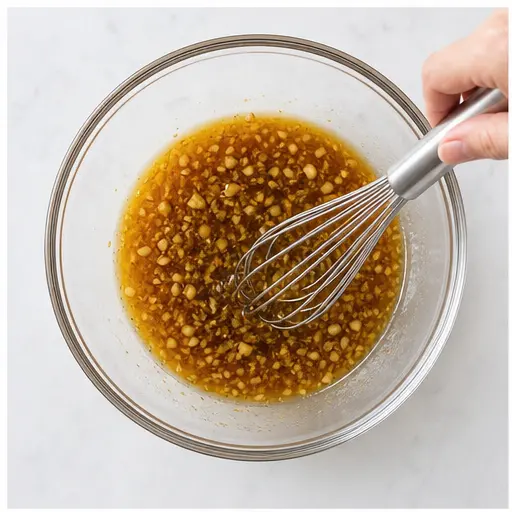
First, you’re going to whisk together all those sauce ingredients. Pineapple juice, soy sauce, brown sugar, honey, rice vinegar, sesame oil, garlic, ginger, and red pepper flakes. Stir until the sugar dissolves. Easy.
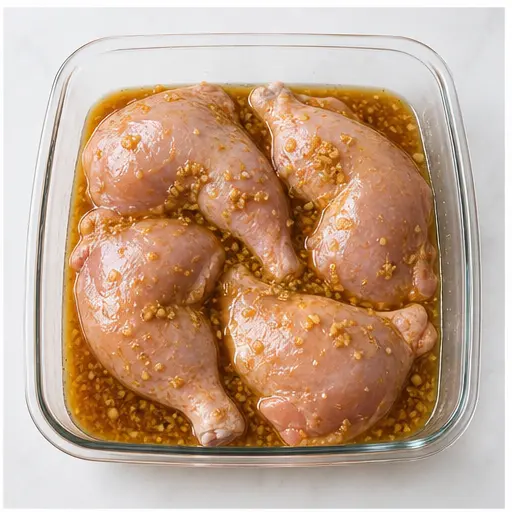
Now here’s the important part. Reserve half the marinade. You need it later for the sauce. Pour the other half over your chicken thighs in a bag or glass dish. Seal it up and stick it in the fridge.
Minimum marinating time? Two hours. That’s the sweet spot. But if you can do overnight, even better. The flavors really penetrate the meat. I’ve done 24 hours before and it was incredible.
One thing though. Don’t go past 24 hours. The acid in the pineapple juice can start breaking down the chicken too much, making it mushy. You want tender, not falling apart.
Oh, and use boneless skinless chicken thighs. Not breasts. Thighs stay juicier on the grill and have more flavor. If you absolutely must use chicken fillets from the breast, just know they’ll cook faster and might dry out. Watch them closely.
Grilling vs. Stovetop Cooking
Okay, so you’ve got your marinated chicken. Now let’s cook it. I’ll give you both methods because I know not everyone has a grill.
Grilling Method (My Favorite)
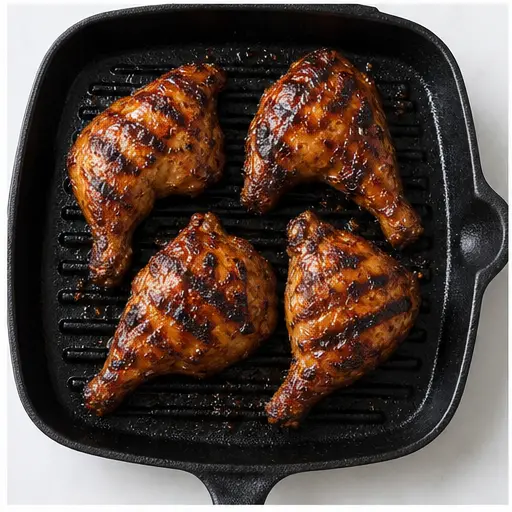
Preheat your grill to medium-high heat, about 400°F. Take the chicken out of the marinade and let the excess drip off. Don’t wipe it completely dry, but you don’t want it dripping either. That extra moisture can cause flare-ups.
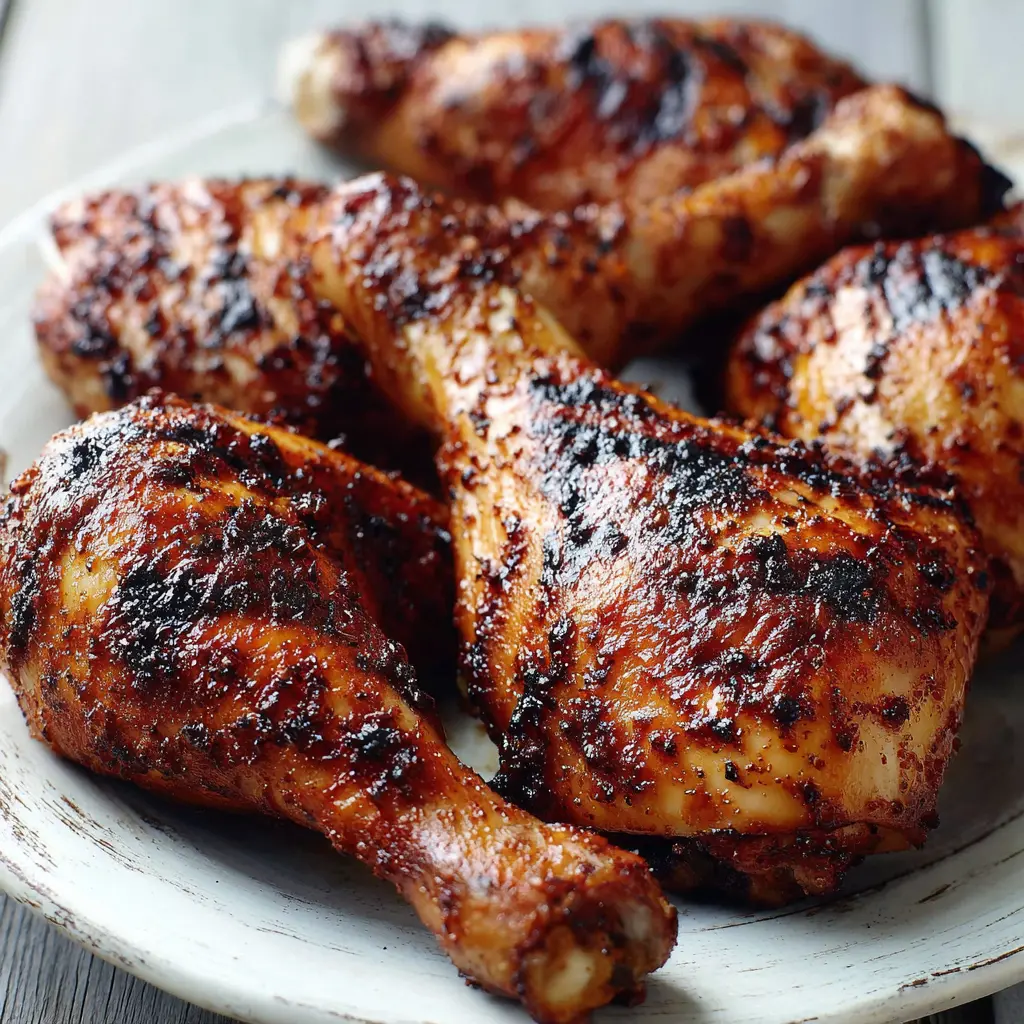
Grill the chicken for 5 to 7 minutes per side. You’re looking for an internal temperature of 165°F and some nice char marks. The sugar in the marinade will caramelize and create this beautiful dark crust. That’s what you want.
Pro tip: Don’t move the chicken around too much. Let it sit and get those grill marks. Flip once. That’s all you need.
Stovetop Skillet Method
No grill? No problem. Heat a tablespoon of vegetable oil in a large cast-iron or nonstick skillet over medium heat. Cook the chicken for 6 to 8 minutes per side until golden brown and cooked through.
The stovetop version won’t have that smoky grill flavor, but it’ll still be delicious. You’ll still get that caramelized exterior from the sugar.
Either way, let the chicken rest for 5 minutes after cooking. This keeps the juices inside where they belong.
Making the Glaze
While the chicken rests, let’s make the homemade teriyaki glaze. Remember that reserved marinade? Pour it into a small saucepan and bring it to a boil over medium-high heat.
Here’s the thing. You must boil it. This kills any bacteria from the raw chicken. Don’t skip this step.
Once it’s boiling, reduce the heat to low. In a small bowl, stir together the cornstarch and water to make a slurry. Whisk that into the simmering sauce. Cook for 1 to 2 minutes until it thickens and turns glossy. It should coat the back of a spoon.
That’s your glaze. It’s sweet, it’s sticky, it’s perfect.
Tips for the Best Hawaiian Teriyaki Chicken
I’ve made this recipe probably twenty times now. Here are the things I’ve learned the hard way so you don’t have to.
Pro Tips
Watch the sugar: The brown sugar and honey can burn easily on the grill. Keep the heat at medium-high, not high. If you see too much char, move the chicken to a cooler part of the grill.
Don’t add extra salt: Soy sauce has plenty of sodium. You don’t need to season the chicken with extra salt. Trust the marinade.
Pound for even cooking: If your chicken thighs are uneven in thickness, pound them flat with a meat mallet between plastic wrap. This ensures they cook evenly.
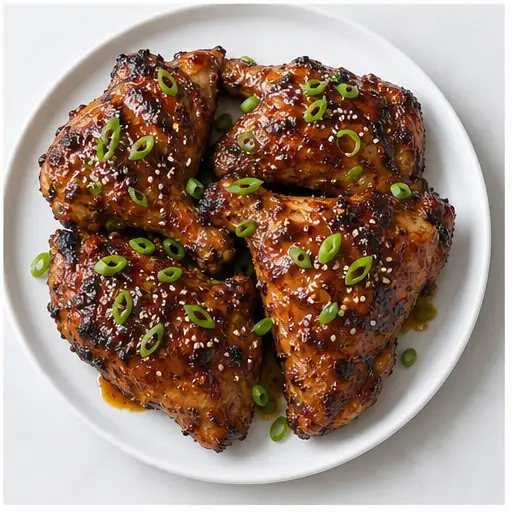
Brush on extra glaze: After the chicken is partially cooked, brush on some of the thickened sauce. Then again when it’s fully cooked. And once more before serving. Layers of flavor.
One more thing about how to grill teriyaki chicken without burning. If you’re worried about the sugar burning, you can grill the chicken without basting first, then brush the glaze on during the last few minutes. That way the sugar doesn’t have time to burn but still caramelizes nicely.
Serving Suggestions: Make It a Plate Lunch
Now let’s talk about serving this beauty. Because Hawaiian teriyaki chicken isn’t just about the chicken. It’s about the whole experience.
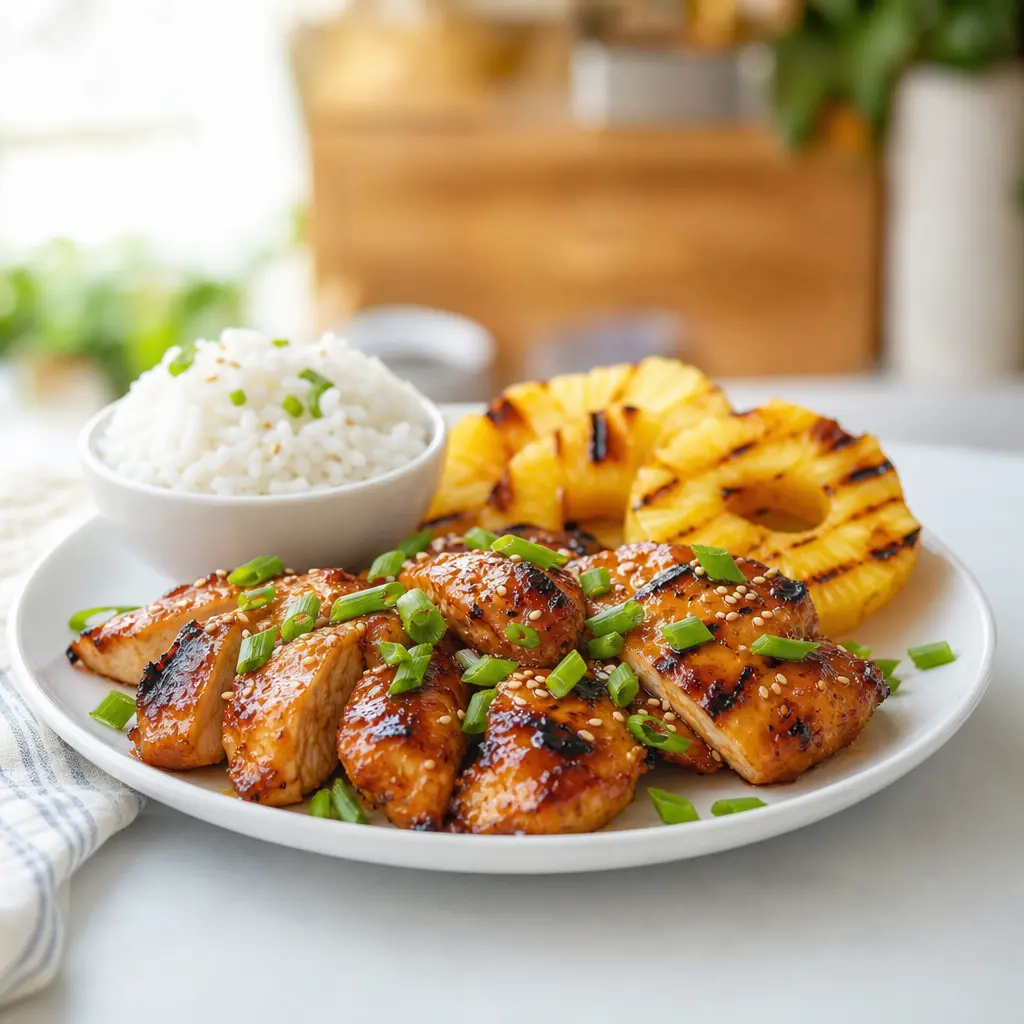
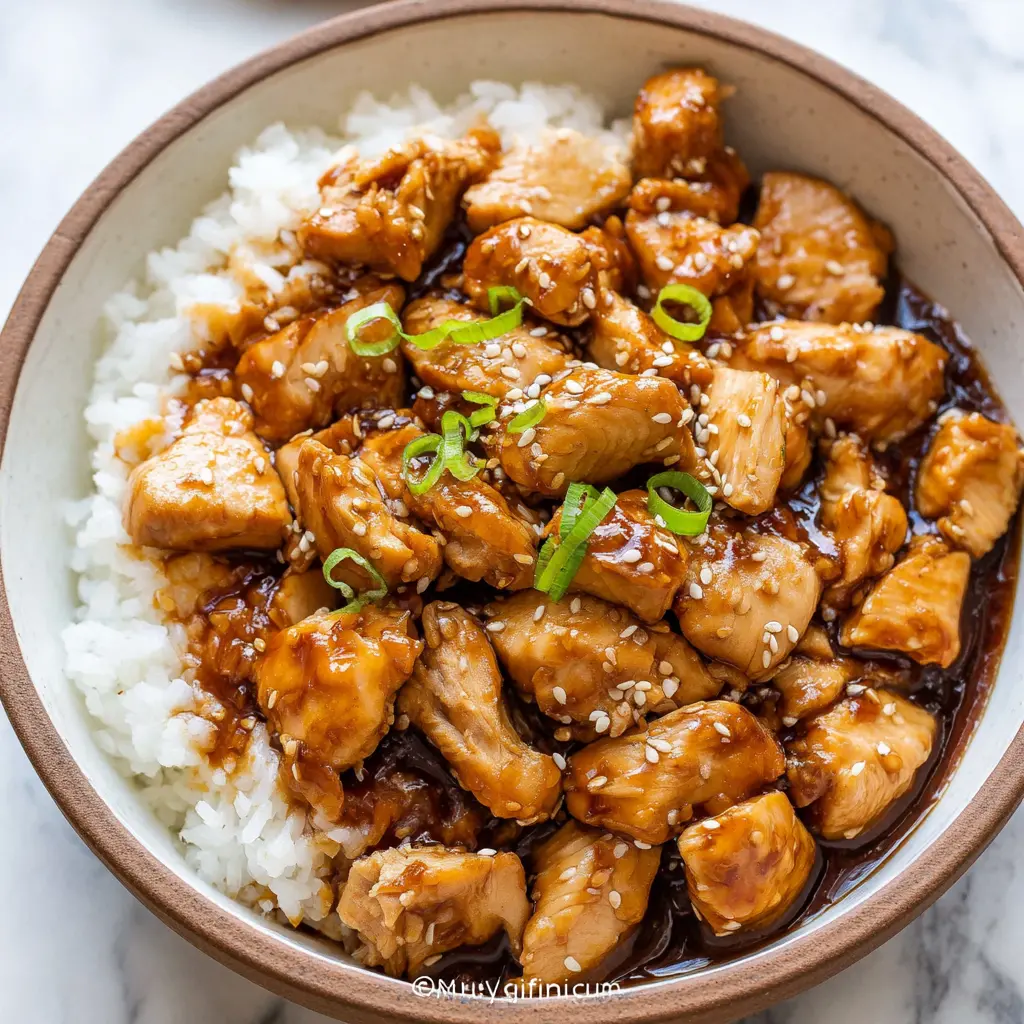
The classic way is to serve it with steamed jasmine rice. That fluffy rice soaks up all the extra sauce. So good.
But if you really want to go full Hawaiian plate lunch, add a scoop of mac salad. You know, the creamy kind with elbow macaroni, shredded carrots, and a little relish. It’s the perfect contrast to the sweet teriyaki chicken.
And here’s my favorite part. Grilled pineapple slices. Throw some fresh pineapple rings on the grill alongside the chicken. They caramelize and get even sweeter. The combination of the grilled pineapple with the teriyaki chicken is absolutely ridiculous.
For a lighter option, serve it with sautéed vegetables or a simple green salad. The sauce works great drizzled over veggies too.
This is the kind of meal that feels like a treat. Like you’re on vacation somewhere warm. Even if you’re just eating it in your kitchen in Los Angeles on a Tuesday night.
Storage and Reheating Tips
Got leftovers? Great. This Hawaiian teriyaki chicken reheats beautifully if you do it right.
Store the chicken and the extra sauce separately in airtight containers. They’ll keep in the fridge for up to 4 days. The sauce will thicken as it cools, which is normal.
When you’re ready to reheat, here’s the best method. Warm a skillet over medium heat with a tiny splash of water or extra sauce. Add the chicken and cook for 2 to 3 minutes per side until heated through. This prevents the chicken from drying out.
Don’t use the microwave. It makes the chicken rubbery and the sauce gets weird. Skillet or oven is the way to go.
You can also freeze the cooked chicken for up to 3 months. Thaw in the fridge overnight before reheating.
Frequently Asked Questions
When you make this Hawaiian teriyaki chicken for your next cookout, tag me so I can see! I love seeing these come to life in real kitchens. And if you want more inspiration, check out my Pinterest board for more summer grilling recipes that’ll make your whole neighborhood jealous.
California-Style Hawaiian Teriyaki Chicken
Ingredients
Method
- In a medium bowl, whisk together the pineapple juice, soy sauce, brown sugar, honey, rice vinegar, sesame oil, minced garlic, grated ginger, and red pepper flakes until the sugar dissolves.
- Place the chicken thighs in a large resealable plastic bag or a glass dish. Pour half of the marinade over the chicken, reserving the other half for the sauce. Seal the bag or cover the dish and refrigerate for at least 2 hours, or overnight for deeper flavor.
- For grilling: Preheat your gas or charcoal grill to medium-high heat (about 400°F). Grill the chicken thighs for 5 to 7 minutes per side, until the internal temperature reaches 165°F and the outside is nicely charred.
- For skillet: Heat 1 tablespoon of vegetable oil in a large cast-iron or nonstick skillet over medium heat. Cook the chicken for 6 to 8 minutes per side, until golden brown and cooked through.
- Pour the reserved marinade into a small saucepan and bring it to a boil over medium-high heat. Reduce the heat to low. In a small bowl, stir together the cornstarch and water to make a slurry. Whisk the slurry into the simmering sauce and cook for 1 to 2 minutes, until the sauce thickens and turns glossy.
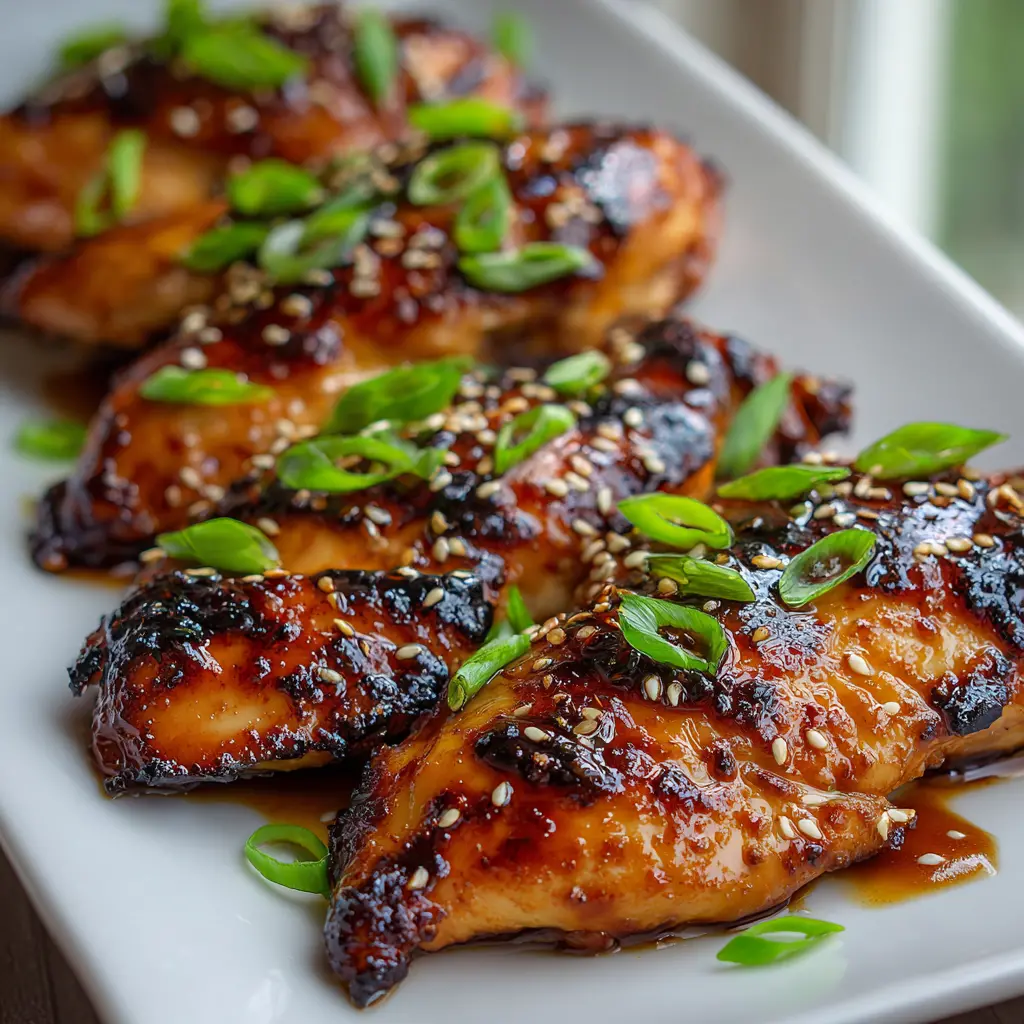
- Let the chicken rest for 5 minutes, then slice it against the grain. Arrange on a platter, drizzle with the thickened teriyaki sauce, and garnish with sliced green onions, sesame seeds, and grilled pineapple slices if desired. Serve with steamed rice or sautéed vegetables.
Nutrition
Notes
Tried this recipe?
Let us know how it was!Source: Research Source

4 Responses
I tried this recipe for a potluck and it was a hit! I grilled the chicken and added some grilled pineapple slices on the side—everyone raved about the caramelized bits. The only thing I’d change next time is to double the sauce because we wanted extra for dipping.
Made this for dinner last night and my whole family devoured it! The pineapple juice really does make a difference in the flavor. I added a little extra ginger because I love that kick. Will definitely be making this again!
Great recipe overall, but I found the sauce a bit too sweet for my taste. Could I reduce the brown sugar to 2 tablespoons and add a splash more soy sauce to balance it out? Also, do you think this would work with chicken breasts instead of thighs?
Hi James! Yes, you can definitely reduce the brown sugar to 2 tablespoons and add a bit more soy sauce—that should balance the sweetness nicely. Chicken breasts will work too, just be careful not to overcook them since they’re leaner; I’d recommend grilling them over medium heat for about 5-6 minutes per side.