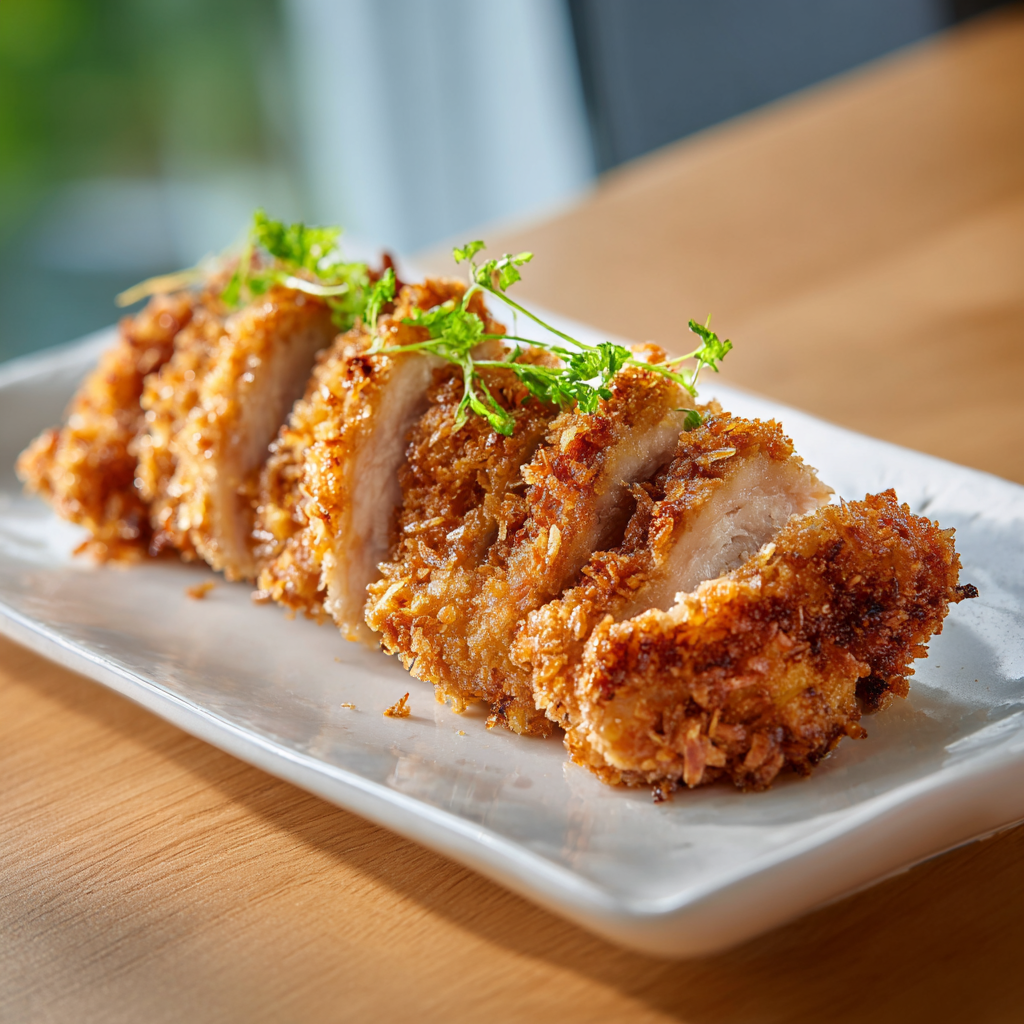
Crunchy Coconut Chicken
Ingredients
Method
- Pour about 2 to 3 inches of vegetable oil into a medium pot. Heat over medium heat until the oil reaches 365°F. To test, dip the end of a wooden spoon into the oil; if bubbles form around it, the oil is ready.
- In a shallow bowl, whisk together the cornstarch, salt, black pepper, and cayenne pepper (if using). Set aside.
- In a second shallow bowl, lightly beat the eggs.
- Place the shredded coconut in a third shallow bowl.
- Take a piece of chicken and coat it thoroughly in the cornstarch mixture, shaking off any excess.
- Dip the coated chicken into the beaten eggs, making sure it's fully covered.
- Press the chicken into the shredded coconut, turning to coat all sides. Place the breaded piece on a plate. Repeat with all remaining chicken pieces.
- Once the oil is hot, gently add the chicken pieces one at a time, being careful not to overcrowd the pot. Cook in batches if needed.
- Fry the chicken for about 4 minutes, then flip carefully and cook for another 4 minutes, until golden brown and cooked through (internal temperature of 165°F).
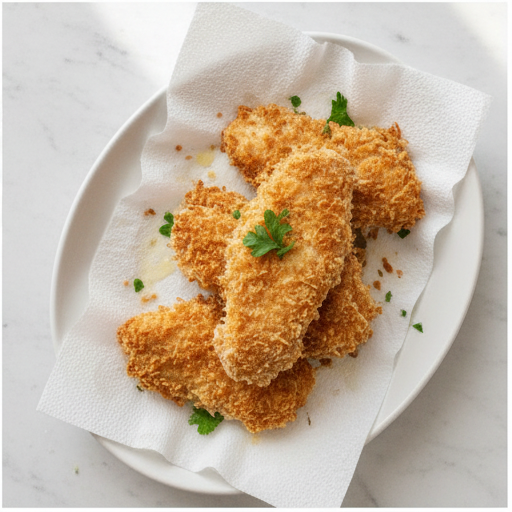
- Using a slotted spoon, transfer the cooked chicken to a plate lined with paper towels to drain.
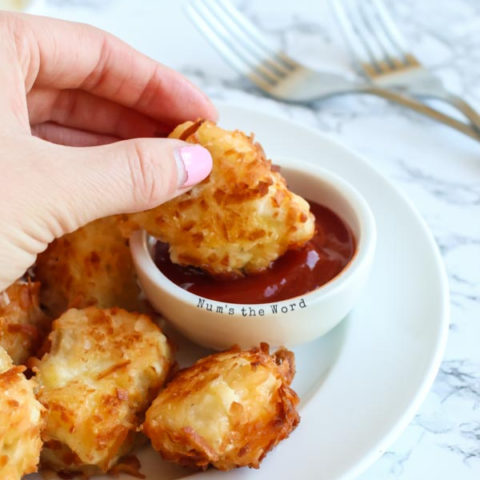
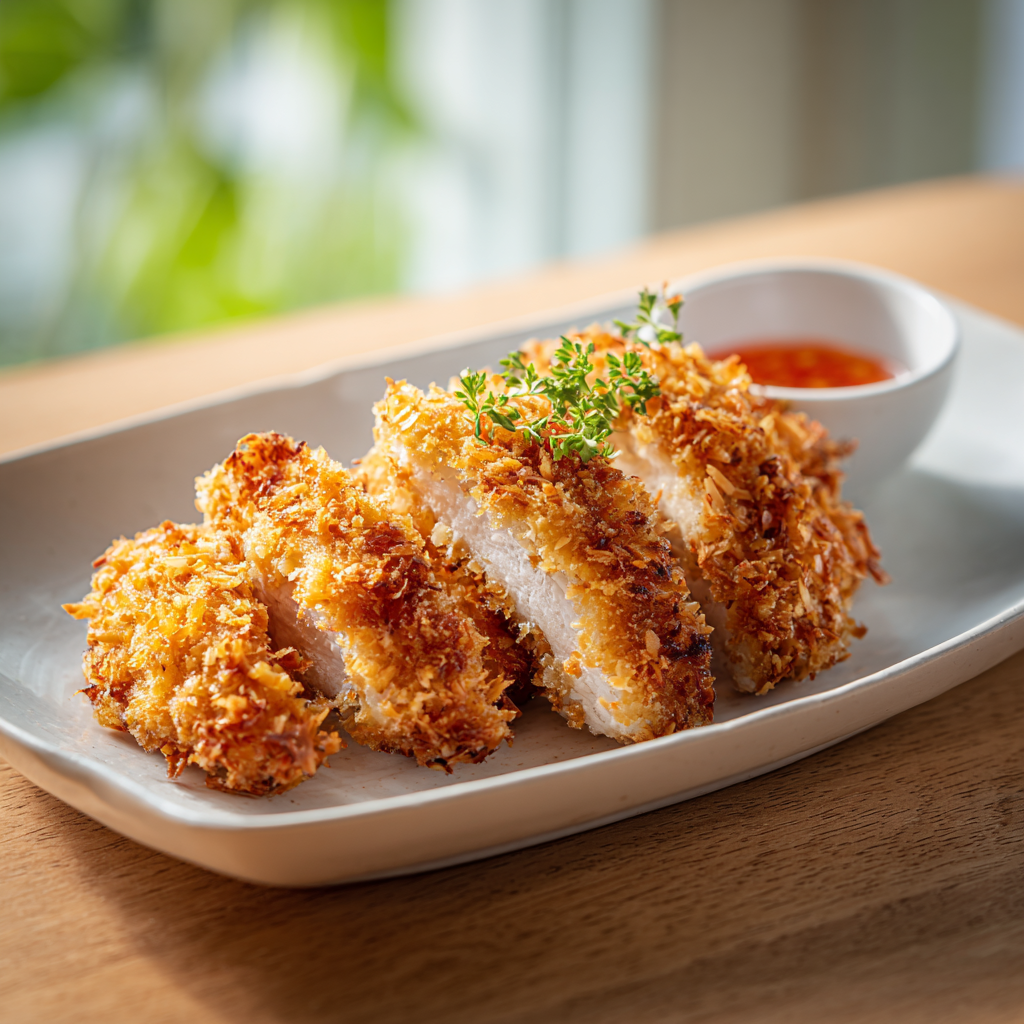
- Serve the crunchy coconut chicken plain or with your favorite dipping sauce—honey, orange sauce, or sweet and sour sauce all work beautifully.
Nutrition
Notes
Tried this recipe?
Let us know how it was!Why This Crunchy Coconut Chicken Works
Let’s be real – we’ve all tried to make crispy chicken at home and ended up with a sad, soggy mess. I’ve been there. Burned the first batch, got a coating that slid right off, the whole disaster. But this coconut chicken recipe is different. It’s the one I finally got right, and I promise this works.
Here’s the thing – it’s ready in 30 minutes, it’s naturally gluten-free, and you can fry it, bake it, or air fry it. The kids go crazy for it, and honestly, so do adults. That first bite? The sound of a loud, satisfying crunch is worth every step.
Plus, it’s a summer dinner idea that doesn’t heat up your whole kitchen. Perfect for those hot June evenings when you want something tropical but quick. I’ve served this as a July 4th appetizer and as a main dish – it works both ways.
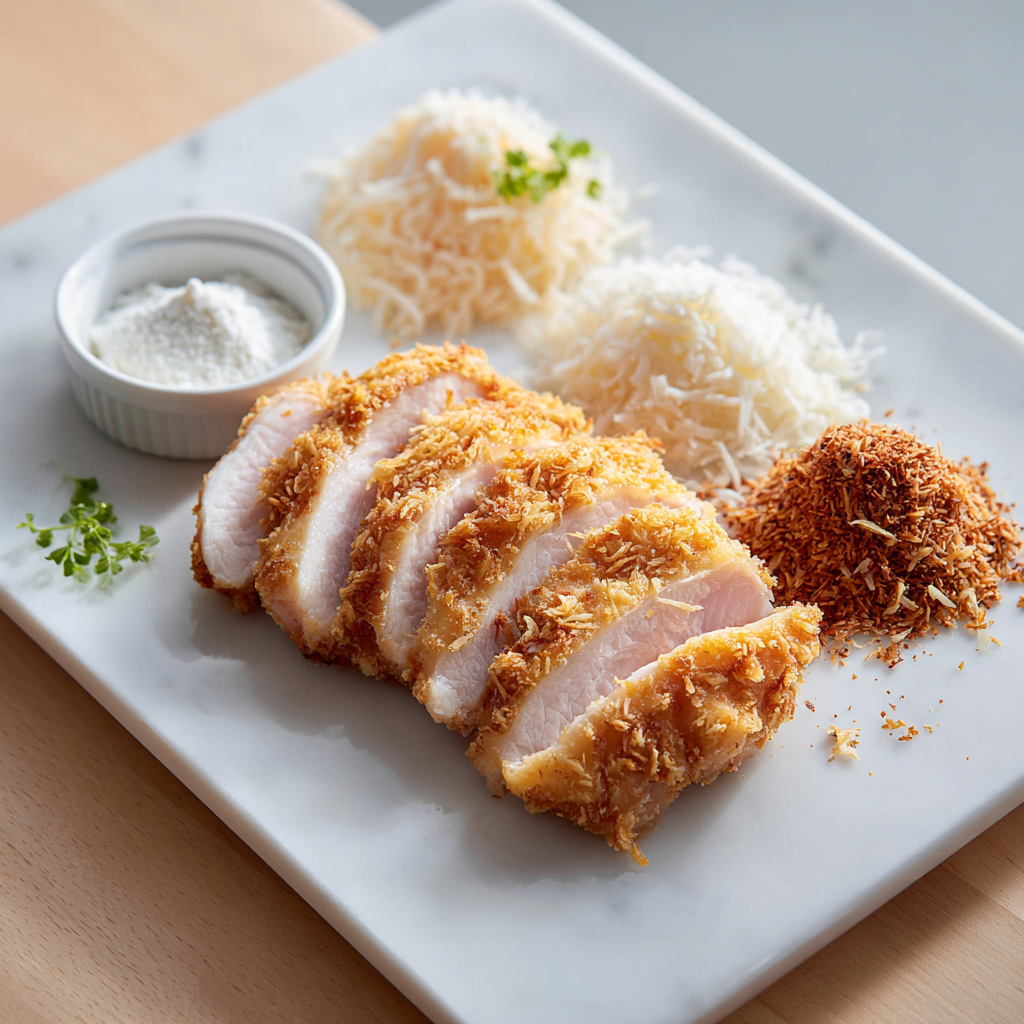
Ingredients You’ll Need
The beauty of this easy coconut chicken recipe is that you probably have most of these in your pantry already. Let me walk you through each one and why it matters.
- Boneless skinless chicken fillets – I cut them into strips or nuggets. Chicken tenders work great too if you want to skip the cutting.
- Cornstarch – This is the secret to that shatteringly crispy coating. Cornstarch for crispiness is a game-changer. It absorbs moisture better than flour, so you get that light, crunchy texture.
- Eggs – They help the coconut stick. Three large eggs, lightly beaten.
- Sweetened shredded coconut – I use Baker’s Angel Flake because it’s the perfect texture. You can use coconut flakes or unsweetened coconut if you prefer a less sweet coating – just know it’ll change the flavor a bit.
- Seasonings – Salt, black pepper, and cayenne pepper (optional, but I love the little kick).
- Vegetable oil – For frying. You need about 2-3 inches in a pot.
If you’re wondering about panko breadcrumbs – I’ve seen other recipes use them. You can add some if you want, but honestly, the coconut alone gives plenty of crunch. Trust me on this one.
How to Make Crunchy Coconut Chicken
Here’s where the magic happens. I’ll walk you through the four main stages, with all the little tips I learned from burning that first batch.
Stage 1: Set Up Your Breading Station
This is the most important part. Get organized before you start. You need three shallow bowls in a row.
- Bowl 1: Whisk together the cornstarch, salt, black pepper, and cayenne (if using).
- Bowl 2: Lightly beat the eggs.
- Bowl 3: Pour in the shredded coconut.
The trick here is to pulse the coconut in a food processor for a few seconds. It breaks the flakes into smaller pieces so they stick better. I learned this after my first batch had half the coconut fall off in the oil. Not pretty.
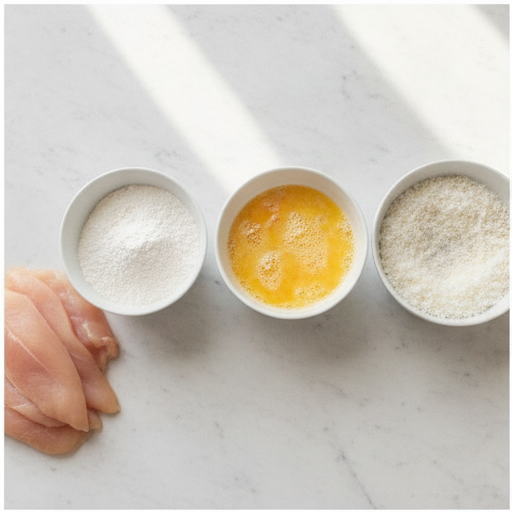
Stage 2: Coat the Chicken
Take a piece of chicken and coat it thoroughly in the cornstarch mixture. Shake off any excess – you don’t want clumps. Then dip it into the beaten eggs, making sure it’s fully covered. Finally, press it into the shredded coconut, turning to coat all sides.
Here’s a pro tip: use one hand for the dry ingredients and one for the wet. Otherwise you’ll end up with a glue-like mess on your fingers. I learned that the hard way too.
Place each breaded piece on a plate. Don’t stack them – they’ll stick together.
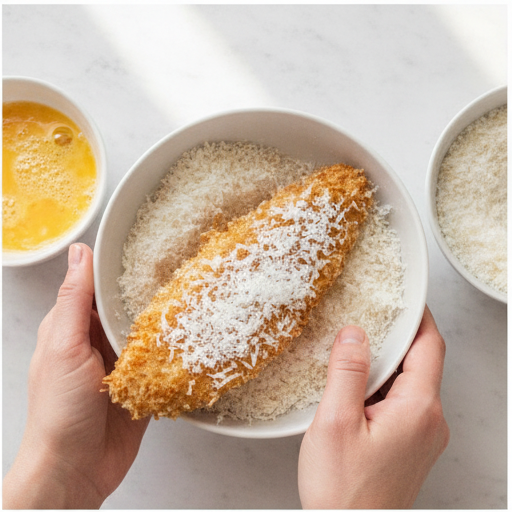
Stage 3: Fry the Chicken
Heat about 2-3 inches of vegetable oil in a medium pot over medium heat. You want it to reach 365°F. If you don’t have a thermometer, dip the end of a wooden spoon into the oil – if bubbles form around it, it’s ready.
Don’t overcrowd the pot. This is the number one mistake that leads to soggy chicken. The oil temperature drops, and instead of frying, the chicken steams. Cook in batches if needed.
Fry for about 4 minutes, then flip carefully and cook for another 4 minutes. The internal temperature should reach 165°F. The color should be a deep golden brown – that’s how you know the coconut is perfectly toasted.
Use a slotted spoon to transfer the chicken to a plate lined with paper towels. This drains excess oil and keeps the coating crispy.
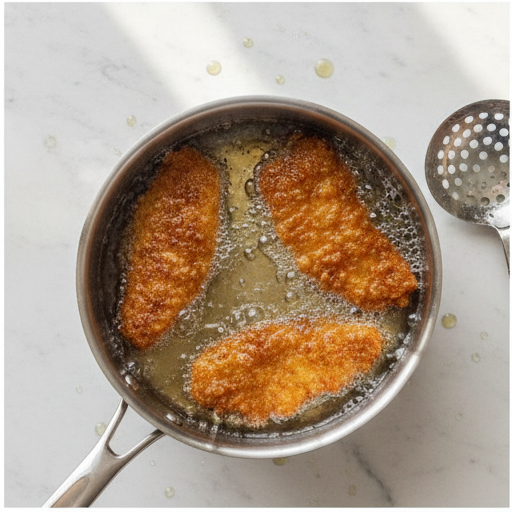
Stage 4: Serve Immediately
This is where patience pays off. Let the chicken rest for just a minute or two on the paper towels. Then serve it while it’s still hot and crunchy.
I like to serve it with a dipping sauce – honey, orange sauce, or sweet and sour sauce all work beautifully. The sweetness balances the subtle heat from the cayenne perfectly.
Baking and Air Frying Instructions
Not into deep frying? No problem. This coconut chicken recipe works great with other methods too.
For baking: Preheat your oven to 400°F. Place the breaded chicken on a wire rack set over a baking sheet (this lets air circulate underneath). Spray lightly with coconut oil spray or regular cooking spray. Bake for 15-18 minutes, flipping halfway, until golden and cooked through.
For air frying: Preheat your air fryer to 375°F. Arrange the chicken in a single layer – don’t overcrowd. Spray with oil. Cook for 10-12 minutes, flipping halfway. The result is crispy chicken without frying, and it’s amazing.
Both methods give you that no-fry crispy chicken texture without the mess of hot oil. Perfect for a quick weeknight dinner when you’re short on time.
Dipping Sauce Ideas
The right sauce can take this crunchy coconut chicken from great to unforgettable. Here are my favorites:
- Sweet chili sauce – The classic pairing. The sweet and spicy combo is perfect with the coconut.
- Honey – Simple, sweet, and lets the coconut shine.
- Orange sauce – A tangy twist that feels like takeout.
- Sweet and sour sauce – Another classic that works beautifully.
If you’re feeling fancy, mix some sriracha with mayo for a quick spicy dip. The creaminess balances the crunch.
What to Serve with Coconut Chicken
This tropical chicken recipe pairs beautifully with light, fresh sides. Here’s what I usually serve:
- Coconut rice – Double down on the tropical theme. The creamy rice is perfect with the crunchy chicken.
- Steamed vegetables – Broccoli, green beans, or snap peas add color and freshness.
- Fresh salad – A simple green salad with a citrus vinaigrette cuts through the richness.
- Mango salsa – If you have fresh mango, dice it up with some red onion and cilantro. Amazing.
For a complete summer dinner ideas spread, serve it with a cold cucumber salad and some lime wedges. It feels like a vacation on a plate.
Recipe Tips for Best Results
After making this easy coconut chicken more times than I can count, here are my non-negotiable tips:
- Don’t skip the cornstarch. It’s the key to that shatteringly crispy texture. Flour just doesn’t work the same way.
- Check your oil temperature. If it’s too low, the chicken absorbs oil and gets greasy. Too high, and the coconut burns before the chicken cooks through.
- Work in batches. Overcrowding is the enemy of crispiness. Give each piece room to fry.
- Use a wire rack. If you’re baking or air frying, a wire rack lets air circulate and keeps the bottom crispy.
- Pat the chicken dry. Before you start, pat the chicken with paper towels. Excess moisture makes the coating slide off.
One more thing – if you’re making this for a crowd, you can keep the cooked chicken warm in a 200°F oven on a wire rack. It stays crispy for up to 30 minutes.
Storage and Reheating
Leftovers? They happen sometimes. Here’s how to keep that crunch alive.
To store: Place the cooled chicken in an airtight container. It keeps in the fridge for up to 3 days. Don’t stack them – use parchment paper between layers if you need to.
To reheat: The microwave is your enemy here. It’ll turn your beautiful crunchy coconut chicken into a sad, soggy mess. Instead, reheat in a 350°F oven for 5-10 minutes, or in the air fryer at 350°F for 3-4 minutes. The coating comes right back to life.
You can also freeze the cooked chicken for up to 3 months. Just thaw in the fridge overnight and reheat as above.
Frequently Asked Questions
I hope this coconut chicken recipe becomes a staple in your kitchen like it has in mine. Tag me when you make it – I want to see that crunch!
Source: Nutritional Information