Why You’ll Love These Candy Corn Rice Krispie Treats
Okay, let’s settle this once and for all: candy corn is the most controversial candy at the Halloween table. You either love those little tri-color triangles or you’d rather chew on a candle. Candy corn rice krispie treats, though? That’s a different story.
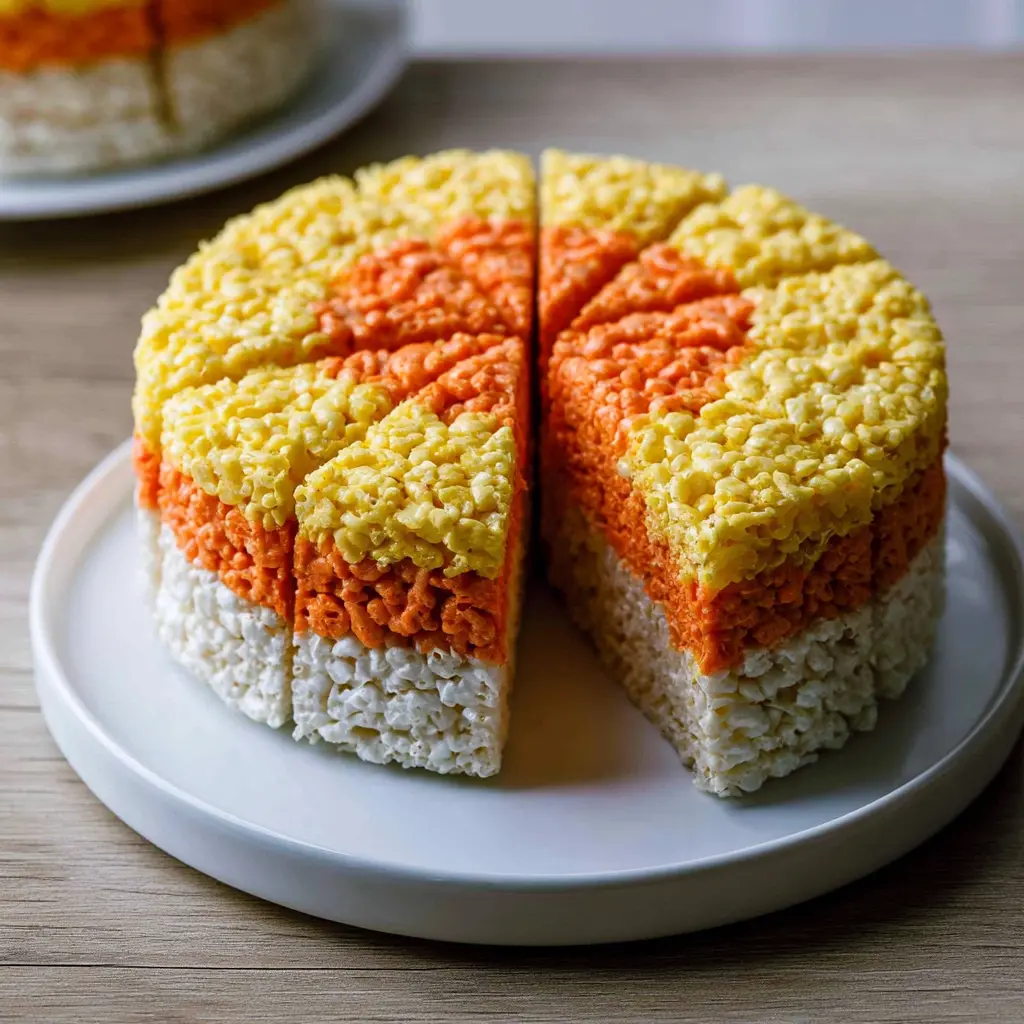
Here’s the thing though. These candy corn rice krispie treats give you the exact same nostalgia, but without the wax. Instead, you get soft, chewy marshmallow cereal bars stacked in that iconic white, orange, yellow pattern. And because they’re no-bake, you won’t heat up your kitchen during those still-sweltering September afternoons.
Plus, these halloween rice krispie treats are the perfect kid-friendly Halloween baking project. My toddler “helped” me press the layers last year, and honestly the sticky marshmallow strings on his fingers were half the fun. That proud grin when he saw the finished cake? Priceless.
Ingredients You’ll Need
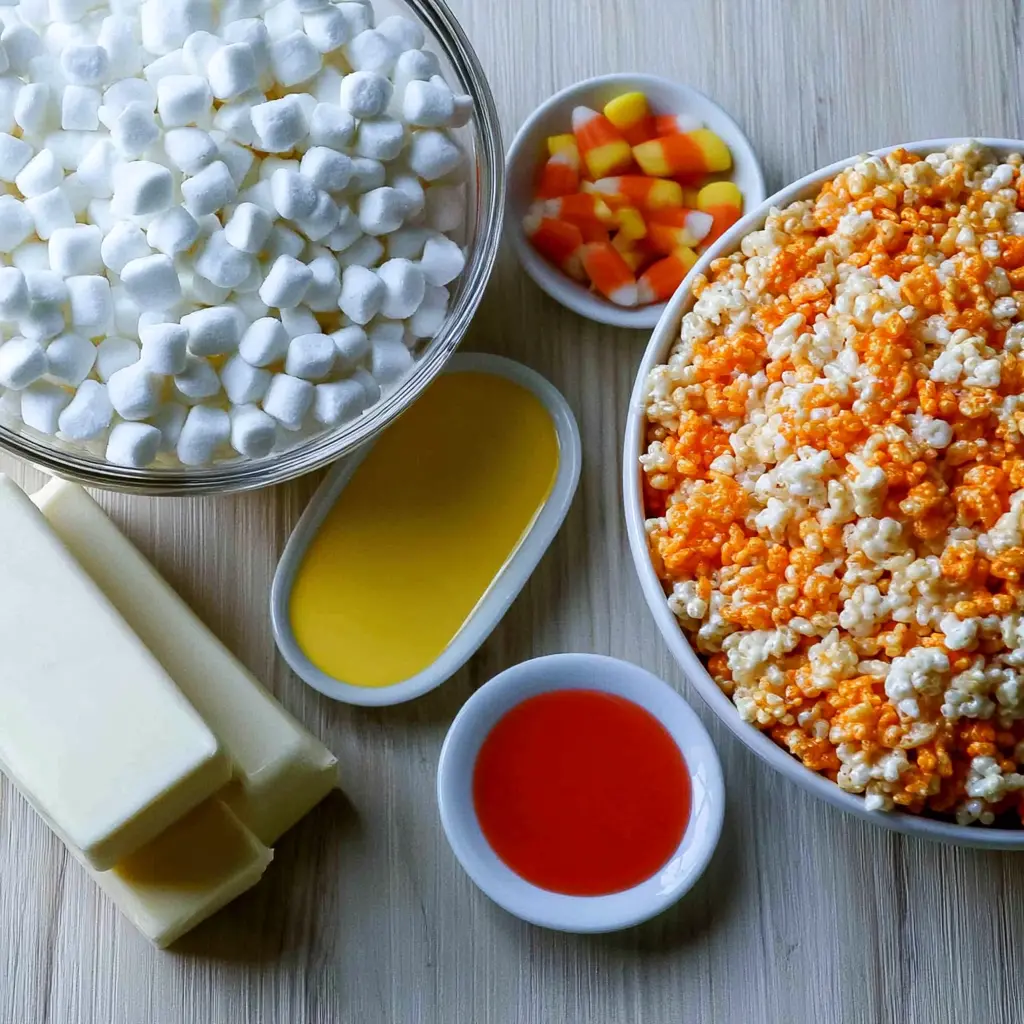
Good news: this candy corn dessert doesn’t require a specialty store run. You probably have most of this sitting in your pantry right now. The three layers share the same base, just in different colors and amounts. The secret to great candy corn rice krispie treats? Gel food coloring and patience.
- Mini marshmallows: about 5 cups total across all layers. They melt faster and smoother than big ones.
- Butter: 5 tablespoons total. I use salted for that sweet-salty balance, but unsalted is fine.
- Salt: a big pinch in each layer. This is the trick that stops these bars from being cloyingly sweet.
- Crisp rice cereal: about 4 1/4 cups total. Generic brands work just as well as the name brand.
- Gel food coloring: yellow plus red to make orange. Gel gives you those vibrant candy corn colors without watering everything down.
That’s seriously it. A round cake pan, a couple of microwave-safe bowls, and a spatula, and you’re in business. No oven required.
How to Make Candy Corn Rice Krispie Treats
This is the fun part. The layering technique sounds fiddly, but once you see the colors stack up, you’ll feel like a total kitchen rockstar. The whole method comes down to working layer by layer. Yellow first, pressed into a ring along the edges. Orange inside that, white in the middle. It’s a little like building a marshmallow nest, and the reveal is so satisfying.
Stage 1: Melt the Yellow Layer
Start by melting 2 1/2 cups mini marshmallows with 2 tablespoons butter and a big pinch of salt. Microwave for 30 seconds, stir, and go another 15 if you need it. The warmth pulls the marshmallows into glossy, stretchy ribbons. That stretch when you lift the spoon is perfect. The melted marshmallow for your candy corn rice krispie treats should be smooth and shiny, not bubbling. Add 5 drops of yellow gel food coloring, then fold in 2 1/4 cups of cereal.
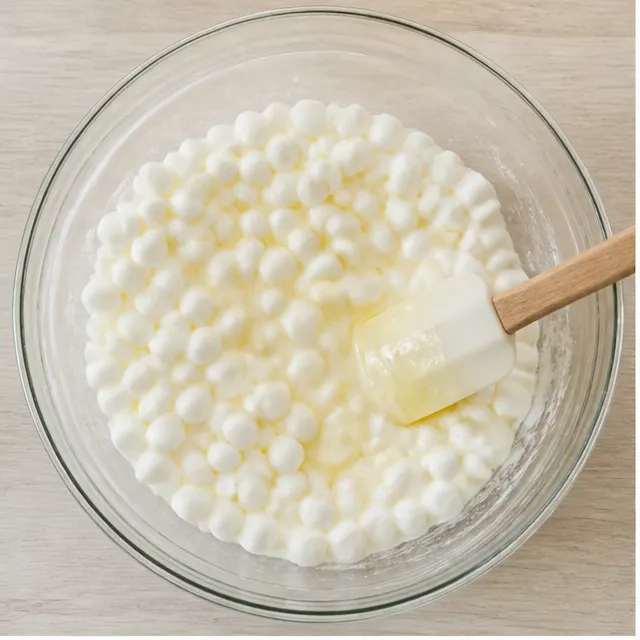
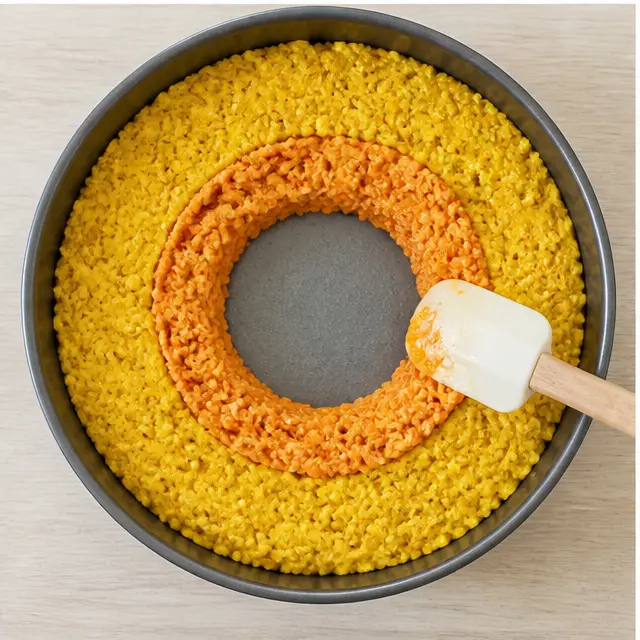
Once the mixture is combined, use greased or damp hands to press it along the sides of the pan, forming a ring with the center empty. Press it firmly so it holds its shape, but don’t squash the cereal into a crunchy disk.
Stage 2: Build the Orange Ring
This is where the color magic happens. Melt 1 3/4 cups marshmallows with 2 tablespoons butter and another pinch of salt. Stir in 5 drops of yellow gel food coloring plus 1 to 2 drops of red to get that sunset orange. Mix it well before you add the cereal, because you want the hue to be even. Then fold in 1 1/4 cups of cereal plus 2 tablespoons.
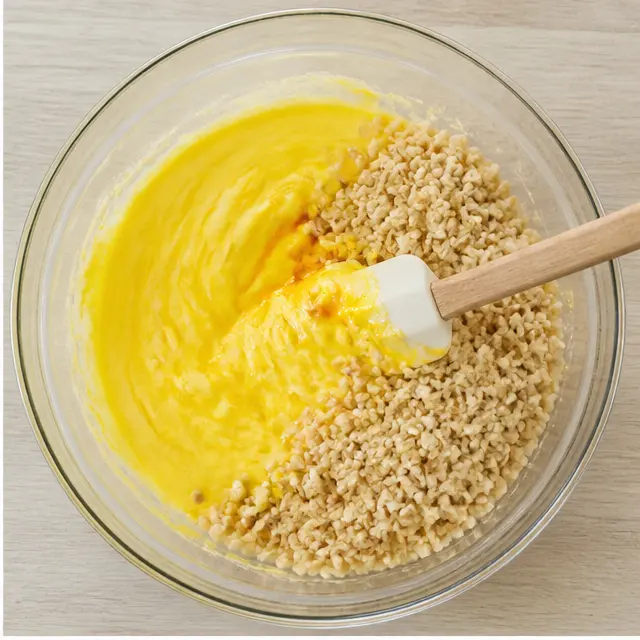
Press this orange mixture directly inside the yellow ring, leaving the middle hollow again. Keep the layers touching but not smushed together, or the colors will start to blend into a weird pumpkin brown.
Stage 3: Fill the Center with White
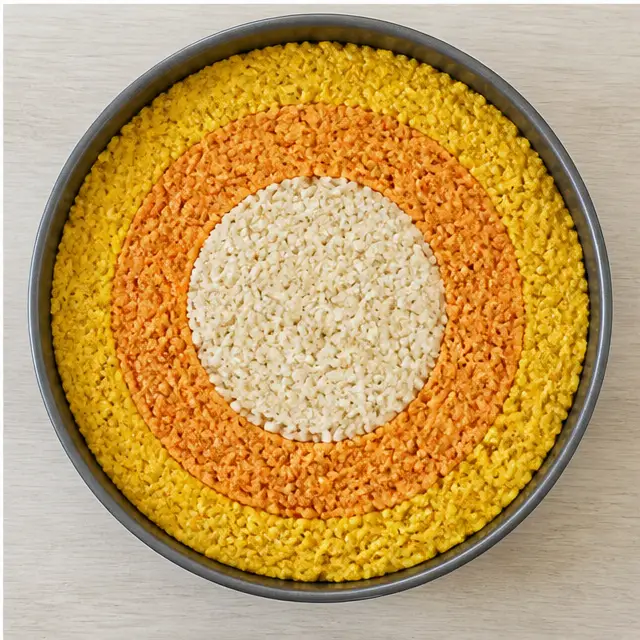
Use a clean bowl for this step. Repeat after me: a clean bowl. Last Halloween I skipped it and my white center came out a sad shade of peach. Melt 3/4 cup marshmallows with 1 tablespoon butter and salt, then fold in 3/4 cup cereal. Press it gently into the center of the pan.
Now you have the trio. Bright yellow, vivid orange, and a crisp white center. It looks almost too pretty to cut.
Stage 4: Cool and Cut
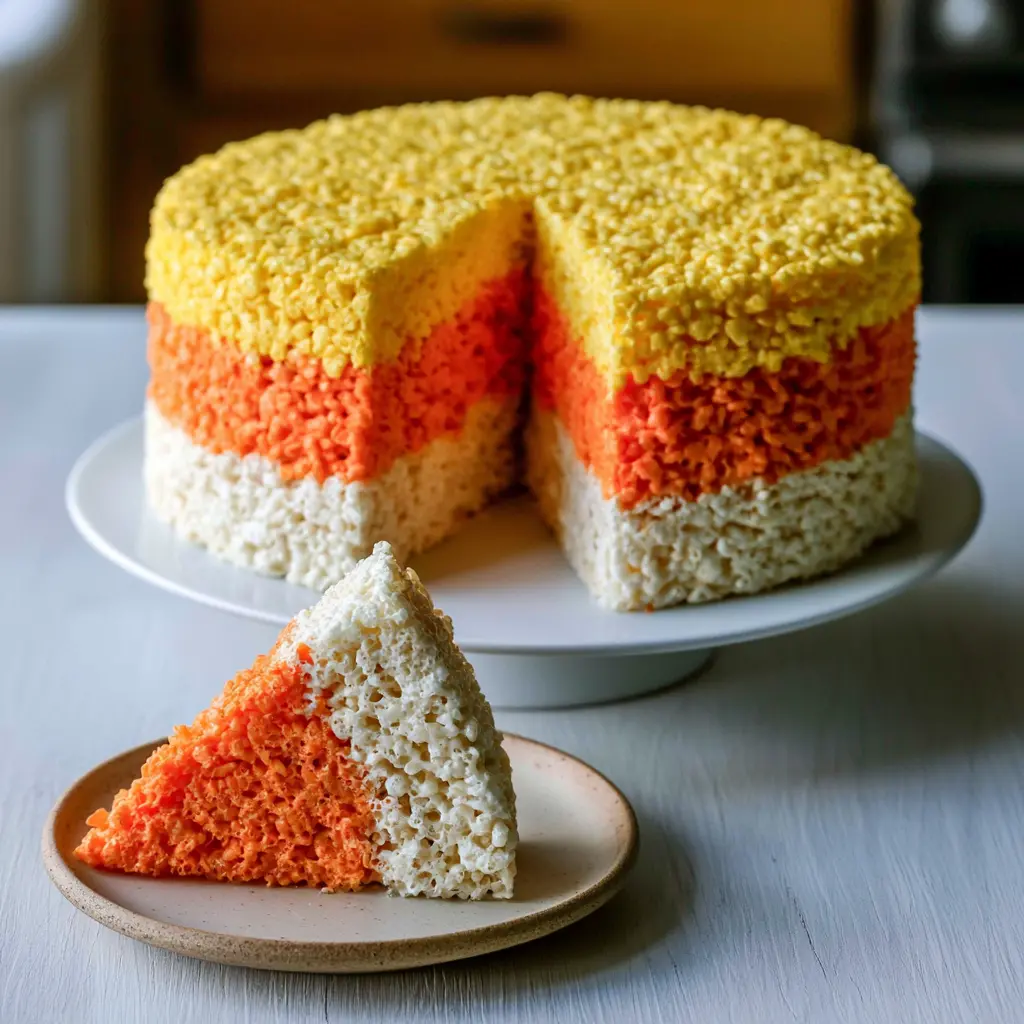
Patience, friend. Let the treats cool completely at room temperature, at least 2 hours. Rushing this step is the number one reason layers crack and crumble. Once they’re fully set, run a buttered knife around the edge and slice into 8 triangular wedges.
For clean slices, dip your knife in hot water and wipe it dry before each cut. The outside has a light crackle when you bite, but the inside stays soft and chewy. Pure marshmallow butter treat bliss.
Tips for Perfect Layered Treats
This rice krispies treats recipe is forgiving, but a few small choices make the difference between good and “wait, you actually made these?”
- Stick with gel food coloring. Liquid drops need more volume to color, and that extra liquid can make the marshmallow layer soggy or slack. Gel gives you bold candy corn colors in just a few drops.
- Don’t press marshmallows down when you measure. Just pour them into the cup. Packing them messes with the marshmallow-to-cereal ratio.
- Make the yellow layer first. You can reuse that same bowl for the orange layer without an issue. Just use a clean bowl for the white one.
- Press the layers firmly or the bars will fall apart when you slice them. Press the cereal mixture down evenly with damp fingers.
- Flaky salt on top? If you like that salty-sweet contrast, go for it. It’s not in the base recipe, but it’s a tasty optional add.
Hand this spoon to your mini-chef: the stirring and pressing stages are perfect for little hands. Just keep the hot melted marshmallow stage to yourself.
Fun Variations to Try
Once you’ve nailed the classic candy corn rice krispie treats, the possibilities are endless. These candy corn inspired treats are easy to customize for any party.
- Stir in real candy corn pieces before pressing the layers. The chewy bits add nostalgia, though they might sink a little. Pros: extra sweet. Cons: extra sweet.
- Use a square pan instead of round. You can then cut the cooled treats with ghost, pumpkin, or cat cookie cutters for halloween party snacks for kids.
- Switch up the color palette. Green, purple, and black for a spooky vibe, or orange and brown for a fall Thanksgiving platter. The layering stays exactly the same.
- Brown the butter. Melt it in a saucepan until it smells nutty and turns golden before adding marshmallows. It adds a toasty depth that’s incredible.
- Add a stretchy twist. Some folks stir a couple tablespoons of sweetened condensed milk into the butter to keep treats stretchy for days. It’s not in the original recipe, but it’s a fun experiment.
How to Store and Freeze Leftovers
Store leftover treats in an airtight container at room temperature for up to 3 days. If you stack them, place a sheet of wax paper between layers or they’ll fuse into one giant marshmallow block.
I get it, you want to know: can you refrigerate? You can, but I wouldn’t. Cold air makes marshmallows tough and chewy. And yes, these freeze beautifully for up to 3 months. Thaw them overnight in the refrigerator, then bring to room temp before serving. They won’t be quite as pillowy as fresh, but they’ll still satisfy that candy corn craving.
Troubleshooting Common Problems
A common mistake with candy corn rice krispie treats is slicing too early. Here’s the thing nobody tells you about halloween rice krispie treats: sometimes things go wrong. Here’s how to fix them.
❌ My layers cracked when I cut them.
✅ They weren’t cool enough. Give them the full 2-hour set at room temperature, and use a hot, buttered knife for each slice.
❌ The white layer came out tinted.
✅ You reused the dirty bowl from a colored layer. Rinse it thoroughly before the white stage.
❌ My marshmallows got stiff and hard.
✅ You overheated them. Keep the microwave to 30-second bursts and stir until just smooth. If you see a few lumps, let the residual heat finish them.
❌ The layers bled together.
✅ Gel food coloring helps, but so does letting each layer set for a few minutes before adding the next. Press gently without smearing the edges.
Serving Ideas
These candy corn rice krispie treats are the undisputed star of a halloween dessert table. Serve them on sticks for a kid-friendly Halloween party, tuck each wedge into a clear treat bag for classroom favors, or stack them on a cake stand and watch people do a double take. They’re a classic festive fall dessert idea that always gets compliments.
For a class party halloween treats situation, cut them into 8 wedges and grab a napkin. For gifting, wrap each slice with orange ribbon and a little tag that says “candy corn approved.” If you’re looking for a quick halloween treat for school, these are the easiest win. You can even decorate the wedges like mummies with buttercream strips and mini M&M eyes if you’re feeling extra.
And hey, when you make your batch, snap a photo and tag me. I seriously love seeing these candy corn creations come to life in other people’s kitchens. You can also follow along on Pinterest for more of my favorite no-bake halloween treats.
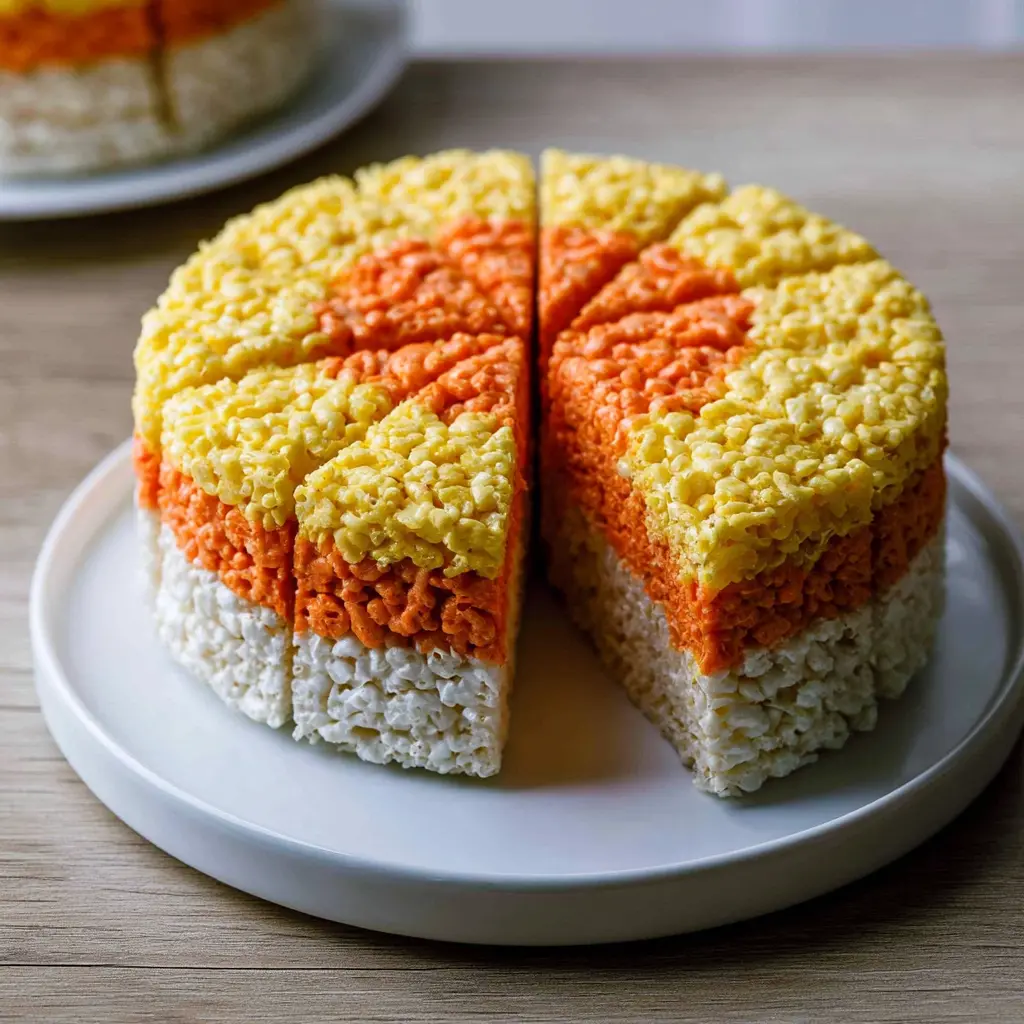
Candy Corn Rice Krispie Treats
Ingredients
Method
- Lightly spray an 8 or 9 inch round cake pan with nonstick cooking spray, or grease it well with extra butter.
- In a large microwave safe bowl, make the yellow layer: combine 2 1/2 cups marshmallows, 2 tablespoons butter, and a big pinch of salt. Microwave on high for 30 seconds, then stir until smooth. If needed, microwave for another 15 seconds. Blend in the yellow food coloring, then fold in the crisp rice cereal.
- Use greased or damp hands to press the yellow mixture against the sides of the pan, forming a ring, with the center empty.
- In the same bowl, make the orange layer with the next set of ingredients: microwave the marshmallows, butter and salt until melted; add the yellow and red food colorings and the specified crisp rice cereal. Press this orange mixture into a ring just inside the yellow layer, leaving the middle open.
- Using a clean bowl, make the white layer by melting the remaining marshmallows, butter, and salt, then folding in the remaining cereal. Press the white layer into the center of the pan.
- Let the treats cool completely, at least 2 hours, before slicing into 8 triangular wedges.
Nutrition
Notes
Tried this recipe?
Let us know how it was!Frequently Asked Questions
Source: Learn More About This Dish