How Long to Grill Burgers for Perfectly Juicy Patties
Ingredients
Method
- Option A: In a large bowl, combine the ground beef with salt and pepper, mixing gently. Divide the meat in half and shape into two 8 oz patties.
- Option B: Form the patties without seasoning, then sprinkle both sides with salt and pepper just before grilling.
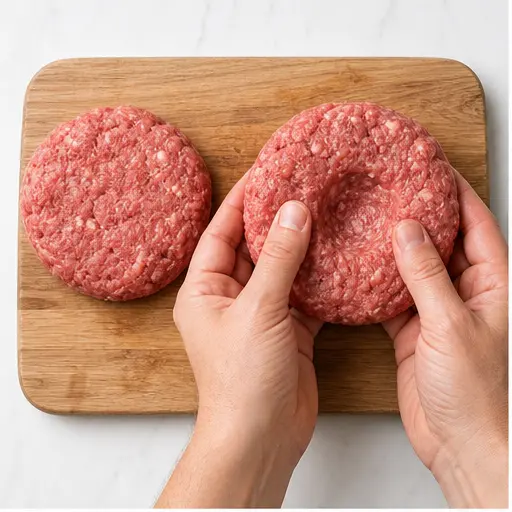
- To shape patties, loosely roll each portion into a ball, then flatten into discs slightly wider than your buns. Press a shallow indent in the center with your thumb to prevent puffing.
- Chill the patties in the fridge for 15 minutes to a couple of hours before grilling.
- Preheat your gas grill to high heat, around 500 degrees F.
- If desired, brush the cut sides of the burger buns with olive oil and set aside.
- Remove the patties from the fridge right before grilling.
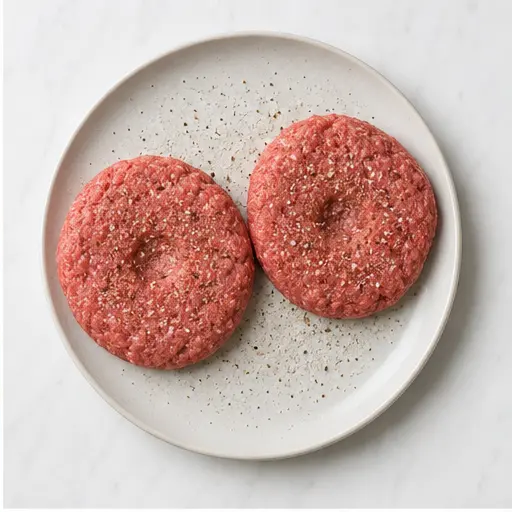
- If you didn't season the meat inside, season both sides of the patties with salt and pepper now. You can also add a little extra for more flavor.
- Place the patties directly over the flame once the grill hits 500 degrees F. Close the lid and cook for 5 minutes.
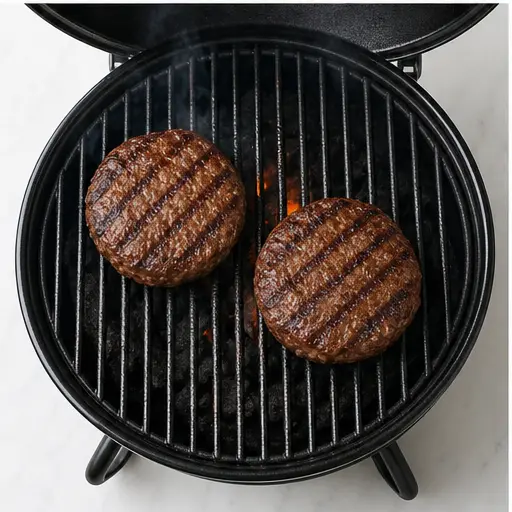
- Rotate the patties 90 degrees (without flipping) to create crosshatch grill marks. Close the lid and cook for another 2 minutes.
- Flip the patties. Close the lid and cook for 3 more minutes, or until the internal temperature is within 1-2 degrees of your desired doneness (use a thermometer).
- Move the patties to indirect heat (like a top rack or cooler side of the grill). Place a slice of cheese on each patty and cook for 1-2 minutes until melted and the burgers reach about 137 degrees F (for medium, aiming for 140 degrees F after resting).
- Remove the burgers and let them rest on a cutting board for 5-10 minutes.
- While the burgers rest, place the buns oiled-side down on the indirect heat section. Grill for 1-3 minutes until lightly toasted with grill marks.
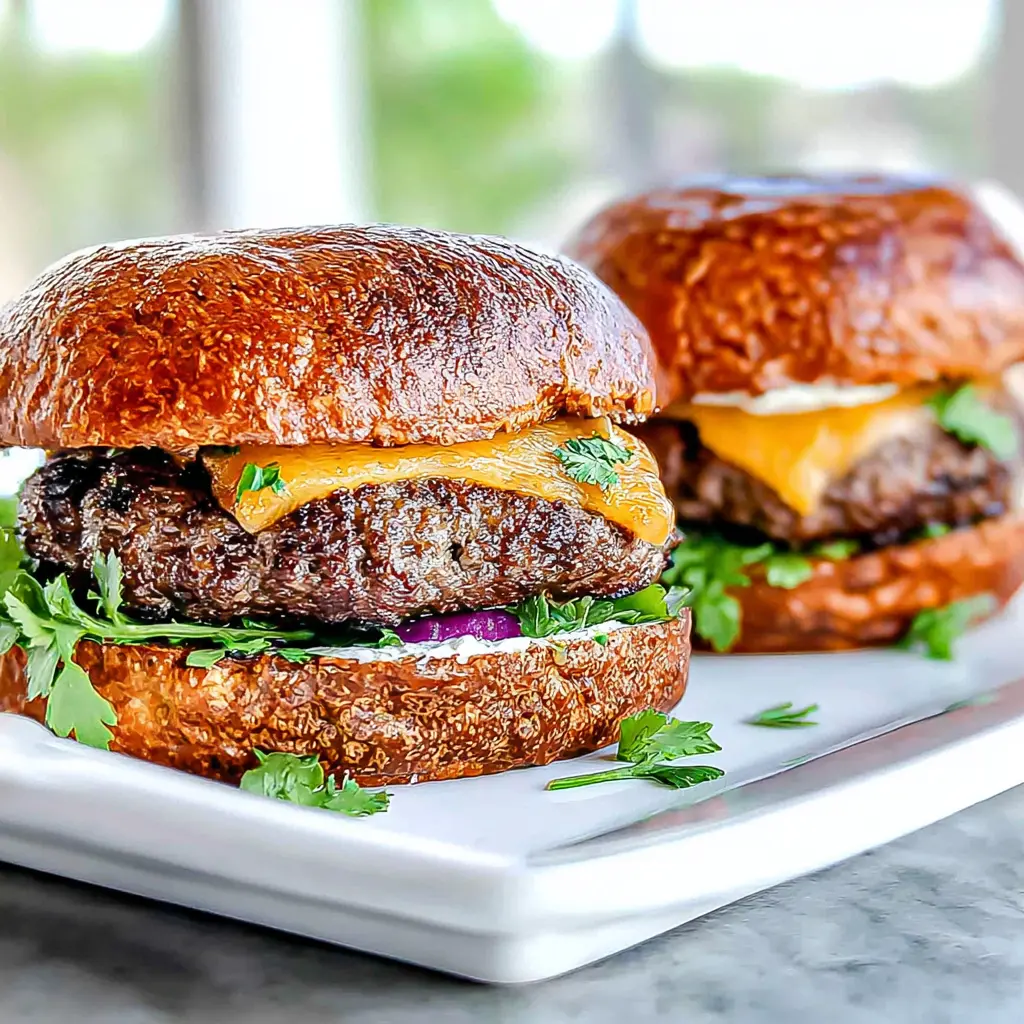
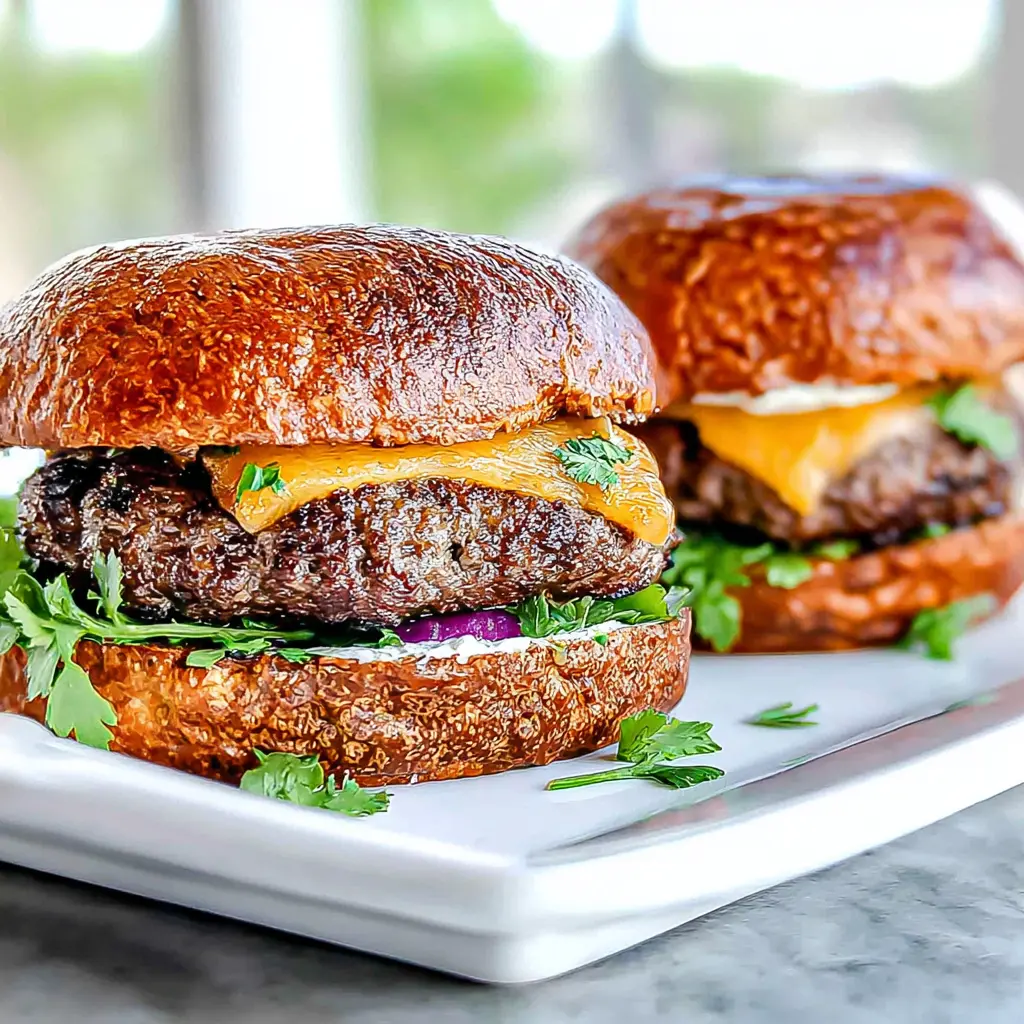
- Assemble the burgers with your favorite toppings and serve immediately.
Nutrition
Notes
Tried this recipe?
Let us know how it was!How Long to Grill Burgers
It’s July 3rd, you’re staring at a stack of burger patties and a hot grill. Sound familiar? You want to know exactly how long to grill burgers so they come out juicy, not dry. I’ve been there. I once served hockey pucks to my entire family on the Fourth of July. It was a tragedy. But I learned from my mistakes, and now I’m going to share everything I know.
The short answer? For a standard 1/2-inch thick patty on a gas grill at 500°F, you’re looking at about 10-12 minutes total. But let’s break that down, because the perfect burger is about more than just a timer. Yes, I’m going to tell you exactly when to flip, and no, you don’t need to guess.
Think of this as your cheat sheet for the summer. Forget the wrist watch grab a probe and thank me later.
What Affects Burger Grill Time
So, how long to grill burgers isn’t a one-size-fits-all answer. A few things change the game. Patty thickness is the big one. A thin patty, like for a smash burger, cooks in minutes. A thick pub-style patty needs more time. Your grill temperature matters too. A screaming hot grill sears the outside fast, while a cooler grill cooks more gently.
The fat content of your meat also plays a role. 80/20 ground beef has enough fat to keep things juicy, which helps prevent overcooking. Leaner meat dries out faster. And don’t forget the weather. If you’re grilling in direct summer sun, your grill might run hotter than you think.
Here’s a quick breakdown of the key factors:
- Patty thickness: A 1/2-inch patty cooks in about 10-12 minutes. A 1-inch patty needs 14-16 minutes.
- Grill temperature: 500°F for a good sear. Lower temps mean longer cooking.
- Meat fat content: 80/20 is the sweet spot for juiciness.
- Starting temperature: Cold patties from the fridge cook slower than room-temperature ones.
Choose the Best Burger Meat
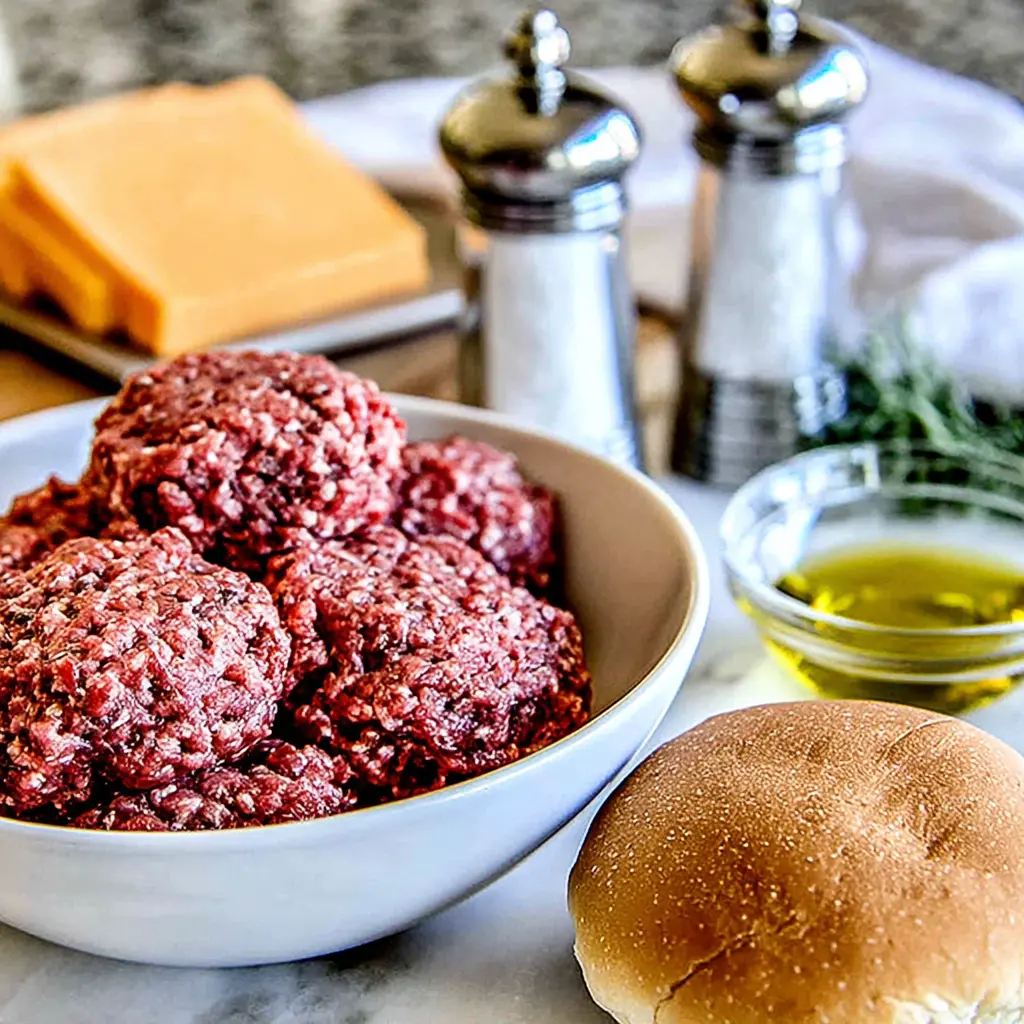
Let’s talk about the star of the show: the beef. The best meat for burgers is ground chuck with an 80/20 ratio. That’s 80% lean meat and 20% fat. The fat is what keeps your burger moist and flavorful. It renders as it cooks, basting the patty from the inside. If you use 90/10 or leaner, you’re practically begging for a dry burger.
I know, it’s tempting to grab the leaner stuff thinking it’s healthier. But trust me, a little fat goes a long way. You can always blot excess grease with a paper towel after cooking. For this recipe, I use 1 lb of 80/20 ground beef. That makes two generous 8 oz patties, perfect for a hearty meal.
Pro tip: Handle the meat as little as possible. Overworking it makes the burgers tough. Just gently mix in the salt and pepper, shape the patties, and you’re done.
Internal Temperature of Burgers (Chart)
Here’s the thing about how to tell when burgers are done. You can poke it, you can cut into it, but the only reliable method is a meat thermometer. Forget the guesswork. A digital instant-read thermometer is your best friend. It takes the stress out of grilling and ensures you never serve an undercooked or overcooked burger again.
Here’s a burger doneness chart for you:
- Rare (120-125°F): Bright red center, very soft to the touch. Not recommended for ground beef.
- Medium-Rare (130-135°F): Warm red center, slightly firm. The sweet spot for many.
- Medium (140-145°F): Pink, hot center, firm with some give. My personal favorite.
- Medium-Well (150-155°F): Slightly pink center, firm.
- Well-Done (160°F+): No pink, very firm. Cooks thoroughly but can dry out.
For this recipe, I aim for medium, which is about 140°F after resting. The USDA recommends 160°F for ground beef, but I find that’s a bit too done for my taste. If you’re cooking for a crowd, use the thermometer to hit your target.
How to Grill Burgers (Step-by-Step)
Alright, let’s get to the action. Here’s how to grill the perfect burger on a gas grill. I’m using a gas grill here, but the principles apply to charcoal too. The key is high heat and a good sear.
Stage 1: Forming the Patties
Start with your 1 lb of 80/20 ground beef. Gently mix in 1/2 tsp salt and 1/2 tsp black pepper. Divide the meat in half and shape into two 8 oz patties. Press a shallow indent in the center with your thumb. This prevents the burger from puffing up into a meatball shape as it cooks. Chill the patties in the fridge for at least 15 minutes. This helps them hold their shape on the grill.
Stage 2: Preheating and Seasoning
Preheat your gas grill to high heat, around 500°F. While it’s heating, brush the cut sides of your burger buns with a little olive oil. Set them aside. Right before you grill, season the patties again with a pinch more salt and pepper. This gives them a nice crust.
Stage 3: Grilling the Patties
Place the patties directly over the flame. Close the lid. Cook for 5 minutes. Then, rotate the patties 90 degrees without flipping them. This creates those beautiful crosshatch grill marks. Close the lid and cook for another 2 minutes. Now flip the patties. Close the lid and cook for 3 more minutes. This is where the magic happens.
Stage 4: Adding Cheese and Resting
After flipping, move the patties to indirect heat. Place a slice of cheese on each patty. Cook for 1-2 minutes until the cheese is melted and the internal temperature hits about 137°F (it will rise to 140°F as it rests). Remove the burgers and let them rest on a cutting board for 5-10 minutes. While they rest, place the buns oiled-side down on the indirect heat section. Grill for 1-3 minutes until lightly toasted.
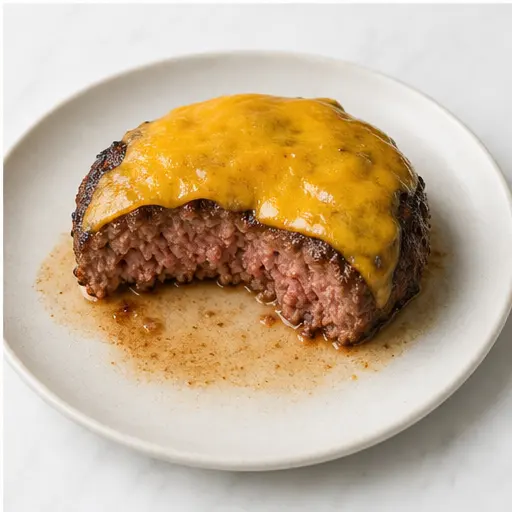
Assemble your burgers with your favorite toppings and serve immediately. The smell of char, the sizzle of the grill, the juice dripping when you lift the lid it’s pure summer joy.
The Best Burger Toppings
Now for the fun part. The burger is the canvas, and toppings are the paint. You can keep it classic or get creative. Here are some burger toppings ideas to get you started.
- Classic: Lettuce, tomato, onion, pickles, ketchup, mustard, mayo.
- California Style: Avocado slices, grilled onions, and a smear of mayo.
- Spicy: Pepper jack cheese, jalapeños, and a chipotle mayo.
- Mushroom Swiss: Sautéed mushrooms and Swiss cheese.
- All-American: American cheese, shredded lettuce, and a special sauce (ketchup, mayo, relish).
For a real treat, try a brioche bun. It’s slightly sweet and buttery, and it toasts up beautifully on the grill.
Charcoal Grill vs Gas Grill
So, you’re wondering about the difference between charcoal and gas. Both can make a great burger, but they have different vibes. A gas grill is convenient. You turn a knob, and it’s ready in minutes. It’s easy to control the temperature. A charcoal grill takes more effort, but it gives you that smoky flavor that’s hard to beat.
For this recipe, I’m using a gas grill. But if you’re using charcoal, the principles are the same. You want a hot fire. Wait until the coals are covered with a thin layer of white ash. That’s your signal. Then spread them out and set up a two-zone fire. One side hot for searing, one side cooler for finishing. The gas grill burger time is similar to charcoal, but you might need to adjust slightly depending on your fire.
Here’s a quick comparison:
- Gas grill: Quick to preheat, easy temperature control, no smoky flavor.
- Charcoal grill: Takes longer to preheat, more hands-on, adds smoky flavor.
Either way, the key is high heat and not pressing down on the burgers. Let the heat do the work.
Why Burgers Turn Out Dry (And How to Fix It)
We’ve all been there. You bite into a burger, and it’s like eating a dry sponge. It’s heartbreaking. But it’s also preventable. Here are the most common mistakes that lead to dry burgers.
❌ Overworking the meat: When you mix the meat too much, you develop the proteins, making it tough.
✅ Solution: Mix gently, just until the seasonings are combined.
❌ Using lean meat: 90/10 or leaner has too little fat to keep the burger moist.
✅ Solution: Stick with 80/20 ground chuck.
❌ Pressing down on the burgers: This squeezes out all the juices.
✅ Solution: Leave them alone. Let the heat do its job.
❌ Overcooking: Cooking past well-done dries out the meat.
✅ Solution: Use a thermometer and pull the burgers off the grill at your target temperature.
❌ Not letting them rest: Cutting into a hot burger releases all the juices.
✅ Solution: Let the burgers rest for 5-10 minutes after grilling.
Frequently Asked Questions
Storage and Leftovers
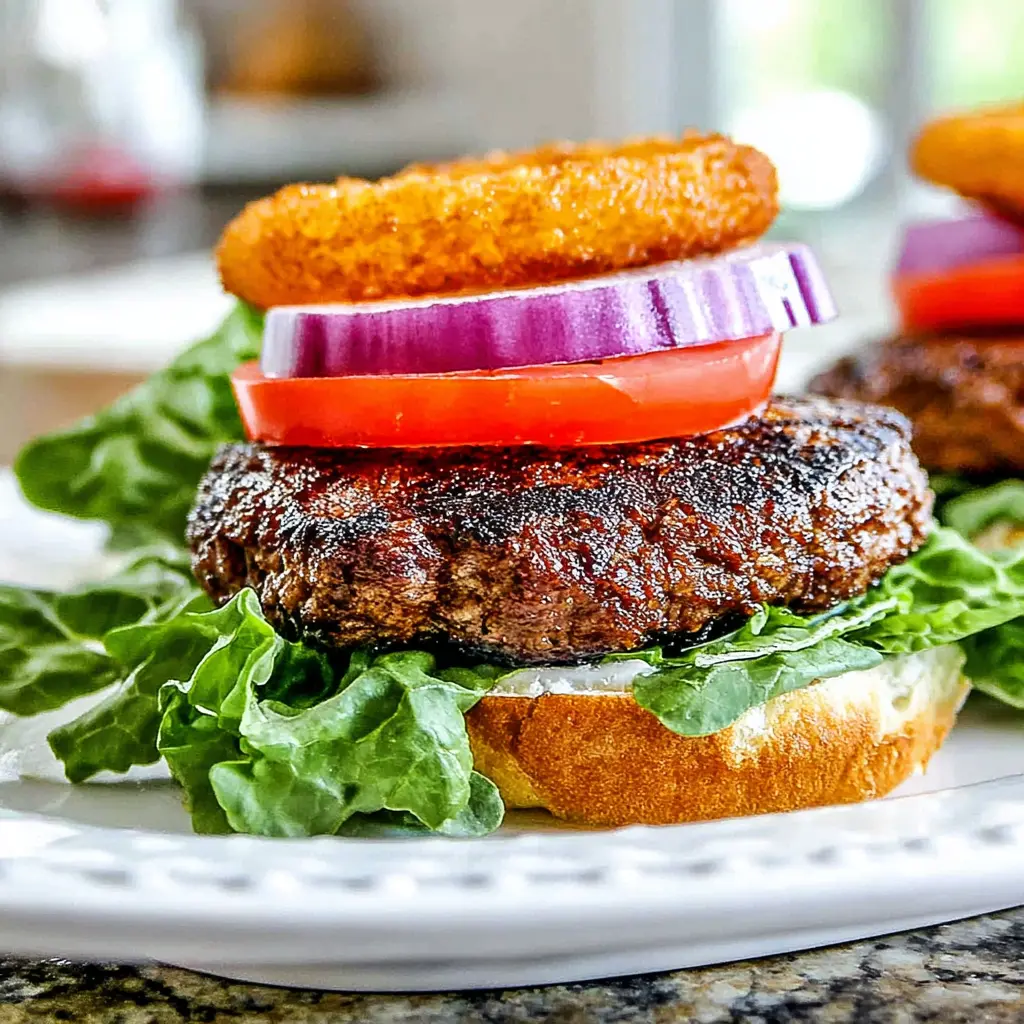
So, you’ve made a few extra burgers. Lucky you. Here’s how to store them so they stay good for later. Cooked burgers can be stored in an airtight container in the fridge for 3-4 days. To reheat, I recommend a skillet or the oven. Avoid the microwave, which can make them rubbery. Just a few minutes in a hot skillet will bring them back to life.
If you want to make patties ahead of time, you can form them and keep them in the fridge for up to 24 hours. Separate them with parchment paper so they don’t stick together. You can also freeze raw patties for up to 4 months. Just thaw them in the fridge overnight before grilling.
For a quick weeknight meal, this is a lifesaver. Just pull out a patty, fire up the grill, and you’re good to go.
Fire up the grill you’ve got this. The smell of those patties hitting the hot grate, the sizzle, the anticipation. You’re about to serve the best burgers of the summer. And if you want to save this recipe for later, you can pin it to your July 4th BBQ board on Pinterest.
Source: Nutritional Information