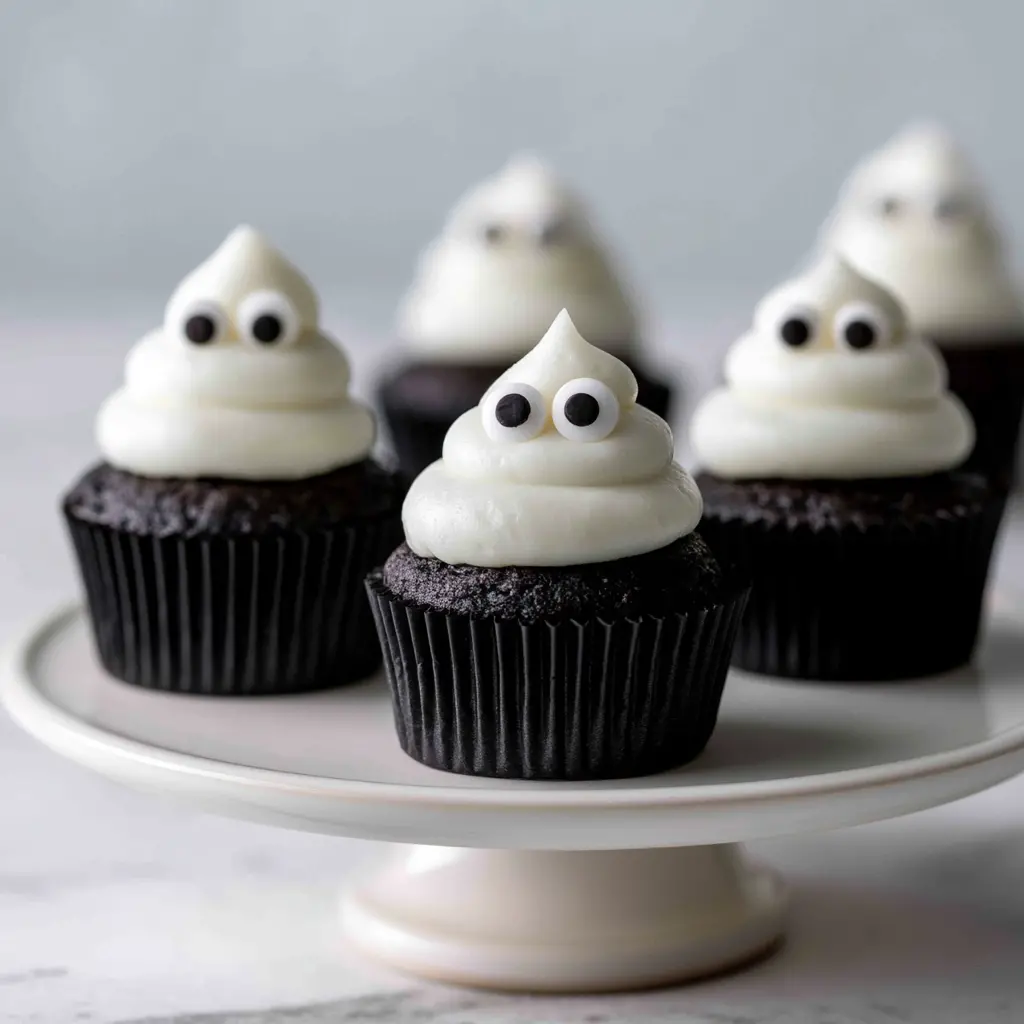
Black Cocoa Ghost Cupcakes
Ingredients
Method
- Position a rack in the center of the oven and preheat to 350°F. Line a 12-cup muffin tin with paper liners.
- In a medium mixing bowl, sift or whisk together the cake flour, black cocoa powder, baking powder, baking soda, and kosher salt. Set aside.
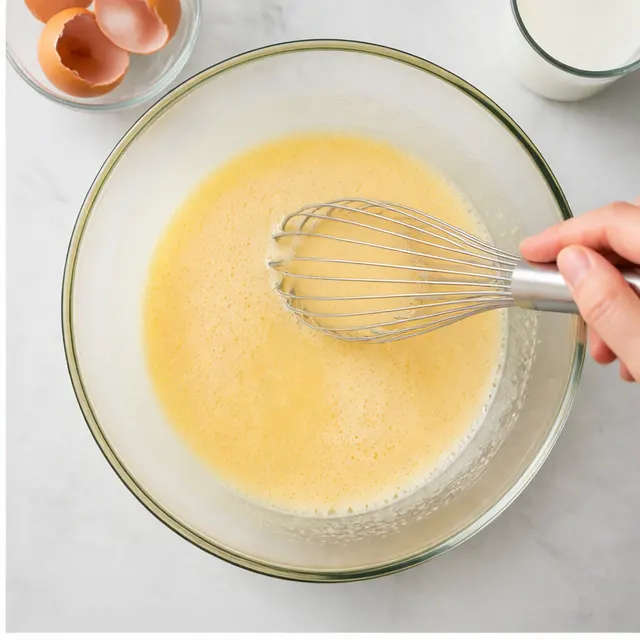
- In a large bowl, whisk the vegetable oil, room-temperature eggs, and vanilla extract until fully combined and glossy.
- Add the granulated sugar, buttermilk, and white vinegar, and whisk until the sugar has dissolved and the mixture is smooth.
- Fold in the dry ingredients with a spatula or whisk until just combined, taking care not to overmix. The resulting batter will be thin and loose.
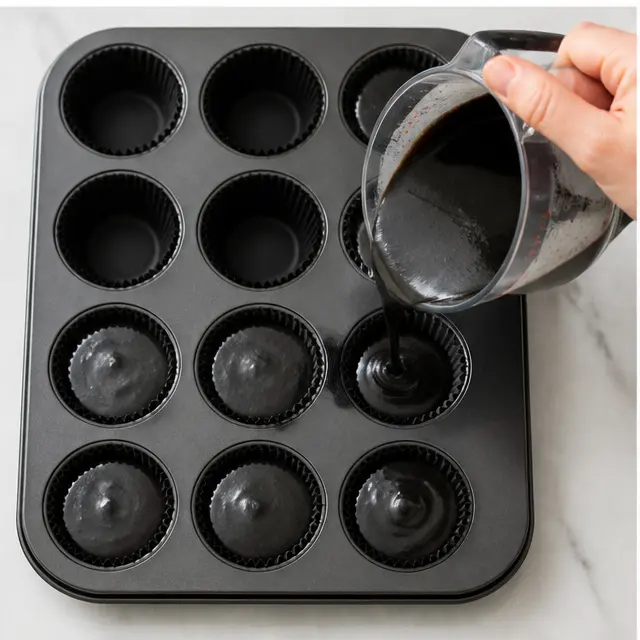
- Divide the batter evenly among the prepared liner cups, adding about 1/4 cup (60 ml) of batter to each so they are roughly half full.
- Bake in the preheated oven for 18 to 22 minutes, until a toothpick inserted into the center of a cupcake comes out clean.
- Let the cupcakes cool in the pan for 5 minutes, then transfer them to a wire rack to cool completely.
- Ensure the cupcakes are completely cool before applying the cream cheese frosting.
- Pull the butter and cream cheese out well ahead of time so they are both at room temperature; this prevents lumps in the frosting.
- In a large mixing bowl, beat the softened butter and cream cheese together with a hand mixer or a stand mixer using the paddle attachment until the mixture is completely smooth and creamy.
- Add the sifted powdered sugar, vanilla extract, and salt, and mix on low speed until everything is incorporated and no dry sugar remains.
- Turn the mixer to high speed and whip for 4 to 5 minutes, until the frosting becomes pale, light, and fluffy.
- If needed, beat in 1 to 2 tablespoons of heavy cream, a little at a time, until the frosting reaches a smooth, spreadable consistency.
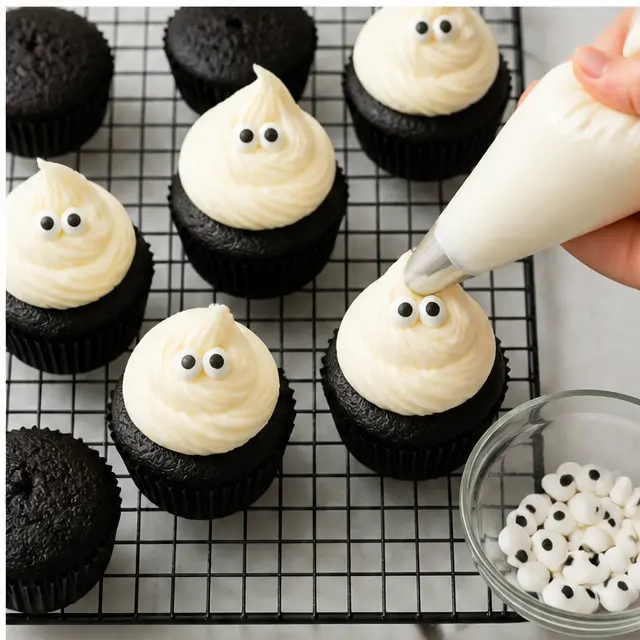
- Frost the cooled cupcakes with the prepared cream cheese frosting and decorate with candy eyes to create ghost faces.
Nutrition
Notes
Tried this recipe?
Let us know how it was!Why You’ll Love These
I still remember the first time I tried to make a black cupcake. Regular cocoa powder, some black gel food coloring, and a prayer. They came out of the oven looking like sad gray lumps. Tasted fine, sure. But they were not black.
Then I discovered black cocoa powder. That was the game changer, the secret behind these black cocoa ghost cupcakes. Suddenly I understood what the baker blogs meant about getting that Oreo crumb color. And the flavor, that’s the real surprise. It’s a subtle, almost nostalgic cookies-and-cream vibe that instantly wins over skeptics.
These aren’t just spooky cupcakes for Halloween. They’re the ones people photograph before they eat them. And honestly, they deserve it.
What Is Black Cocoa Powder?
Here’s the question I get every single October. Is black cocoa the same as dark cocoa? No, not at all.
Think of it this way. Dark cocoa is like a milk-chocolate brownie. Rich, intense, but still recognizably “chocolate.” Black cocoa is more like the dark wafer in an Oreo. It’s heavily Dutch-processed, which means it’s been treated to neutralize its acidity. That process gives it that dramatic, almost black color and a much milder, less bitter taste.
So when someone asks, “does black cocoa taste like Oreos?” the answer is a soft yes. It’s not cookie-flavored exactly, but it’s got that familiar dark, slightly earthy sweetness that reminds you of your favorite Halloween cookie.
Where to Buy Black Cocoa
Online: King Arthur Baking Company sells a fantastic black cocoa powder. That’s my go-to.
In Stores: Some Whole Foods locations carry it in the baking aisle. You can also find it at specialty baking supply shops.
In a Pinch: Substitute with equal parts Dutch-processed cocoa. The cupcakes will be a deep brown rather than true black, but they’ll still taste delicious.
Ingredients You Need
This black cocoa cupcake recipe keeps things simple. You probably have most of these in your pantry already. The star players are the black cocoa powder, buttermilk for tenderness, and cream cheese frosting for that perfect tangy contrast.
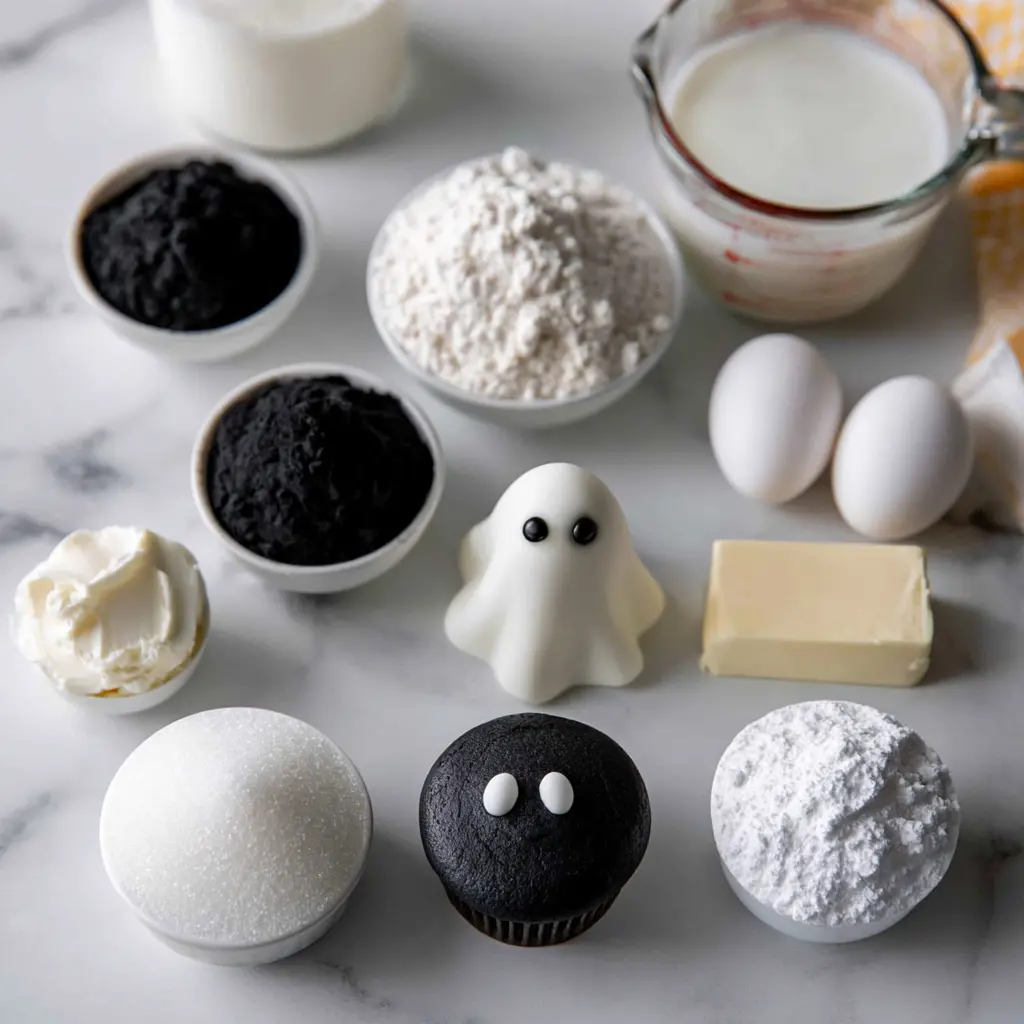
Let’s talk about the wet ingredients. Vegetable oil keeps the crumb incredibly moist. This is a key detail. Butter gives flavor but oil gives softness, and for a cupcake that sits on a dessert table for a few hours, you want soft.
And that white vinegar? It’s not there for taste. It reacts with the baking soda and the black cocoa powder to give you a better rise. Trust the process. The batter will be thin and loose. That’s normal. It’s not a mistake.
Ingredient Notes and Substitutions
Cake flour makes these cupcakes light and tender. If you only have all-purpose flour, you can swap it 1:1. The texture will be slightly denser but still fantastic.
Buttermilk adds moisture and a subtle tang that balances the cocoa’s earthiness. No buttermilk on hand? Here’s a trick. Add 1 teaspoon of white vinegar or lemon juice to 1/2 cup of regular milk. Let it sit for 5 minutes and you’re good to go.
Black cocoa powder is non-negotiable for that true black effect. But if you only have regular cocoa, your cupcakes will come out deep brown. That’s okay, they’ll still be tasty, just not as dramatic.
Candy eyes are the standard for these ghost faces. But mini chocolate chips work just as well. You can even pipe the eyes and mouth on with melted white or dark chocolate for a more sophisticated look.
How to Make Black Cocoa Ghost Cupcakes
Okay, let’s get to the fun part. The method here is straightforward, but we’re going to break it down into four major stages so you know what to look for at every step.
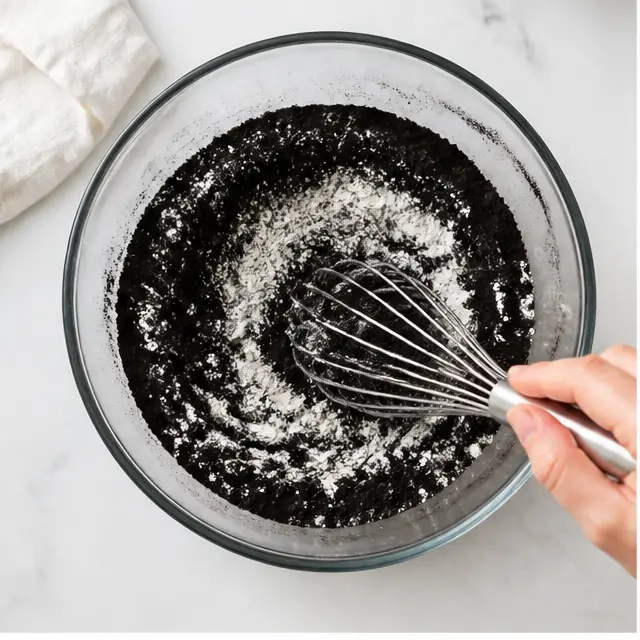
Stage 1: Whisk the Dry Ingredients
Start by sifting or whisking together the cake flour, black cocoa powder, baking powder, baking soda, and salt. This does two things. It removes any lumps from the cocoa (black cocoa is notorious for clumping), and it distributes the leaveners evenly. Do not skip the whisking, even if you’re in a rush.
Stage 2: Combine the Wet Ingredients
In a large bowl, whisk the oil, eggs, and vanilla until they’re glossy and fully combined. Then add the sugar, buttermilk, and vinegar. The sugar needs to dissolve into the liquid, so keep whisking until the mixture feels smooth, not grainy.
Stage 3: Fold the Batter and Bake
Add the dry ingredients to the wet and fold gently until just combined. Remember, the batter will be thin. That’s the rise talking. Fill your liners about half full and bake at 350°F for 18 to 22 minutes. A toothpick inserted into the center should come out clean.
Stage 4: Whip Up the Frosting
Room-temperature butter and cream cheese are essential here. If your butter is too cold, you’ll get lumps. Beat them together until completely smooth, then add the sifted powdered sugar. Whip on high for 4 to 5 minutes until pale and fluffy. That long whipping time is what gives you that cloud-like texture.
Tips for Perfect Ghost Cupcakes
Let’s troubleshoot before you even start. Here are the most common mistakes and how to avoid them.
❌ Mistake: Not bringing ingredients to room temperature.
✅ Solution: Leave butter, eggs, and buttermilk out for about 30 minutes before baking. Cold ingredients don’t emulsify properly, which affects the rise.
❌ Mistake: Pressing the flour into your measuring cup.
✅ Solution: Spoon and level. Fluff the flour, spoon it into the cup, then level it off with a knife. This affects the crumb more than you’d think.
❌ Mistake: Expecting regular cocoa to bake up black.
✅ Solution: This is the one trick. You need black cocoa powder for that Oreo color. Gel food coloring alone won’t do it.
❌ Mistake: Frosting cupcakes that are still warm.
✅ Solution: Wait until they’re completely cool. Otherwise, your beautiful frosting will melt into a puddle.
Ghost Decorating Ideas
I’ve made a lot of ghost cupcakes at this point, and I’ve had my share of misfires. One year, I rushed the buttercream before a party and ended up piping ghosts that looked genuinely angry. The faces were all squished and lopsided. My kids found it hilarious, but it was not the vibe I was going for.
The key is a soft, room-temperature frosting. If your cream cheese frosting is too stiff, beat in a splash of heavy cream. If it’s too soft, chill the frosted cupcakes for 20 minutes to set.
- The 60-Second Piped Ghost: Fit a piping bag with a large round tip (or snip the corner of a zip-top bag). Pipe a tall swirled mound on top of the cupcake, then immediately press two candy eyes into the front. Done.
- The Candy-Eye Ghost: For a simpler look, pipe a flat dollop of frosting, then use a small offset spatula to smooth the top. Add the candy eyes and you’re done.
- The Sprinkle-Ghost: Finish the ghost swirl, then top with edible glitter or white sprinkles. It adds texture and a little sparkle for parties.
Remember, a relaxed hand and consistent piping-bag pressure make all the difference. These are supposed to look handmade. Slightly imperfect faces are part of the charm.
Storage and Make-Ahead Tips
These are the perfect make-ahead Halloween party desserts. Bake the cupcakes up to 2 days ahead and store them in an airtight container in the refrigerator. When you’re ready to serve, just make the frosting, pipe the ghosts, and you’re done.
Frosted cupcakes keep in an airtight container in the fridge for up to 3 days. Serve them at room temperature for about an hour before enjoying. The cream cheese frosting softens up beautifully, and the cupcake crumb gets that perfect, tender bite.
You can also freeze unfrosted cupcakes for up to 3 months. Thaw them in the fridge overnight, then bring to room temperature before frosting.
Frequently Asked Questions
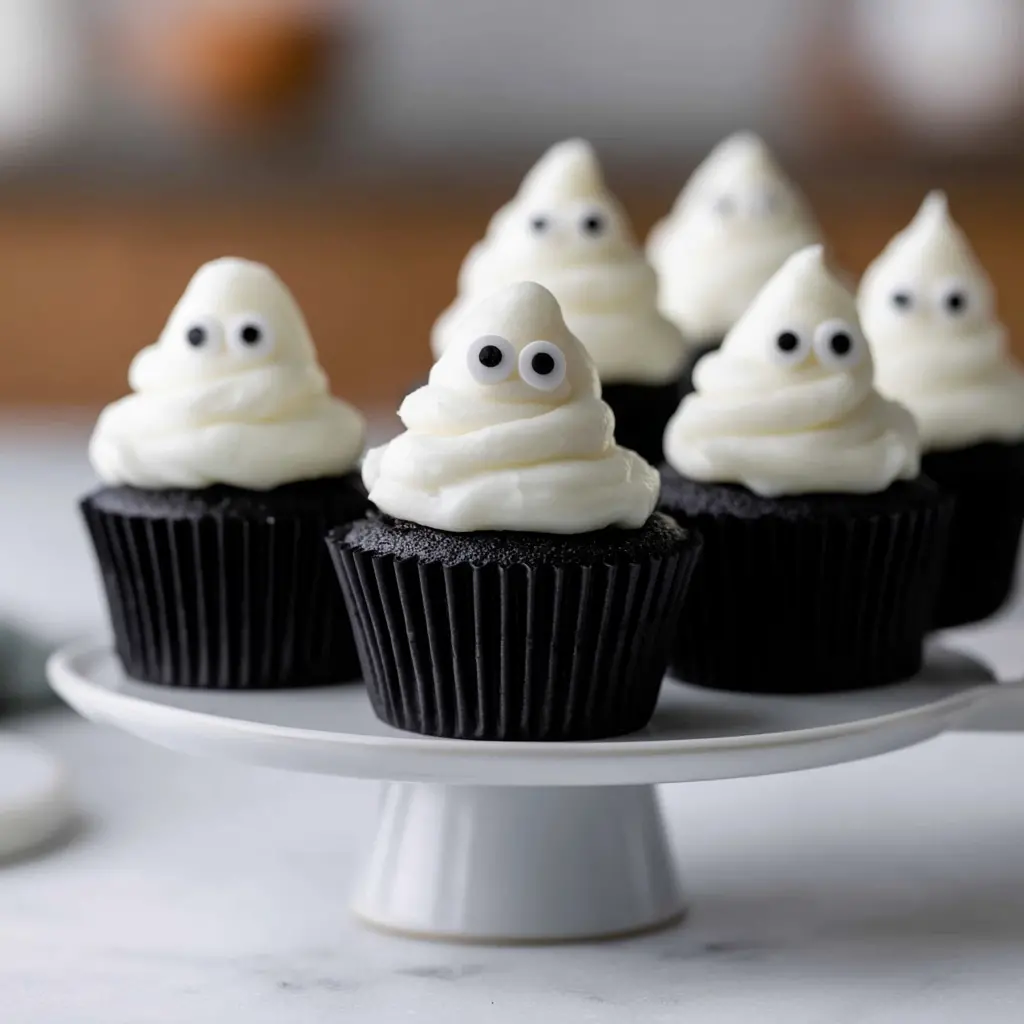
A line of these on your dessert table is a moment. Kids gasp, adults grin, and somebody inevitably asks, “Are those actually Oreo flavored?” You’ll nod, hand them one, and watch them get it. That first bite is the payoff. The dark, crumbly sweetness that feels like a secret, even though you’re sharing it with everyone.
Your Halloween spread is legally required to have at least one batch of these. Make them famous. And if you’re looking for more inspiration or want to share your own ghost cupcake creations, come find me over on my Pinterest board for spooky bakes, I’m always pinning new ideas for the season.
Source: Learn More About This Dish