Why This Classic Plum Cake Recipe Works
There are two official signs of fall: the equinox on September 22, and a classic plum cake cooling on the counter. The moment the air gets that crisp edge, I start craving one. It’s like clockwork.
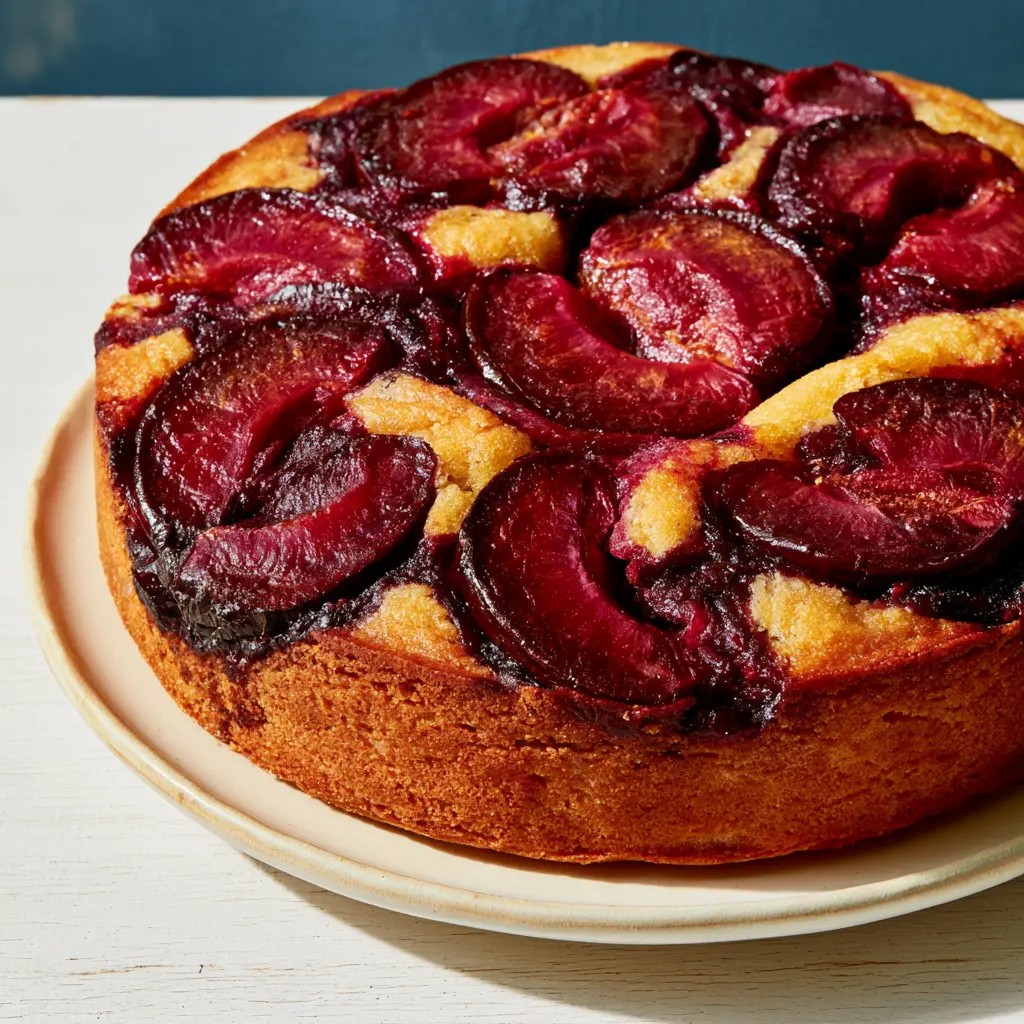
I’ve ruined plenty of plum cakes over the years. Too soggy. Too dry. Too sad to serve. But this one? This one works. It’s an upside-down style cake, where the plums bake into a caramelized wonder on the bottom, then flip over to show off their jammy, glossy tops.
The batter is a simple one-bowl mix, no electric mixer required. You stir it with a spatula, pour it over the fruit, and let the oven do the heavy lifting. That’s it.
This classic plum cake is forgiving, rustic, and honestly beautiful in its imperfections. Use whatever plums you grabbed at the market, trust the process, and you’ll pull out a golden cake that tastes like September in the best way.
Classic Plum Cake: What to Know
Before you preheat, here’s the quick rundown. This recipe is a fresh plum cake at its core, a tender butter cake crowned with caramelized fruit. It’s not the famous New York Times plum torte, though you could call it a rustic cousin. The torte bakes with plums on top; this one flips the script.
- Prep time: about 30 minutes, including slicing plums
- Bake time: 45 minutes at 375°F
- Pan: a standard 9-inch round cake pan
- Texture: tender, moist crumb with jammy, caramelized fruit pockets
- Best plums: ripe but firm varieties like prune plums, red plums, or black plums
As the equinox approaches, plums hit their peak in grocery stores and farmers markets. Mid-August through late September is the window. I say grab them while you can and get this cake in the oven.
Ingredients for Classic Plum Cake
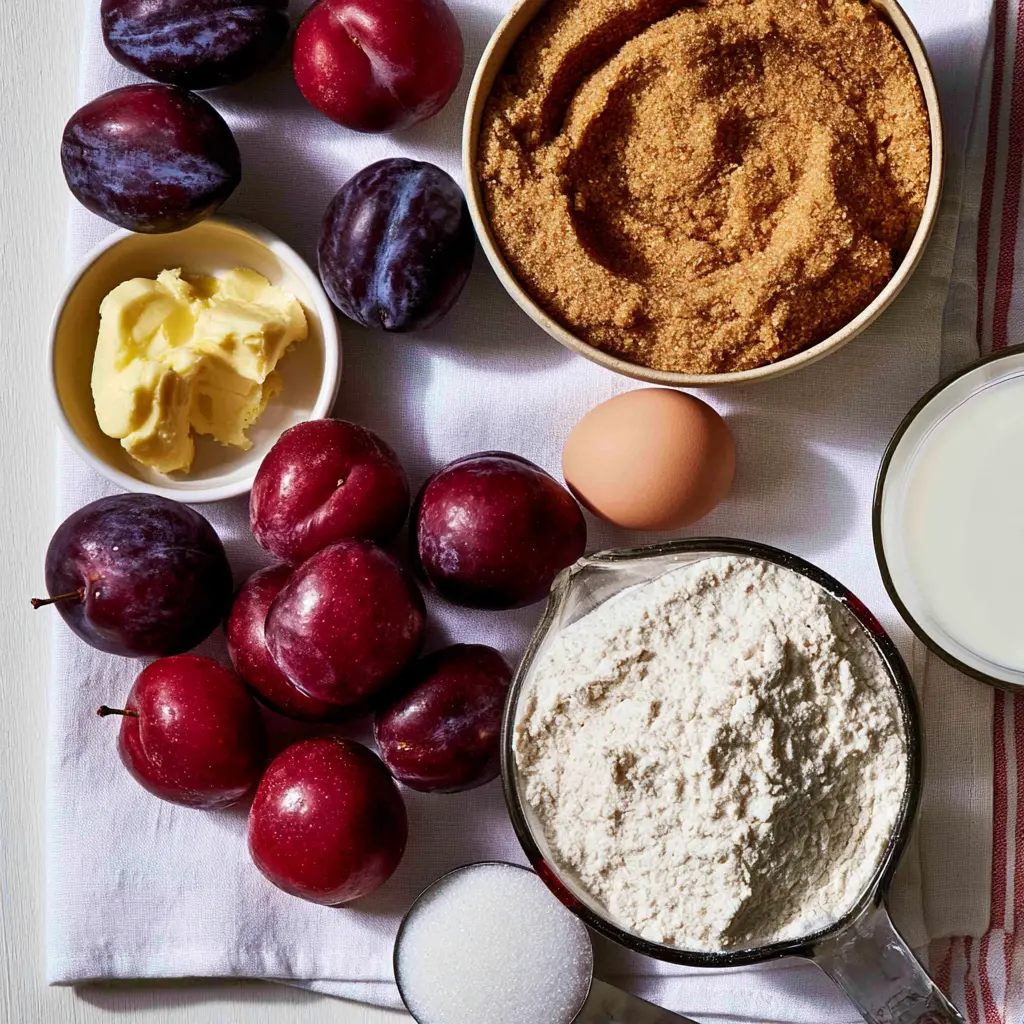
You probably have most of these in your pantry right now. That’s the beauty of a classic plum cake. It relies on humble ingredients doing something kind of magical together.
- 2 tablespoons unsalted butter, melted, for greasing the pan
- 1/4 cup brown sugar, packed, for that caramelized topping
- 8 fresh ripe plums, sliced (about 1 lb or 500g)
- 2 cups all-purpose flour
- 1 teaspoon baking powder
- 1 teaspoon baking soda
- 1/2 teaspoon ground cinnamon
- 1/4 teaspoon ground nutmeg
- 1/4 teaspoon ground allspice
- 1/4 teaspoon fine salt
- 1 cup granulated sugar
- 1 large egg, at room temperature
- 1 cup whole milk, at room temperature
- 7 tablespoons unsalted butter, melted
The spices are warm but not loud. Cinnamon, nutmeg, and a whisper of allspice pair beautifully with tart plums. If you don’t have allspice, swap in a pinch of cloves and a little extra cinnamon, no problem.
Room temperature matters here. A cold egg or cold milk can seize the melted butter and make the batter lumpy. Set them out while you slice the plums. It’s a small step that makes a real difference.
How to Make Classic Plum Cake
The method breaks down into four simple stages. I’ll walk you through each one, including the little details that keep this cake from turning into a soggy mess. Trust me, you’ll nail it the first time.
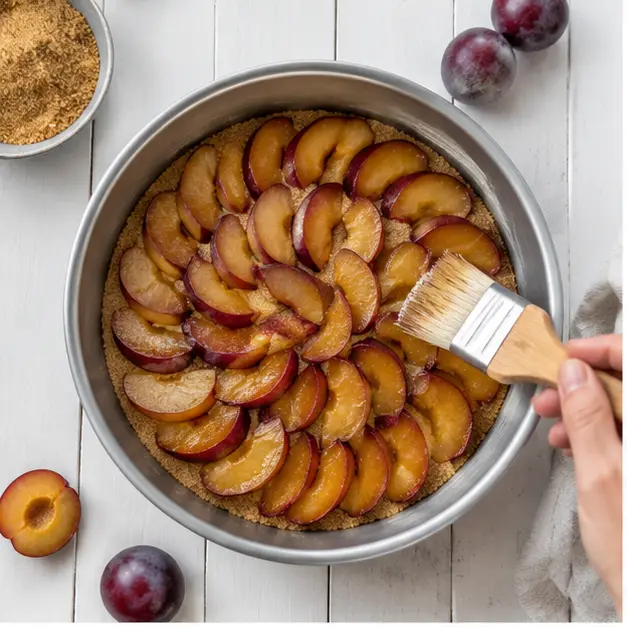
Stage 1: Prep the pan and arrange the plums. Brush a 9-inch cake pan with the 2 tablespoons of melted butter and line the bottom with a parchment paper round. Then sprinkle the brown sugar evenly over the bottom. This is your caramelized fruit topping in the making.
Lay the plum slices in a single layer, slightly overlapping, to cover the pan bottom completely. Pat them dry first if they’re very juicy. Dry fruit caramelizes instead of steaming, and that’s exactly what you want.
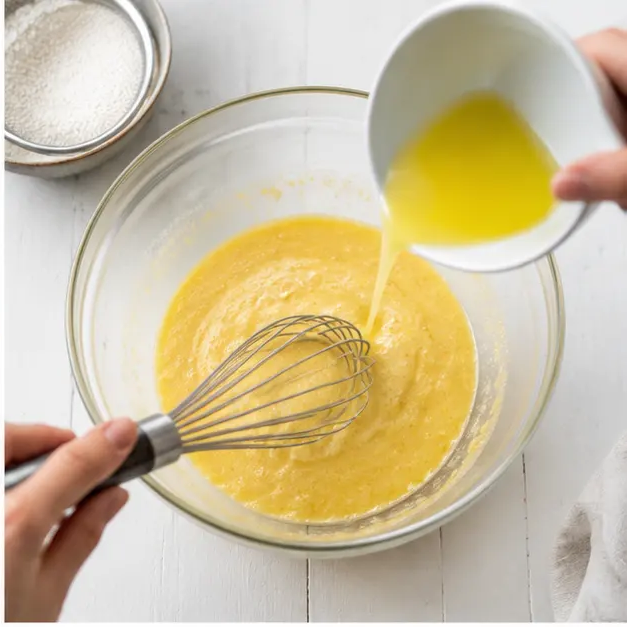
Stage 2: Make the one-bowl batter. In a large bowl, sift together the flour, baking powder, baking soda, cinnamon, nutmeg, allspice, and salt. In another bowl, whisk the granulated sugar, egg, whole milk, and the 7 tablespoons of melted butter until smooth.
Pour the wet mixture into the dry and stir gently with a spatula until just combined. Overmixing makes a tough cake, so stop when the flour disappears. Lumps are your friends here, they keep the crumb tender.
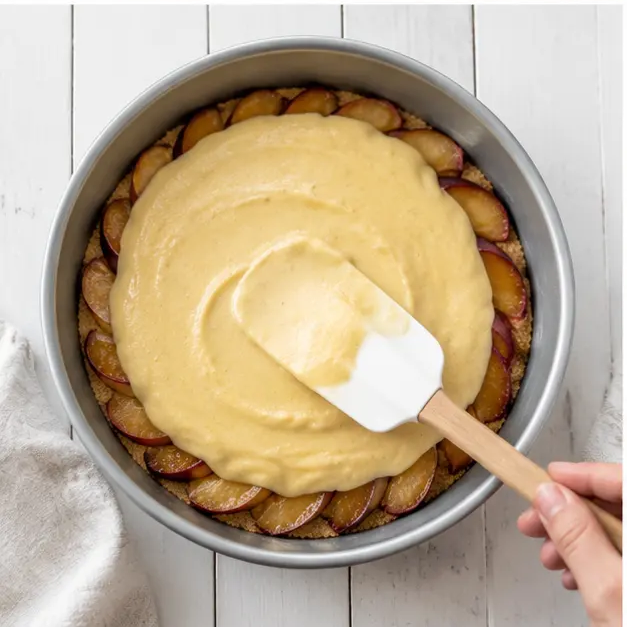
Stage 3: Bake until golden. Pour the batter over the plums and spread it evenly with a spatula. Slide the pan into a 375°F oven and bake for 45 minutes, or until the top is golden brown and a toothpick inserted into the center comes out clean.
Your kitchen will start smelling like butter browning and fruit caramelizing around minute 20. That smell is pure fall. If the top browns too quickly, tent it loosely with foil, but don’t open the oven repeatedly or the cake may sink.
Stage 4: Cool and flip. Let the cake cool in the pan on a wire rack for 30 minutes. This rest is crucial. It lets the juices settle and the caramel firm up enough to release cleanly.
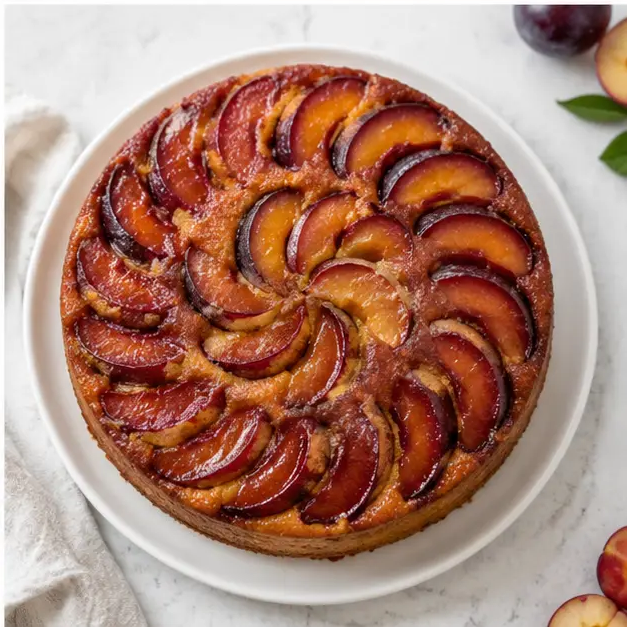
Then carefully invert the cake onto a serving plate. The caramelized plums will be glistening on top, deep crimson and glossy. Serve warm or at room temperature with a dollop of cream or yogurt.
How to Flip the Cake Without Breaking It
This is the moment that makes people nervous. I get it. But with a little patience, it’s actually easy.
Run a thin knife around the edge of the pan first to loosen the cake. Place your serving plate upside down over the cake pan. Hold both together firmly, then flip them over in one quick, confident motion. Let gravity do its thing.
If any plum slices stick to the pan, just press them back onto the cake. No one will know. This is a rustic cake, after all, and a little imperfection is part of its charm.
Tips for the Best Classic Plum Cake
I’ve tested this cake enough times to know exactly where things go wrong. Here’s how to avoid the common pitfalls before they happen.
- Use ripe but firm plums. Mushy ones turn to jam and make the cake soggy. Prune plums, red plums, and black plums all work beautifully.
- Pat the plums dry. Extra moisture is the enemy of caramelization. A quick paper towel pat makes a big difference.
- Don’t overmix the batter. Stir until just combined. A few lumps are fine and keep the crumb tender.
- Check doneness with a toothpick. If it comes out clean, the cake is ready. Juicy plums can add a few minutes of bake time, so test a bit in the center of the cake, not right next to a plum.
- Let it cool the full 30 minutes. Flip too soon and the caramel may run. Patience pays off.
Common Mistakes to Avoid
❌ Soggy middle: Using overripe or wet plums without patting them dry. ✅ Choose firm fresh plums and pat the slices dry before arranging them.
❌ Sticking to the pan: Skipping the parchment round. ✅ Always butter the pan and line the bottom with parchment cut to fit perfectly.
❌ Dense, tough cake: Overmixing the batter. ✅ Stir gently and stop as soon as the dry ingredients disappear.
Classic Plum Cake Variations
This base recipe is wonderfully adaptable. Here are a few ways to make this homemade plum cake your own, all tested and true.
- Swap the fruit: Nectarines or peaches work just as well. Choose ripe but firm fruit so it holds its shape during baking.
- Change the spice: No allspice? Use a pinch of cloves plus a little extra cinnamon. It’s a perfect substitute.
- Add citrus zest: A teaspoon of grated lemon zest stirred into the batter brightens the whole cake. This is one of my favorite twists.
- Play with pan sizes: Any 8- to 10-inch round dish works. A smaller pan gives a taller, moister cake, just adjust the bake time.
Keep it simple, though. This Italian plum cake style recipe doesn’t need a lot of fuss. The plums are the star, and the warm spices just support them.
Storage and Serving Suggestions
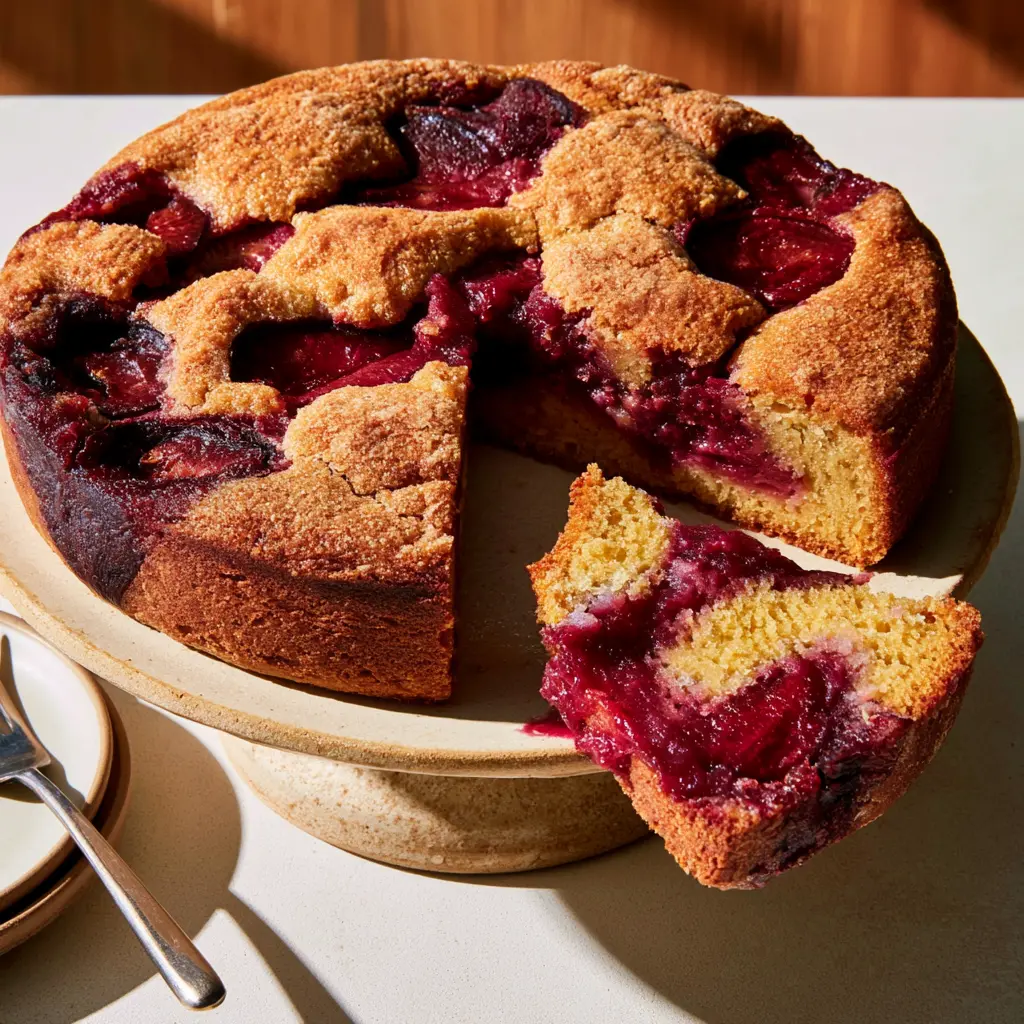
This cake is honestly even better the next day. The flavors settle, the caramel soaks into the crumb, and every slice tastes a little more like fall.
Store it in an airtight container at room temperature for up to 3 days. If your kitchen runs warm, pop it in the fridge for up to 5 days. Let it come to room temperature before serving.
To freeze, wrap the cooled cake tightly in plastic wrap and freeze for up to 2 months. Thaw in the refrigerator overnight before serving.
For serving, I love a warm slice with a spoonful of lightly sweetened crème fraîche or a scoop of vanilla ice cream. Plain yogurt works beautifully too, and for breakfast, I’ve been known to eat a slice with my coffee. No judgment here.
Conclusion
When you pull this classic plum cake from the oven, the edges will be bubbling, the plums will be glistening, and your kitchen will smell like the best kind of fall morning. This is the cake that works the first time, and every time.
Whether you’re baking it for a cozy equinox weekend dessert or a casual gathering, it delivers. If you love this rustic, caramelized take on fresh plum cake, I’d be honored if you’d save it for later. Find me on Pinterest and pin it for your September baking list.
Save this classic plum cake recipe to your fall baking board and share the seasonal love.
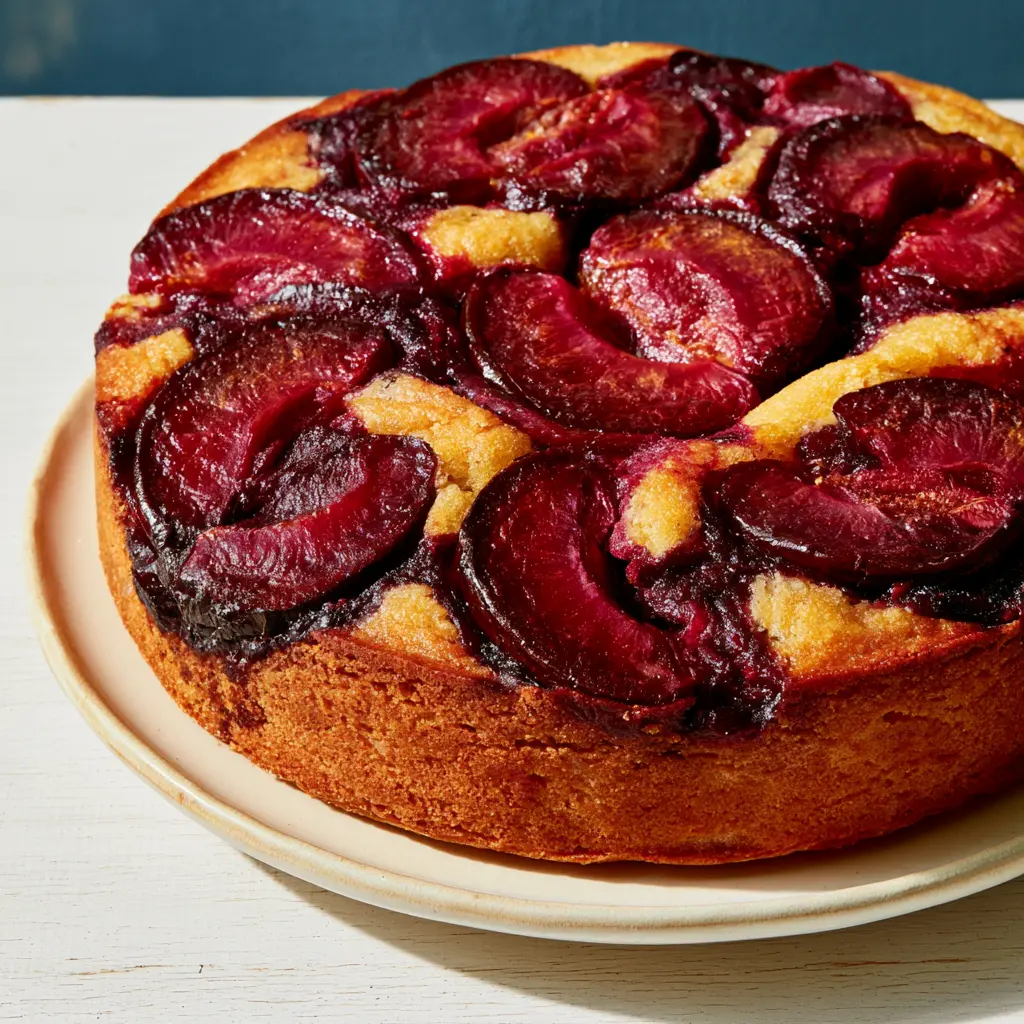
Rustic Classic Plum Cake with Caramelized Plums
Ingredients
Method
- Preheat the oven to 375°F (350°F if using a convection oven). Brush a 9-inch round cake pan with the 2 tablespoons melted butter and line the bottom with a parchment paper round.
- Sprinkle the brown sugar evenly over the bottom of the prepared pan. Arrange the plum slices in a single layer, slightly overlapping, to cover the bottom completely.
- In a large mixing bowl, sift together the all-purpose flour, baking powder, baking soda, cinnamon, nutmeg, allspice, and salt. Set aside.
- In a separate bowl, whisk together the granulated sugar, egg, whole milk, and the 7 tablespoons melted butter until smooth. Pour the wet mixture into the dry ingredients and stir gently with a spatula until just combined, being careful not to overmix.
- Pour the batter over the plums and spread it out evenly with a spatula.
- Bake for 45 minutes, or until the top is golden brown and a toothpick inserted into the center of the cake comes out clean.
- Let the cake cool in the pan on a wire rack for 30 minutes. Then carefully invert the cake onto a serving plate, letting the caramelized plums show on top. Serve warm or at room temperature with a dollop of cream or yogurt.
Nutrition
Notes
Tried this recipe?
Let us know how it was!Frequently Asked Questions
Source: Learn More About This Dish