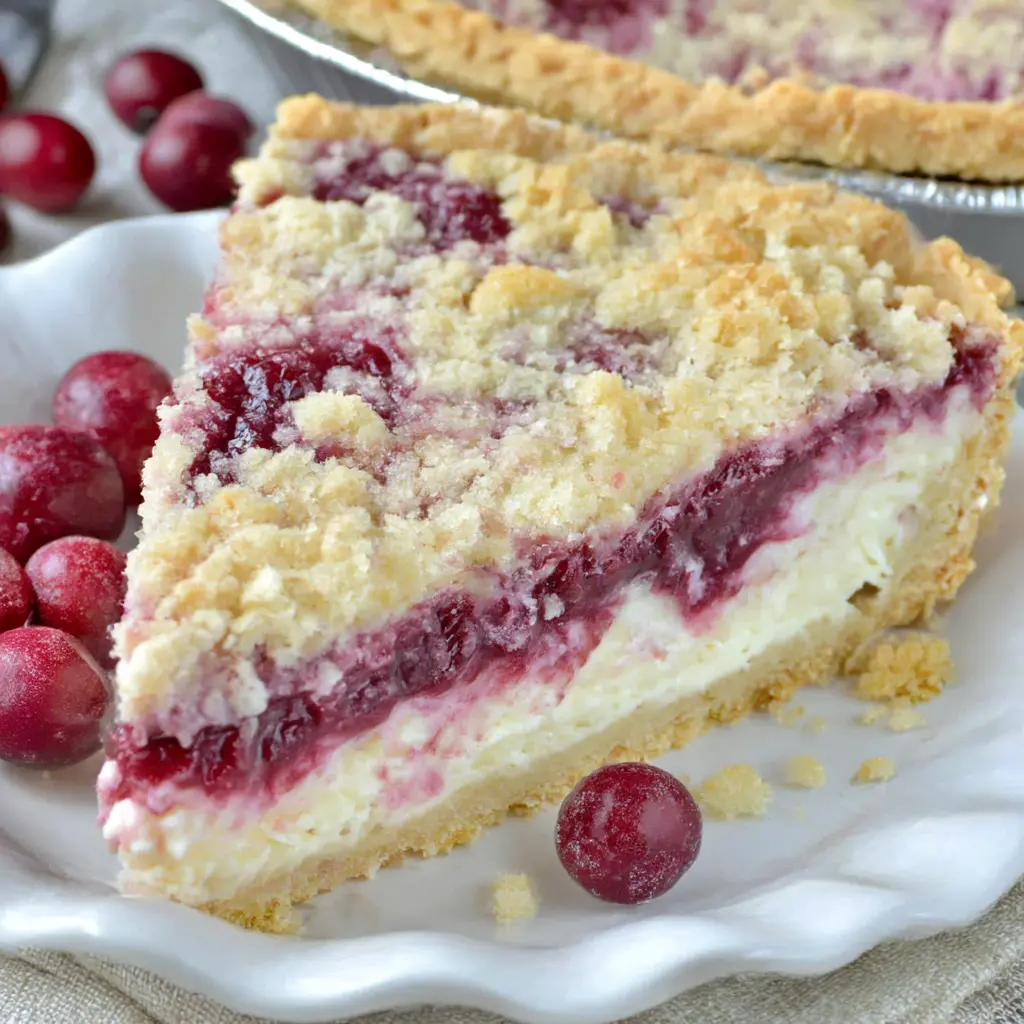
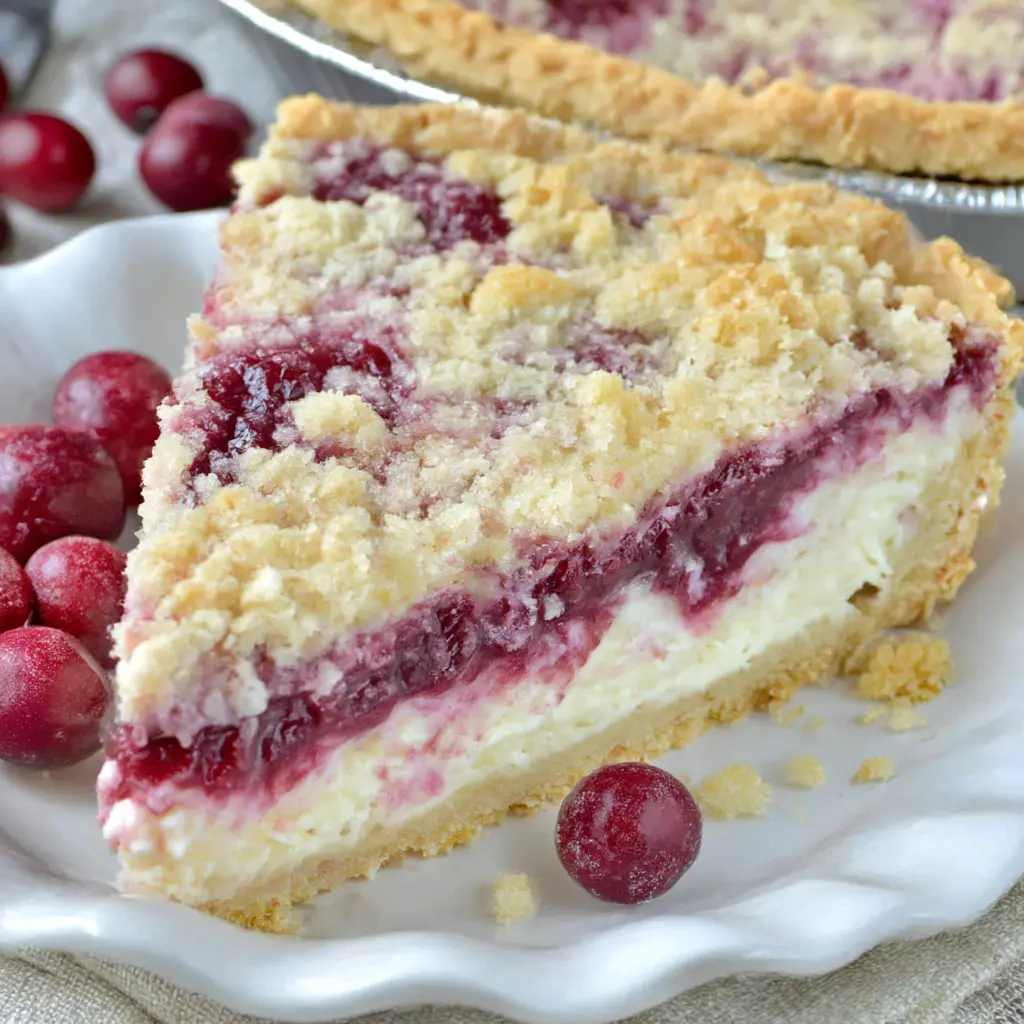
Cranberry Cheesecake Pie
Ingredients
Method
- In a heavy-bottomed saucepan, stir together the cranberries, sugar, lemon zest, lemon juice, and water. Bring the mixture to a rolling boil over medium-high heat.
- Reduce the heat to medium-low and let it simmer gently for about 10 minutes, until the cranberries have softened and burst. Remove from the heat and set aside to cool completely.
- Preheat your oven to 350°F (175°C).
- In a medium mixing bowl, whisk together the flour, sugar, baking powder, and salt. Cut in the cold butter using a pastry blender or two forks until the mixture forms coarse crumbs that clump together when squeezed. Measure out 1/2 cup of the crumb mixture and set it aside for the topping.
- Press the remaining crumb mixture firmly into the bottom and up the sides of a 9-inch pie pan or a 9-inch tart pan with a removable bottom. Bake for 10 minutes, then remove and let cool slightly on a wire rack.
- In a large mixing bowl, beat the softened cream cheese and sugar with an electric mixer on medium speed until light and airy. Beat in the egg and vanilla just until smooth. Pour the filling over the pre-baked crust and spread it evenly.
- Using a teaspoon, drop spoonfuls of the cooled cranberry mixture over the cheesecake layer, leaving about a 1/2-inch border around the edge.
- Sprinkle the reserved crumb topping evenly over the cranberries.
- Bake for 30 to 35 minutes, until the edges are golden brown and the center is set and no longer jiggles when the pan is gently shaken.
- Let the pie cool completely on a wire rack, then cover and refrigerate for at least 2 hours before slicing. Keep any leftovers refrigerated.
Nutrition
Notes
Tried this recipe?
Let us know how it was!Why You’ll Love This Cranberry Cheesecake Pie
I need to confess something. My first attempt at a cranberry cheesecake pie was a disaster. The cranberries, still warm from the saucepan, sank straight through the cheesecake filling and pooled at the bottom of the crust in a crimson lava flow. It tasted incredible. It looked like a science experiment gone wrong.
The fix was painfully simple: let the cranberry mixture cool completely before spooning it over the filling. The recipe says it right there, and I skipped it because I was rushing. Rushing never ends well with cheesecake. I learned that the hard way so you don’t have to.
Once I got that detail right, this cranberry cheesecake pie became my signature holiday dessert. It’s the pie that ends the family debate. The cranberry people get their tart, jewel-toned filling. The cheesecake people get their silky, creamy layer. And everyone gets that buttery crumb topping that crackles when you slice through it.
The tart cranberries cut through the richness of the cream cheese like a bright note in a warm song. That balance is the whole magic of this cranberry pie recipe. It’s a cream cheese pie at heart, but the berries make it something more.
Also? It’s genuinely forgiving. No water bath, no complicated tempering, no spinning in circles. I’ve served this cranberry cheesecake pie at Thanksgiving, at Christmas, and honestly, at a Labor Day barbecue where it vanished in about twenty minutes. It works wherever you bring it. And since it’s August right now, this is the perfect time for a practice run before the holidays hit.
Ingredients for Cranberry Cheesecake Pie
You know what I love about this cranberry cheesecake pie? It uses real, recognizable ingredients. No pudding mixes, no weird stabilizers. Just pantry staples that come together into something far greater than the sum of their parts.
Here’s what you’re working with:
- The cranberry filling: cranberries, sugar, fresh lemon zest, fresh lemon juice, and water. The lemon is non-negotiable. It brightens the berries and keeps the filling from tasting flat.
- The buttery crust and crumb topping: flour, sugar, baking powder, salt, and cold butter. You set aside a half cup for the topping before pressing the rest into the pan. Two dessert elements, one batch of crumb.
- The cheesecake filling: softened cream cheese, sugar, one egg, and pure vanilla extract. Four ingredients. That’s the whole thing.
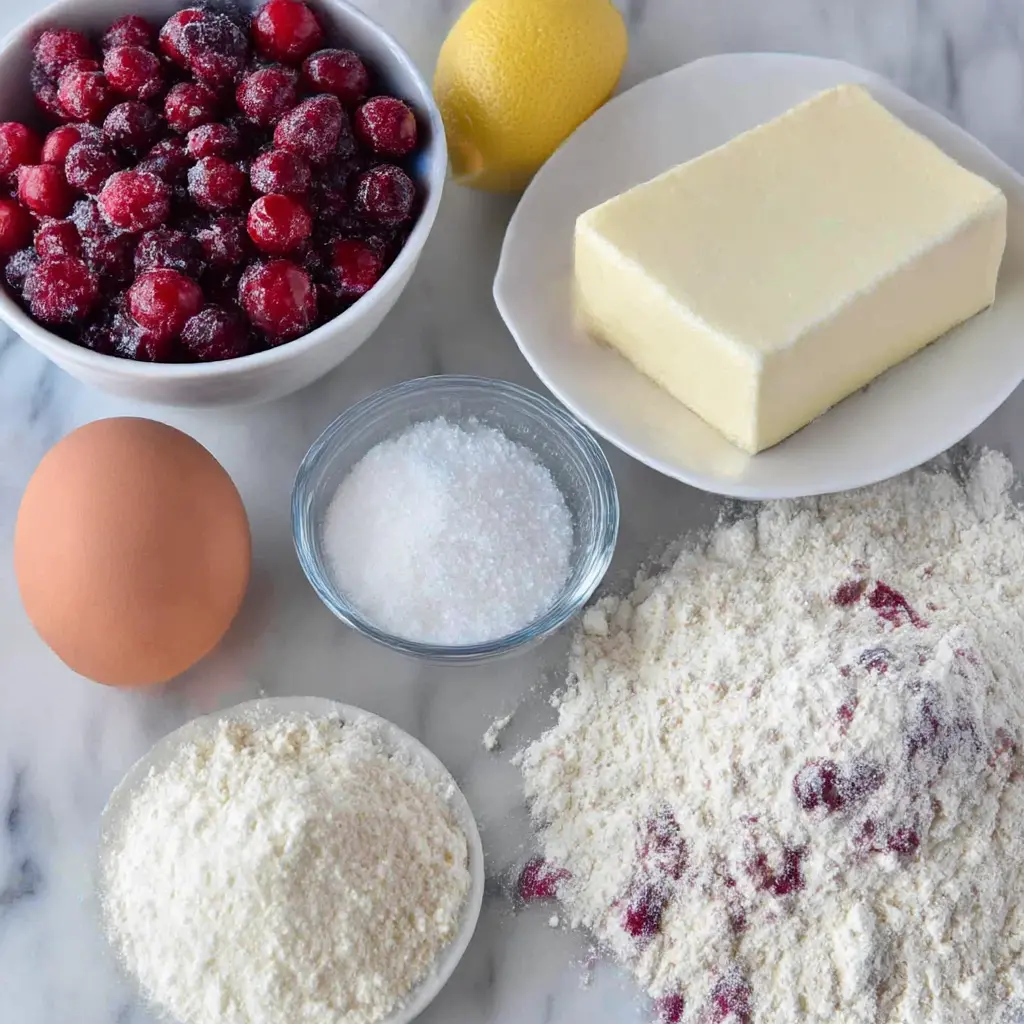
About that cream cheese: use the full-fat block, not the tub of whipped spread. I know the tub is tempting, but the block gives you the dense, silky texture you want in a cheesecake filling. The whipped version has too much air and can make your filling slump.
As for cranberries, fresh or frozen both work perfectly. No need to thaw frozen berries first, just toss them in the pan. And since fresh cranberries can be hard to find outside of fall, frozen berries mean you can make this holiday cranberry pie in August if the mood strikes. Which it should.
How to Make This Cranberry Cheesecake Pie, Step by Step
This cranberry cheesecake pie comes together in four simple stages. Each one builds on the last, and none of them are hard. Let’s walk through them.
Step 1: Simmer the Cranberry Filling
Here’s the thing about the cranberry filling: it needs to cool completely before it meets the cheesecake. That’s why you make it first, then move on to everything else.
In a heavy-bottomed saucepan, stir together the cranberries, sugar, lemon zest, lemon juice, and water. Bring it to a rolling boil over medium-high heat, then reduce to medium-low and let it simmer gently for about 10 minutes.
This is when your kitchen starts to smell like the best kind of fall, even in the middle of summer. The berries pop and release their natural pectin, thickening the mixture into something between a cranberry sauce and a conserve. You’ll hear those little soft explosions of tartness. The color deepens into a gorgeous ruby red that honestly looks like jewelry.
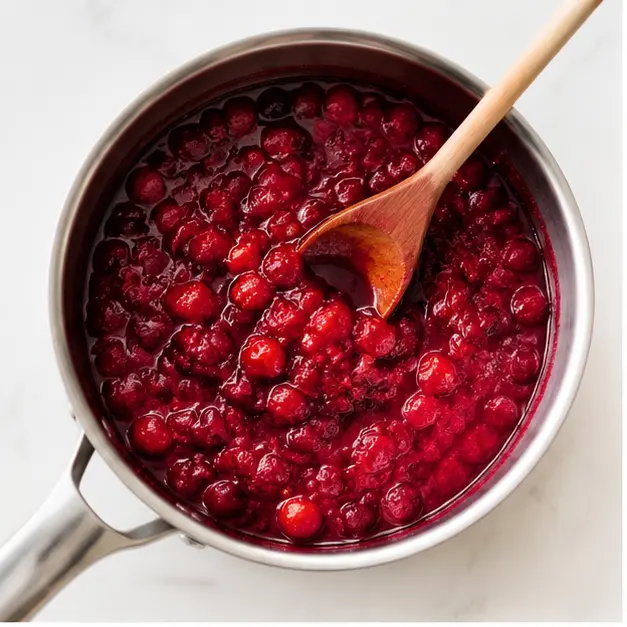
You want most of the berries burst, but a few whole ones remaining is lovely, both for texture and for how they look spooned over the filling. Then comes the critical part: set it aside to cool completely. Not warm. Not mostly cool. Completely. Trust me on this one, I’ve got the lava flow scars to prove it.
Step 2: Make the Buttery Crust and Crumb Topping
This is where most people overthink it. Don’t. The crust is a simple crumb mixture, and it wants to be handled gently.
Here’s the why: you whisk together the flour, sugar, baking powder, and salt, then cut in cold butter until the mixture forms coarse crumbs that clump together when squeezed. The cold butter is the star. When it melts in the oven, it creates little pockets of air and steam that make the crust tender. Overwork it and those pockets collapse, leaving you with a dense, tough base.
Measure your flour carefully. Spoon it into the cup and level it off, don’t just scoop. Too much flour makes the crust dry and sandy in the wrong way.
You’ll press the crumb mixture firmly into the bottom and up the sides of a 9-inch pie pan. And I mean firmly. A loose crust crumbles when you slice. We’re building a foundation here, so take your time and use your fingertips to really work it into the corners.
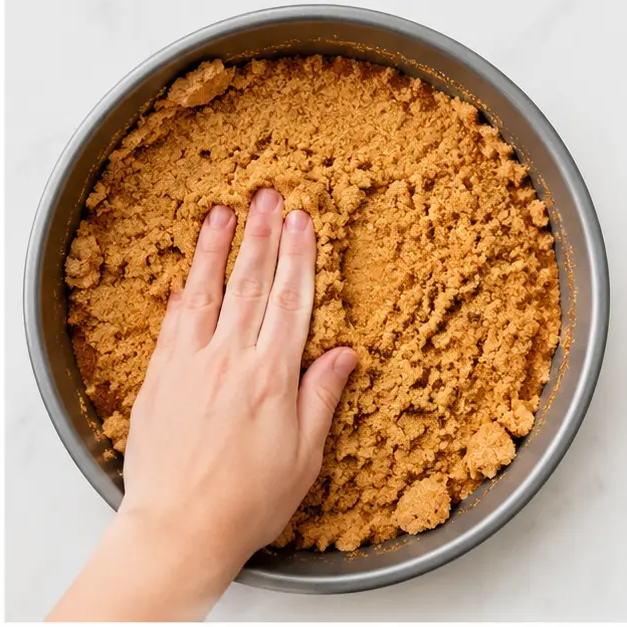
One crust-specific tip: use a light-colored metal pan rather than glass or ceramic. Glass and ceramic bake slower and can leave the bottom of your crust pale and soggy. A metal pan conducts heat efficiently, giving you that golden, crisp base. If you’re worried about sticking, a light grease with cooking spray that contains flour does the trick.
The crust pre-bakes for 10 minutes at 350°F. It won’t look fully done when it comes out. That’s normal. It finishes baking with the filling.
Step 3: Beat the Cheesecake Filling
The cheesecake filling is almost embarrassingly simple. Beat the softened cream cheese and sugar together on medium speed until light and airy. That aeration matters, it’s what gives you that smooth, creamy texture. Then beat in the egg and vanilla just until smooth.
Here’s a subtle trap: over-beating the egg incorporates too much air, which can make the filling puff up and crack during baking. Just mix until it’s cohesive and stop. You’re looking for a shiny, spreadable filling with no lumps.
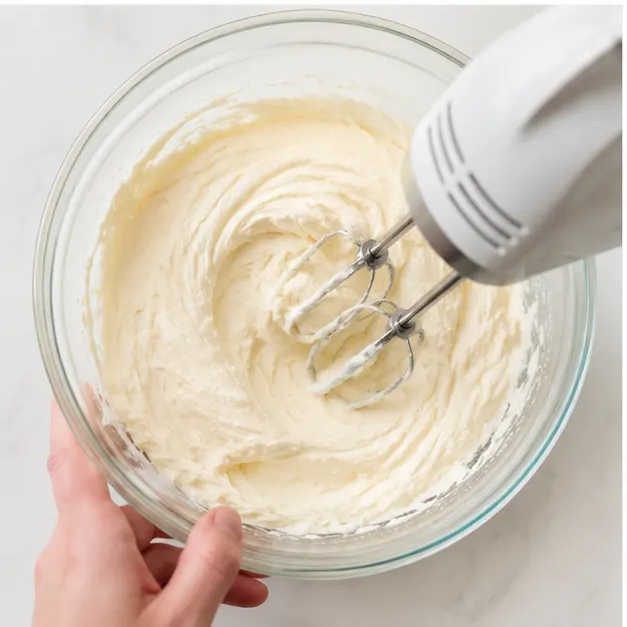
Pour the filling over your pre-baked crust and spread it evenly. It’ll be a fairly thin layer, and that’s exactly right. This is a pie, not a towering cheesecake. The proportions are what make every bite balanced.
Step 4: Assemble and Bake
Using a teaspoon, drop spoonfuls of the cooled cranberry mixture over the cheesecake layer. Leave about a half-inch border around the edge. That border is important. It gives the pie a finished look and keeps the cranberry juice from baking onto the pan and burning. You can let the spoonfuls create a natural cranberry swirl effect as they spread.
Sprinkle the reserved crumb topping evenly over the cranberries. Those crumbs will turn golden and crisp in the oven, adding that buttery crunch on top of the creamy filling.
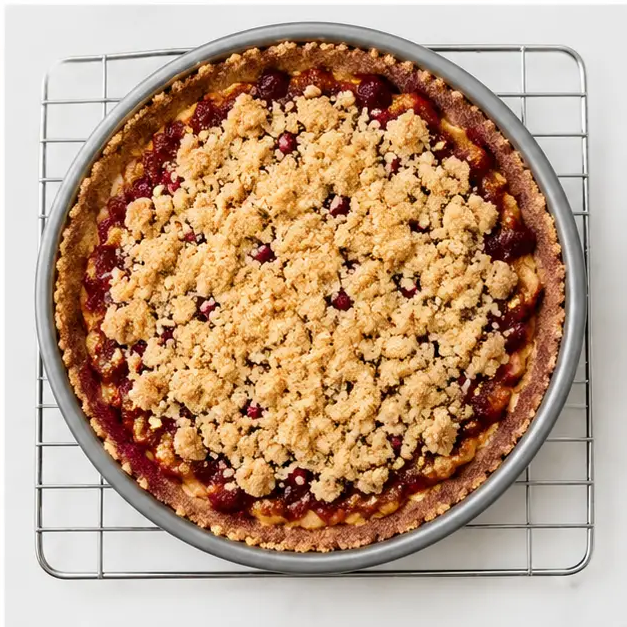
Bake for 30 to 35 minutes at 350°F (175°C), until the edges are golden brown and the center is set, no longer jiggling when you gently shake the pan. Let it cool completely on a wire rack, then refrigerate for at least 2 hours before slicing. I know the wait is hard. It’s worth it.
Tips for the Best Cranberry Cheesecake Pie
Over the years I’ve made this cranberry cheesecake pie more times than I can count. Here are the lessons that stuck.
Common Mistakes to Avoid
❌ Overworking the crumb mixture: It activates the gluten and creates a tough, chewy crust. Mix just until it clumps when squeezed.
❌ Using a glass or ceramic pie pan: They bake slower and leave the crust pale and soggy. Use a light-colored metal pan.
❌ Testing doneness with a knife: You’ll leave a visible slit through the cranberry topping. Use the jiggle test instead.
❌ Worrying about a crumbly crust: If the mixture feels too soft while pressing, refrigerate it for 10 minutes. Problem solved.
Beyond those, a few more things help:
- Measure accurately, especially the flour. For the crust, too much flour creates a dry, sandy base that won’t hold together.
- Lightly grease the pan with cooking spray that contains flour if you’re nervous about sticking. It won’t affect the flavor.
- Low-fat cream cheese works in a pinch, but the filling won’t be quite as rich and silky. Full-fat is the way to go.
- Bake the pie the night before and serve it the next day. The flavors actually deepen overnight as the tart cranberries and creamy filling get cozy.
How to Know When the Cheesecake Is Done
Here’s where people get nervous, and I get it. You can’t stick a knife in the center because the cranberry topping is there, and a knife test will leave a sad slit through your beautiful layers.
Instead, look for visual doneness cues: the edges should be golden brown, and the center should be set. Give the pan a gentle shake. The center should not jiggle like liquid. It should move like set custard, with just the slightest wobble. And the crumb topping should look dry and lightly toasted, not wet.
One more thing: don’t panic over tiny cracks. The crumb topping hides a multitude of sins, and honestly, a small crack just proves it’s homemade. This cheesecake doesn’t need a water bath because the bake time is short and the filling layer is thin. High heat makes custard proteins clench up, which causes cracking, but our bake is gentle enough for the filling to set without seizing.
Cranberry Cheesecake Pie Variations
This cranberry cheesecake pie is flexible. Here are some ways to make it yours:
- Store-bought cranberry sauce: In a pinch, use about a cup of your favorite jarred whole-berry cranberry sauce instead of the homemade filling. It’ll be sweeter, so expect less tartness.
- Lemon curd instead of cranberry: The bright tartness of lemon curd pairs beautifully with the cream cheese filling. Same layering technique, completely different vibe.
- Mascarpone or ricotta: Swap the cream cheese for mascarpone for a lighter, sweeter filling, or ricotta for a more rustic texture.
- Store-bought pie crust: Short on time? Use a refrigerated pie crust from the store. You’ll lose the crumb topping unless you make it separately. Which you should, because it’s the best part.
- Graham cracker crust: If you prefer that classic cheesecake base, a graham cracker crust works, but the buttery crumb version here is more like a shortbread and I think it pairs better with the berries.
- Add orange zest: For a more holiday-forward flavor, add a teaspoon of orange zest to the cranberry filling. It’s not in the original, but it’s a lovely twist.
And for summer, when you don’t want the oven on for long, consider a no-bake cheesecake version: skip the egg in the filling, chill the crust with the filling until set, then top with cold cranberry compote. It won’t have that baked depth, but it’s refreshing. Think of it as a refrigerated cheesecake that’s ready in a fraction of the time.
Storing and Serving Suggestions
This cranberry cheesecake pie is a make-ahead dream. Bake it the night before, let it cool, cover it, and refrigerate. The flavors actually improve overnight, which makes it perfect for busy holiday weeks when you’re juggling a million things at once.
For storing:
- Keep the pie covered in the refrigerator for up to 5 days. A cake dome or a large bowl flipped upside down works great.
- To freeze, wrap the fully chilled pie tightly in plastic wrap, then foil, and freeze for up to 2 months. Thaw overnight in the fridge before serving.
- For clean slices, chill the pie thoroughly and slice with a knife dipped in hot water and wiped dry between cuts.
When it’s time to serve, bring the pie to the table and watch it disappear. A dollop of freshly whipped cream topping on each slice is never a bad idea, or a drizzle of lemon curd for extra brightness.
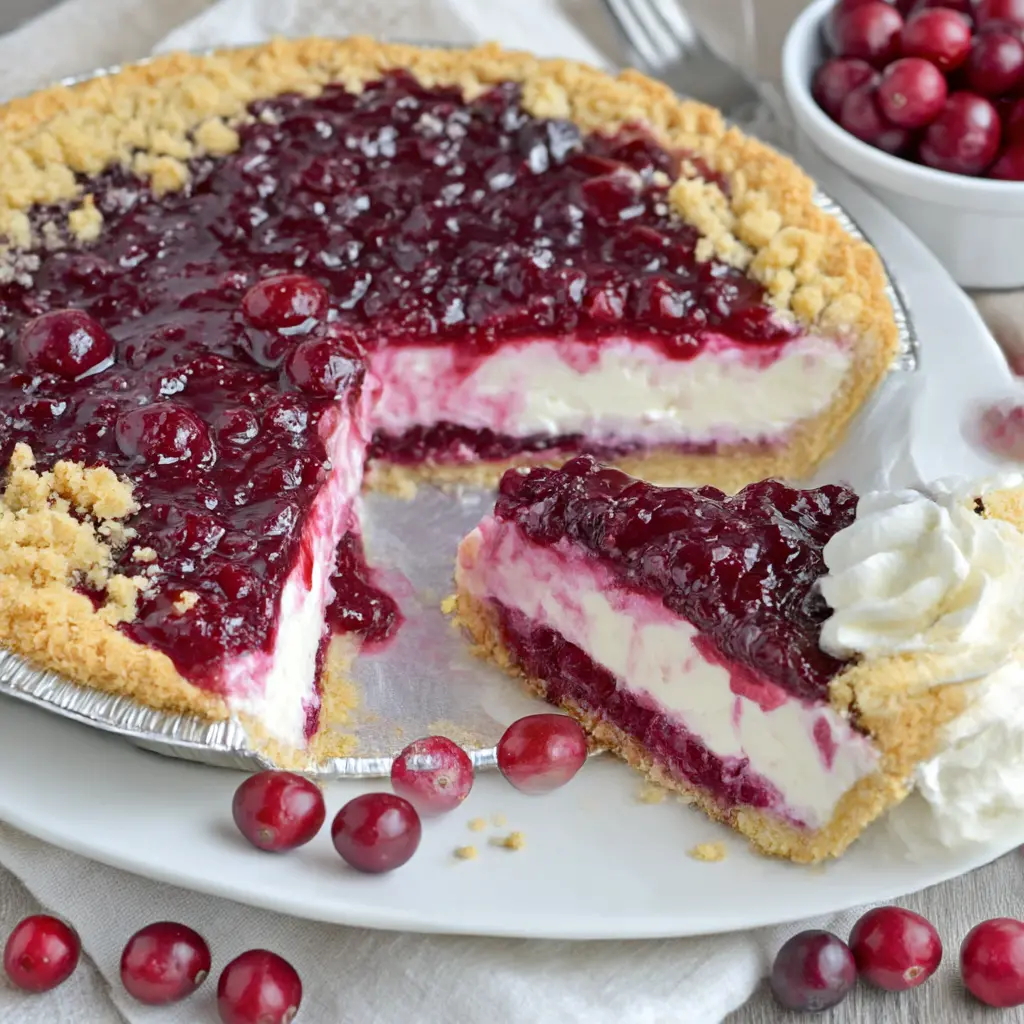
This is a thanksgiving pie staple in my house, but it’s also perfect for Christmas, Easter, or any gathering where you want to bring something people will talk about. It’s a true holiday dessert that just happens to be delicious all year round.
Frequently Asked Questions
The Pie That Ends the Debate
I’ve brought this cranberry cheesecake pie to enough gatherings to know what happens. Someone asks, “Is this pie or cheesecake?” Then they take a bite, and the question doesn’t matter anymore.
The buttery crust crackles. The silky filling melts. The tart cranberries cut through with a bright, lemony zing. It’s the rare dessert that satisfies both camps, and it looks stunning on the table, all deep crimson and golden crumb.
When you make this, and you will make this, don’t skip the cooling step. Let the cranberries go fully cold. Press that crust firmly. And when someone asks for the recipe, share it proudly.
You can find more inspiration on my Pinterest board, where I pin all my favorite holiday baking ideas, including more variations of this cranberry cheesecake pie. Come join me there.
Source: Learn More About This Dish