
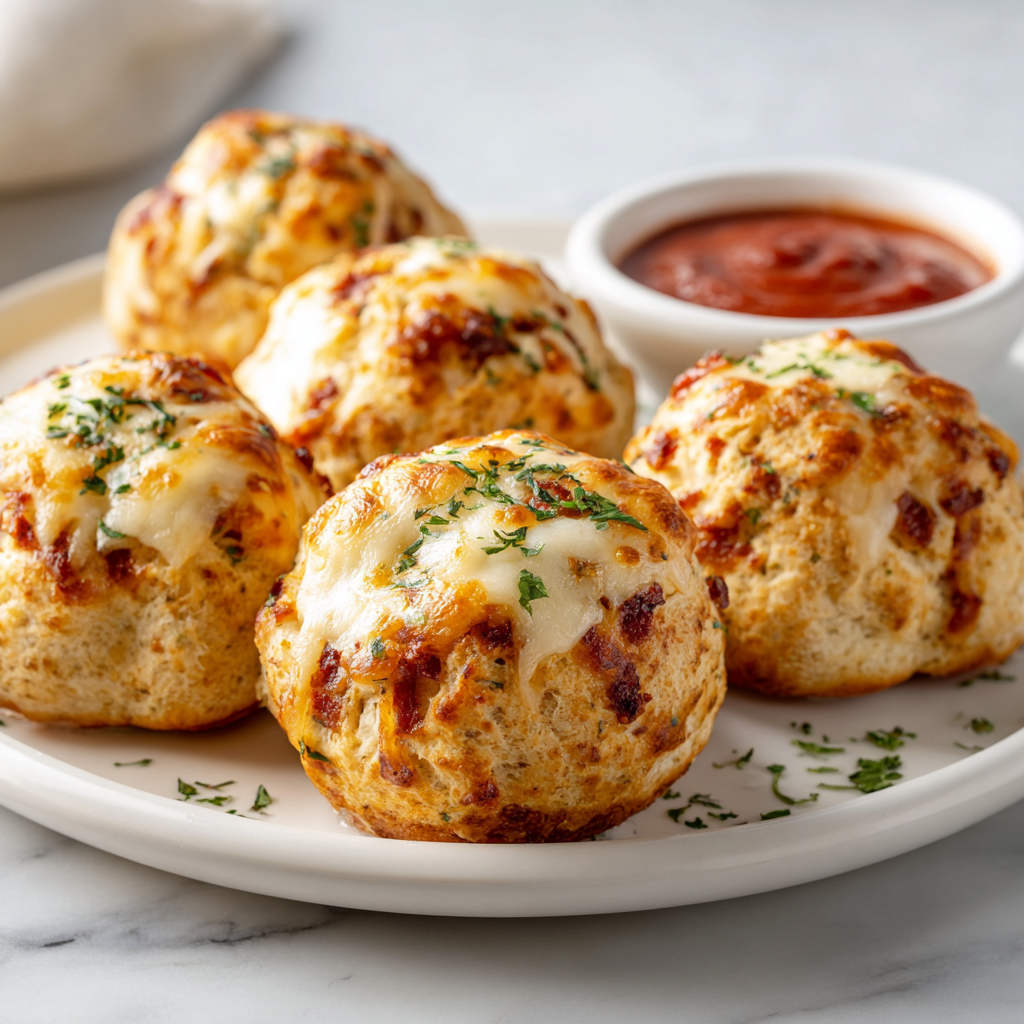
California-Style Pizza Bombs
Ingredients
Method
- Preheat your oven to 375°F. Line a large baking sheet with parchment paper and lightly grease it with nonstick cooking spray.
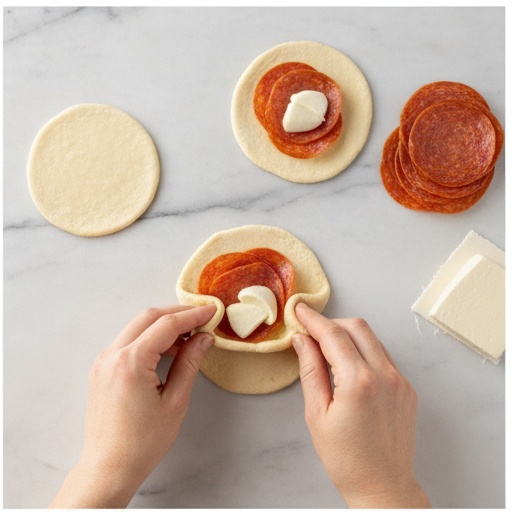
- Separate the 8 biscuits and cut each one in half. Roll each half into a ball, then flatten it into a small circle about 3 inches across. Place 4 pepperoni quarters and one mozzarella cube in the center of each circle.
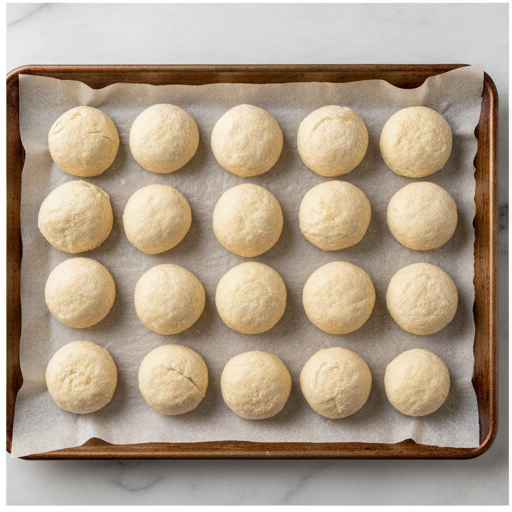
- Bring the edges of the dough up around the filling and pinch firmly to seal. Place each bomb seam-side down on the prepared baking sheet, spacing them about 1 inch apart.
- In a small bowl, whisk together the melted butter, garlic powder, oregano, parsley, and Parmesan cheese. Brush this mixture generously over the tops of each pizza bomb.
- Bake in the preheated oven for 15 to 20 minutes, until the bombs are golden brown and the filling is bubbly.
- Remove from the oven and let cool for 2 minutes. Serve warm with the heated marinara sauce for dipping.
Nutrition
Notes
Tried this recipe?
Let us know how it was!Why You’ll Love These Pizza Bombs
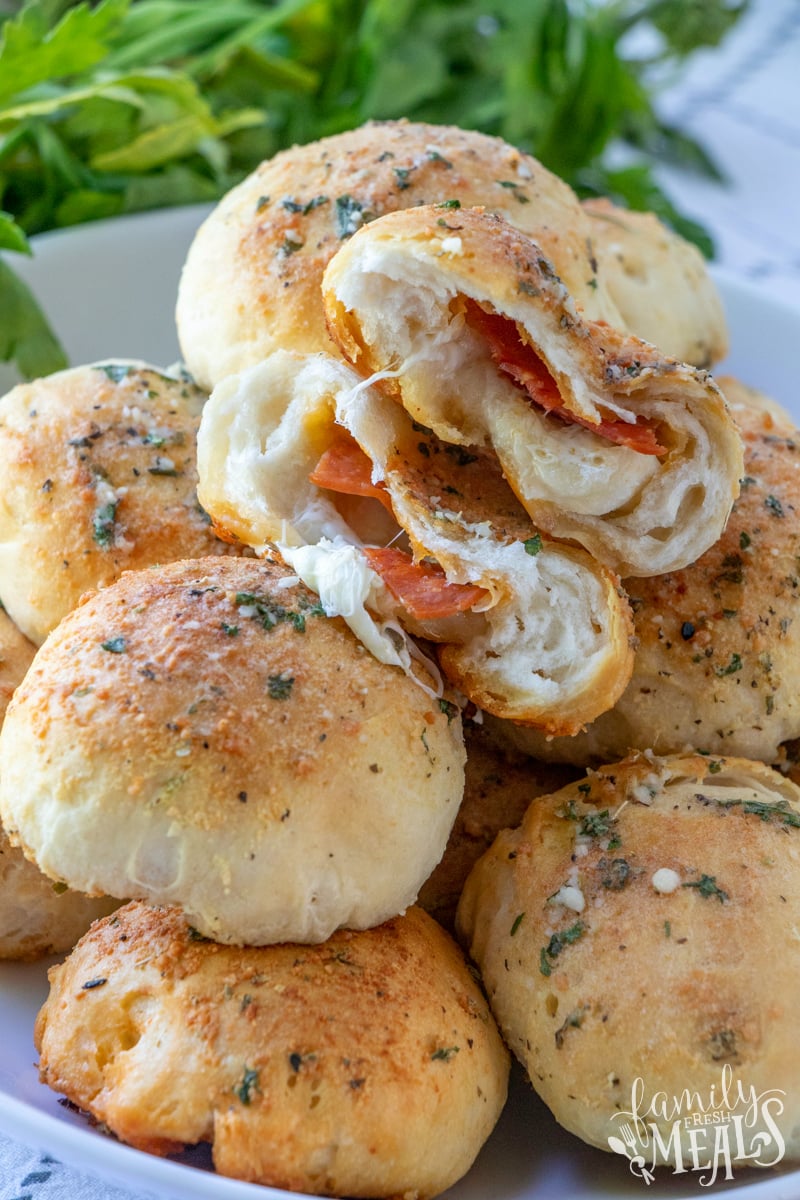
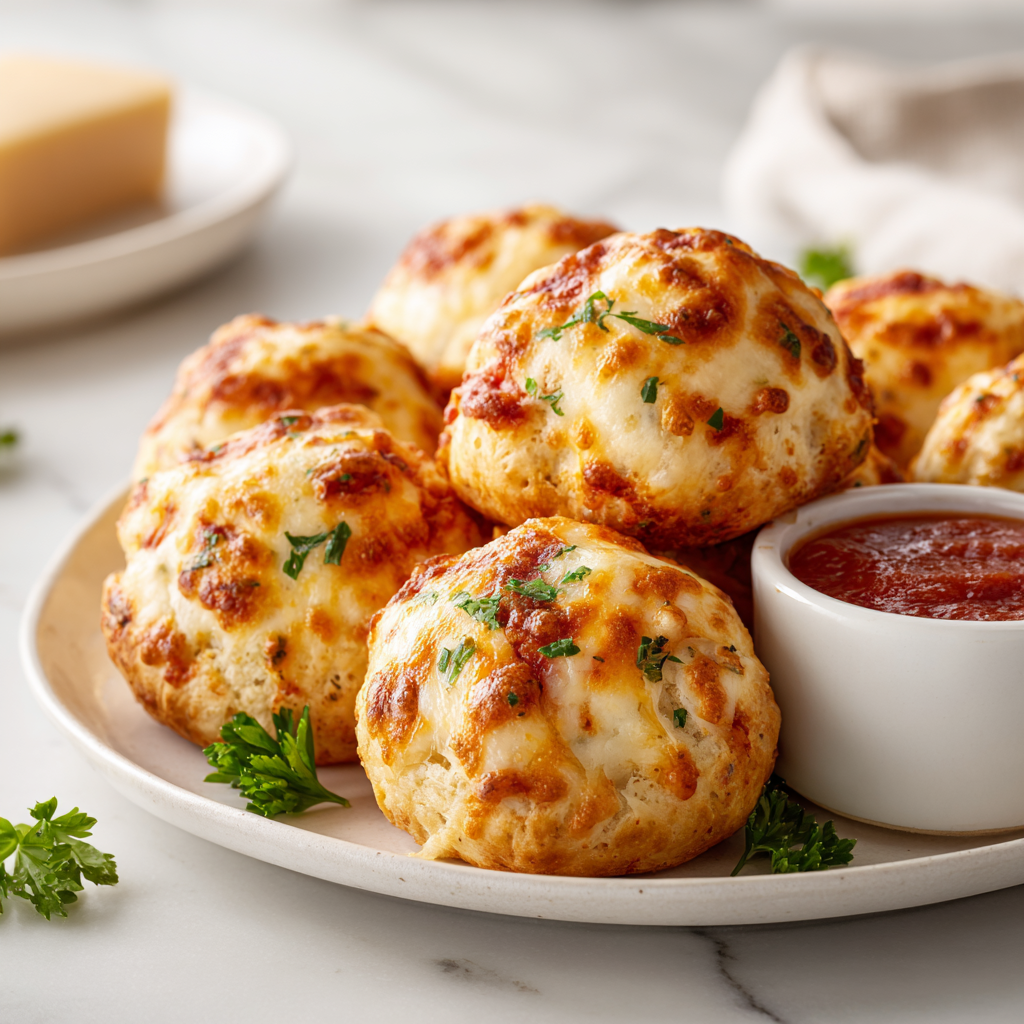
Okay, let me tell you about the time I brought these pizza bombs to a July 4th cookout. I was kinda nervous, honestly. I mean, you’re competing with burgers and hot dogs and all the usual stuff. But these little guys? They vanished. Like, in under ten minutes. People were hovering around the platter, grabbing two or three at a time. And the cheese pull? Pure magic.
These aren’t your average pizza bombs. They’re made with refrigerated biscuit dough, which means they come together in no time. No fancy yeast, no rising, no waiting around. Just a can of biscuits, some fresh mozzarella, and pepperoni. That’s it. And the butter topping with garlic powder and Parmesan? That’s where the magic happens. It gives them that golden, crispy exterior that’s just… perfect.
Plus, they’re a total crowd-pleaser. Kids love ’em, adults love ’em. And you can double the batch without breaking a sweat. So if you’re looking for a quick appetizer for a party or just a fun snack for the family, these are it. Trust me.
Ingredients You’ll Need
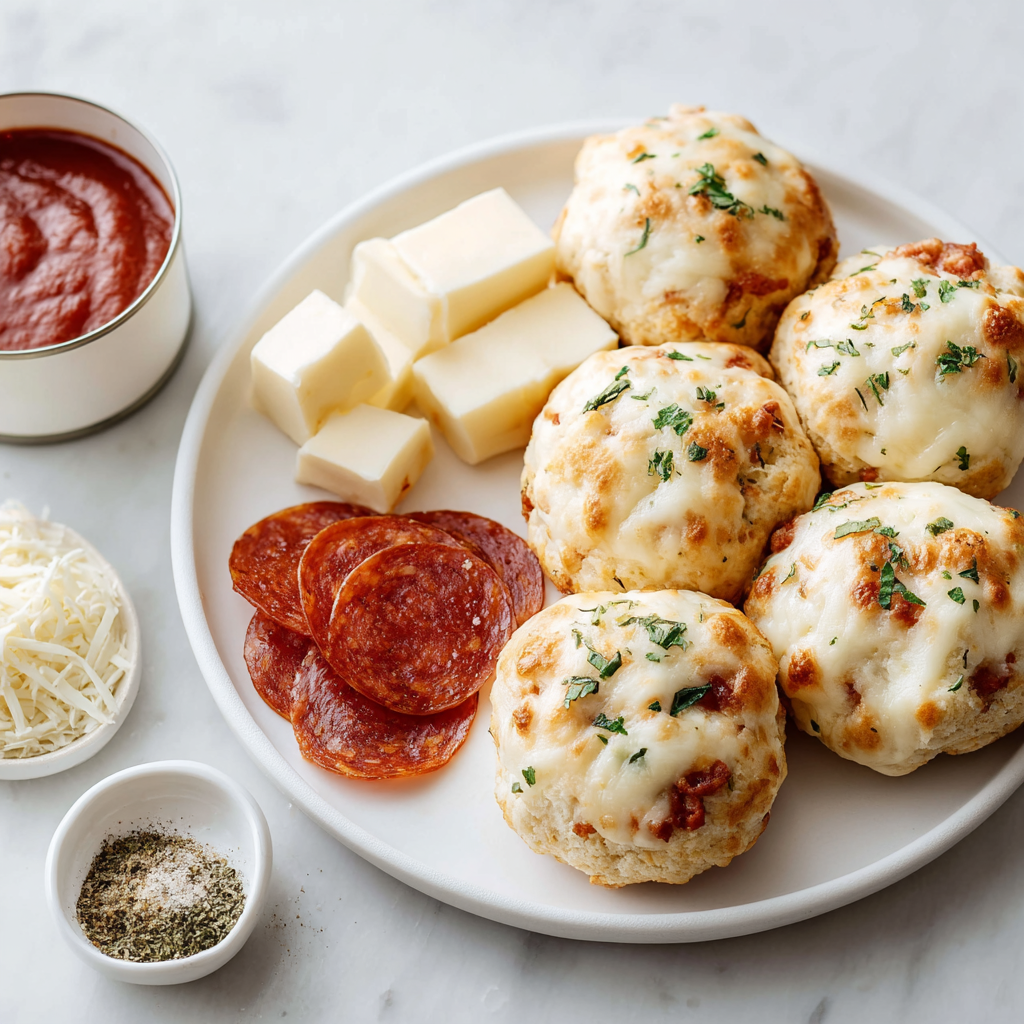
Let’s talk about what you’ll need. The ingredient list is short, but each one plays a big role. Here’s the deal:
- Refrigerated buttermilk biscuits (16.3 oz can, 8 count): I use Pillsbury Grands. They’re sturdy enough to hold the filling without falling apart. You could use smaller biscuits, but you’ll get more bombs and need to adjust the baking time.
- Fresh mozzarella cheese (4 oz): This is key. Fresh mozzarella melts into that gorgeous, gooey stretch. Don’t use shredded mozzarella it doesn’t melt the same way and can get kinda grainy. Cut it into small cubes so each bomb gets a nice chunk.
- Pepperoni (16 slices): Cut each slice into quarters. That gives you 64 little pieces, which is plenty for 16 bombs. You could swap this for something else more on that later.
- Unsalted butter (4 tbsp): Melted. This is the base of the topping that makes the bombs golden and flavorful.
- Garlic powder (1/2 tsp), dried oregano (1/2 tsp), dried parsley (1/2 tsp), grated Parmesan cheese (1 1/2 tbsp): These get whisked into the melted butter. It’s a simple combo, but it smells incredible. At this point you’ll smell garlic and cheese heaven.
- Marinara sauce (1 cup): For dipping. Warm it up before serving. You could use pizza sauce instead, no biggie.
That’s it. No weird stuff. You probably have most of these in your pantry already.
How to Make Pizza Bombs
Alright, let’s get into the actual process. I’m gonna break this down into four stages so it’s easy to follow. And I’ll throw in some tips I learned the hard way.
Stage 1: Prep the Dough
First, preheat your oven to 375°F. Line a baking sheet with parchment paper and give it a light spray of nonstick cooking spray. This is important those bombs will stick otherwise.
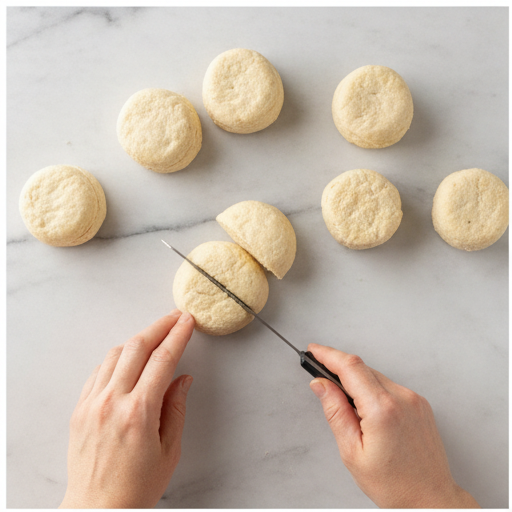
Now, open the can of biscuits. I know, that pop is startling every time. Separate the 8 biscuits and cut each one in half. You’ll have 16 pieces. Roll each half into a ball, then flatten it into a small circle about 3 inches across. Don’t worry if they’re not perfectly round they’re gonna get sealed up anyway.
Stage 2: Fill and Seal
This is where the magic happens. Place 4 pepperoni quarters and one mozzarella cube in the center of each dough circle. Now, here’s the part that took me a few tries to get right: sealing the edges. Bring the dough up around the filling and pinch firmly. Like, really pinch. You want to make sure there are no gaps. If you leave even a tiny opening, the cheese will leak out during baking and you’ll end up with a mess. Trust me on this.
Place each bomb seam-side down on the prepared baking sheet. Space them about 1 inch apart. They’ll expand a bit, so give ’em room.
Stage 3: Add the Butter Topping
In a small bowl, whisk together the melted butter, garlic powder, oregano, parsley, and Parmesan cheese. This mixture is gonna make the bombs taste like they came from a fancy pizzeria. Brush it generously over the tops of each bomb. Don’t be shy you want that golden, crispy crust.
I like to use a pastry brush for this, but a spoon works too. Just drizzle it on and spread it around.
Stage 4: Bake and Serve
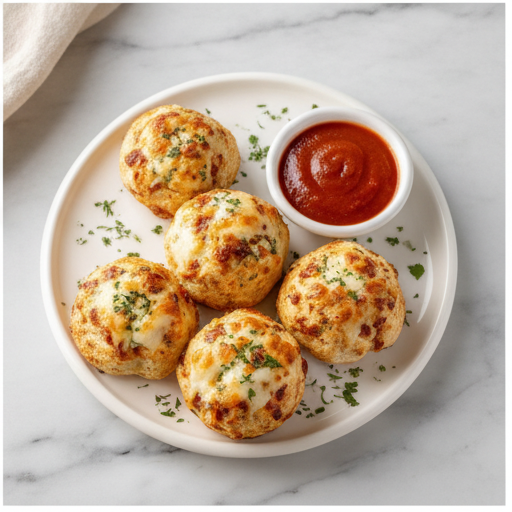
Pop the baking sheet into the oven and bake for 15 to 20 minutes. You’re looking for golden brown tops and bubbly filling. Oven temperatures vary, so start checking at 15 minutes. If they’re not quite there, give ’em another 2-3 minutes.
When they come out, let them cool for 2 minutes. I know it’s hard to wait the smell is incredible but the cheese inside is molten hot. Trust me, you don’t want to burn your mouth. Serve them warm with the heated marinara sauce for dipping.
Tips for Perfect Pizza Bombs
I’ve made these pizza bombs more times than I can count, and I’ve picked up a few tricks along the way. Here’s what I’ve learned:
- Use block cheese, not shredded. Shredded mozzarella has anti-caking agents that prevent it from melting into that gooey stretch. Fresh mozzarella cubes are the way to go.
- Seal the edges tightly. I can’t stress this enough. If a few leak, no one will care they’re still delicious but you’ll get a better result if you pinch the dough firmly.
- Serve warm. These are best straight from the oven. The cheese pull is at its peak when they’re hot.
- Don’t overfill. It’s tempting to add extra pepperoni or cheese, but too much filling makes it hard to seal and increases the chance of leaks.
- Use a minimal amount of sauce inside the bombs. Actually, I don’t put any sauce inside at all. I use it as a dipping sauce instead. This keeps the dough from getting soggy.
Flavor Variations to Try
One of the best things about this pizza bombs recipe is how easy it is to customize. Here are some ideas:
- Hawaiian pizza bombs: Swap the pepperoni for diced ham and add some pineapple chunks. Just make sure the pineapple is well-drained so it doesn’t make the dough soggy.
- Veggie pizza bombs: Skip the pepperoni and use sautéed mushrooms, bell peppers, and onions. Make sure to sauté them first to remove excess moisture.
- Sausage pizza bombs: Cook some Italian sausage, crumble it, and use it instead of pepperoni. So good.
- Cheese-only pizza bombs: Just use the mozzarella and maybe add some extra Parmesan. Simple but satisfying.
- Spicy pizza bombs: Add a few slices of jalapeño or a pinch of red pepper flakes to the butter topping. Gives it a nice kick.
You can also experiment with different doughs. Crescent roll pizza bombs are a popular twist just use crescent roll dough instead of biscuits. The texture will be a bit flakier, but still delicious. If you use pizza dough, you’ll need to adjust the cooking time since it’s denser.
How to Store and Reheat Leftovers
Let’s be real leftovers of these pizza bombs are rare. But if you somehow end up with some, here’s what to do.
Store them in an airtight container in the fridge for up to 3 days. To reheat, the oven is your best bet. Pop them in a 350°F oven for about 5 minutes. They’ll come out almost as good as fresh. You can also use an air fryer at 325°F for 3-4 minutes. Just keep an eye on them so they don’t burn.
Can you freeze them? Honestly, I wouldn’t recommend it. The texture of the biscuit dough changes after freezing and thawing it gets a bit gummy. But if you absolutely have to, freeze them after baking, then reheat straight from frozen in a 350°F oven for 10-12 minutes. Just know they won’t be quite as good.
Also, don’t microwave them. The dough gets tough and the cheese becomes rubbery. Not a good look.
Common Mistakes to Avoid
I’ve made every mistake in the book so you don’t have to. Here are the big ones:
- ❌ Using shredded cheese: It doesn’t melt well and can get grainy. Stick with fresh mozzarella cubes.
- ❌ Not sealing the edges: Cheese will leak out and burn on the baking sheet. Pinch firmly, people.
- ❌ Using cold cheese: Cold cheese won’t melt fully in the short baking time. Let it sit at room temperature for 10 minutes before assembling.
- ❌ Overfilling: It’s tempting, but too much filling causes leaks and makes the bombs hard to seal.
- ❌ Skipping the parchment paper: The butter topping can cause sticking. Parchment paper makes cleanup a breeze.
Frequently Asked Questions
So there you have it. These pizza bombs are about to become your go-to appetizer. Make them for your next party, your July 4th cookout, or just a fun weeknight snack. Watch them vanish and feel like a hero. I promise, the cheese pull alone is worth it.
If you try this recipe, let me know how it goes! I’d love to hear about your variations and successes. And if you’re looking for more ideas, check out my Pinterest board for more quick and easy appetizers.
Source: Health & Nutrition Research


5 Responses
I made a double batch for a potluck and they were a hit! The garlic butter topping is genius. I did have a little trouble getting them to seal completely—a few leaked cheese. Any tips for keeping them closed?
Thanks, Emily! To prevent leaking, make sure you pinch the dough edges really well and place them seam-side down on the baking sheet. Also, don’t overfill—a little cheese goes a long way!
These were good, but I found the biscuit dough a bit too dense for my liking. Has anyone tried using pizza dough instead? I’m wondering if I could just use store-bought pizza dough and cut it into squares.
Great question, Mike! You can definitely use pizza dough—just roll it out thin, cut into small squares, and follow the same filling and baking instructions. You may need to adjust the baking time by a few minutes since pizza dough bakes differently than biscuit dough.
Made these for game night and they were gone in minutes! The fresh mozzarella really does make a difference—the cheese pull was incredible. I added some chopped bell peppers to a few of them and they turned out great too.