
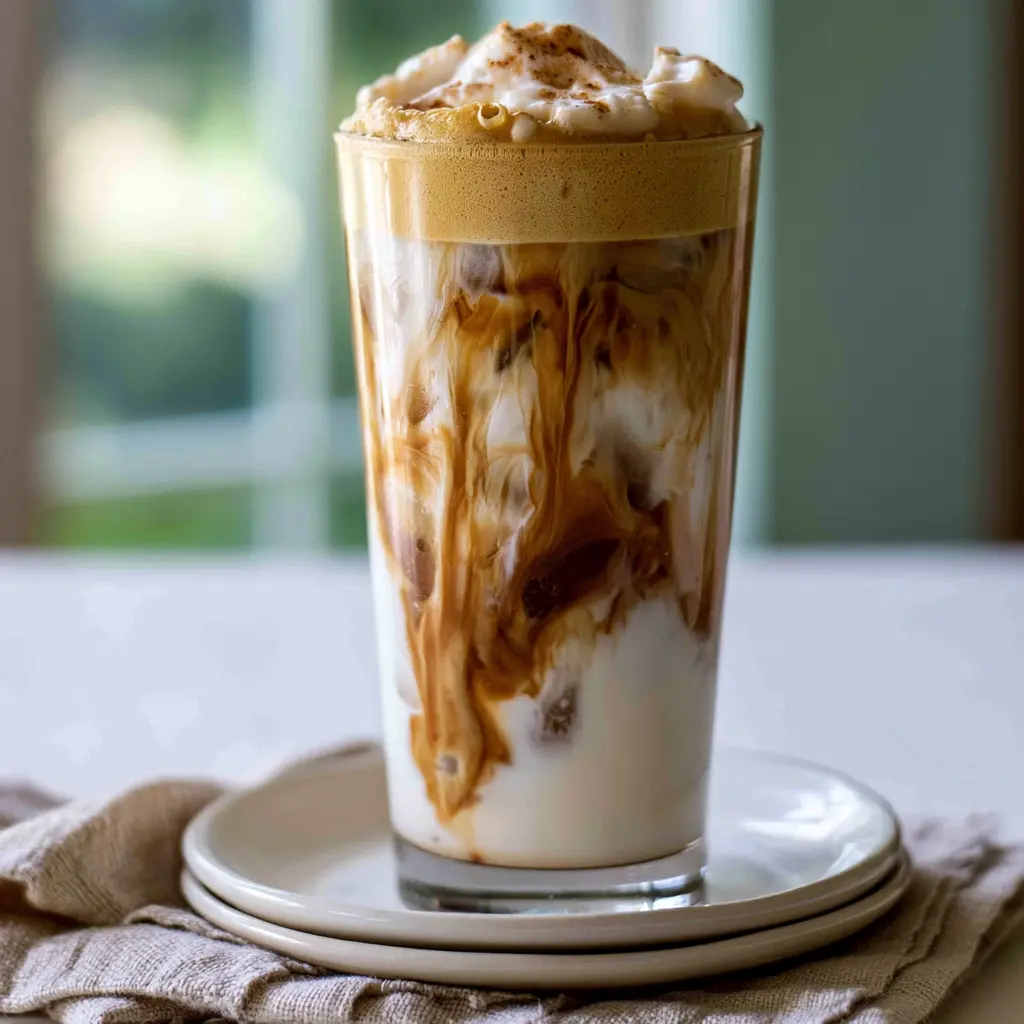
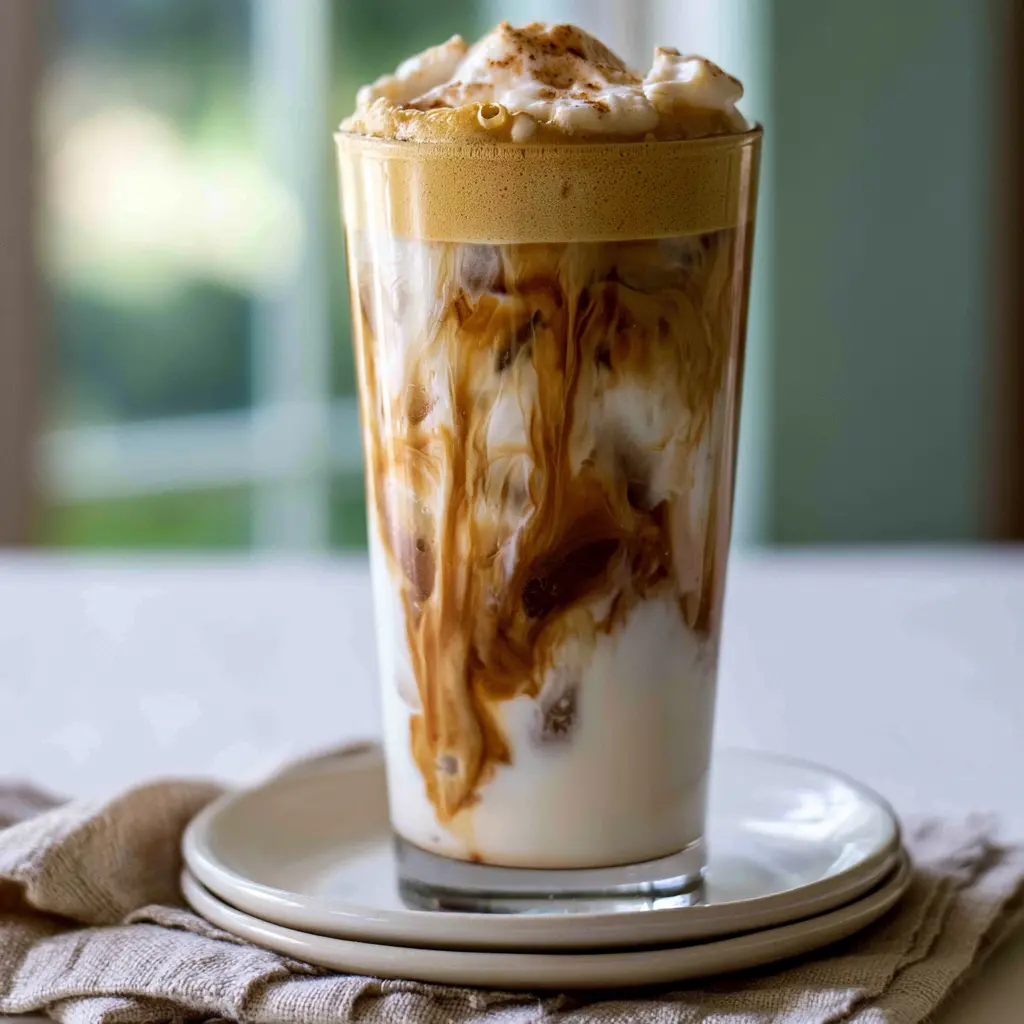
Salty Canadian Iced Latte
Ingredients
Method
- Fill a tall glass about three quarters full with ice cubes, then pour the cold milk over the ice and set the glass aside.
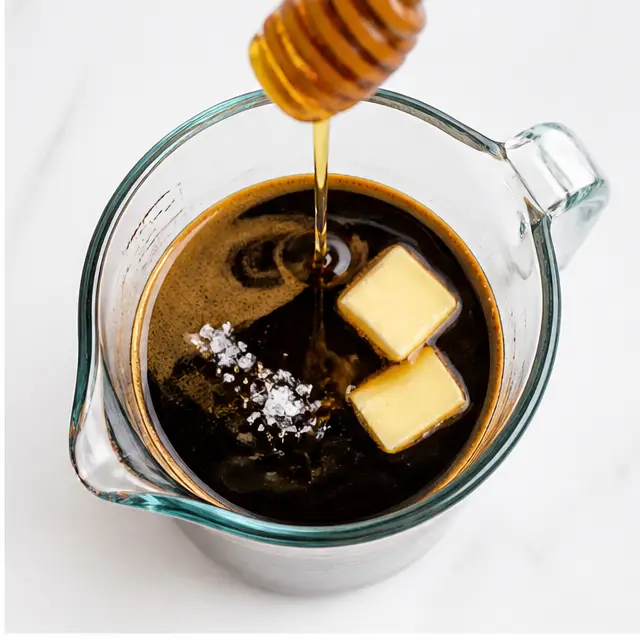
- Add the hot espresso, maple syrup, butter, and flaky sea salt to a measuring cup or narrow jar with plenty of headspace for foaming.
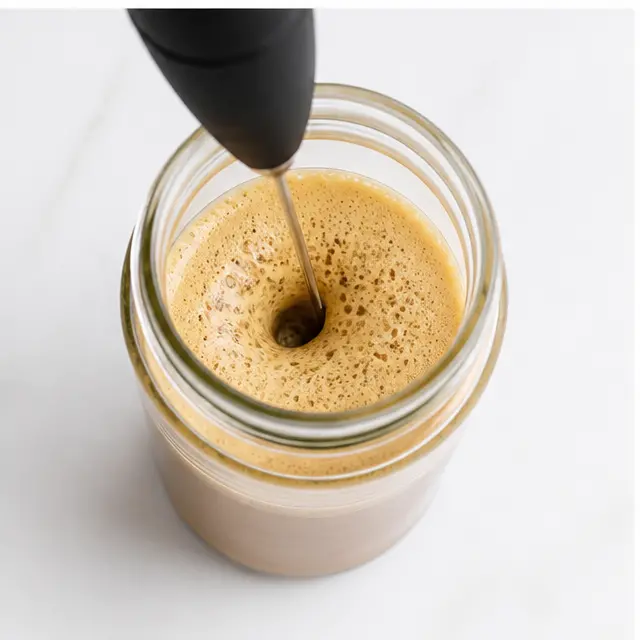
- Use a handheld frother or immersion blender to blend the espresso mixture right away until the butter is fully melted and a thick, light foam forms.
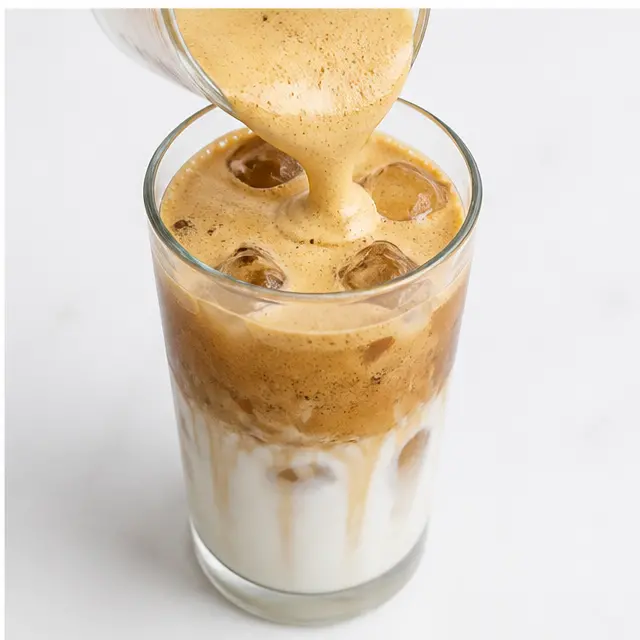
- Slowly pour the foamy espresso mixture over the milk and ice, stir gently to combine, and serve immediately with or without a straw.
Nutrition
Notes
Tried this recipe?
Let us know how it was!Why You’ll Love This Salty Canadian Iced Latte
If the Salty Canadian has hijacked your feed, this is your sign to make it at home. I’m not exaggerating when I say this drink broke my brain a little. Maple syrup, butter, and sea salt in iced coffee? It sounds wrong. It is so, so right.
This sweet and salty coffee drink started showing up on Canadian café menus, then TikTok got hold of it and the rest is history. A salted maple iced latte is now the most interesting thing in everyone’s coffee rotation. Forget the salted caramel iced latte, this one wins.
The best part? You can make a salty Canadian iced latte in your own kitchen in five minutes flat. No espresso machine, no barista skills, no fancy equipment. Just a handful of everyday ingredients and a handheld frother.
I’ve made this drink at least a dozen times this month. My first attempt was a salty disaster, my kitchen smelled like a soft pretzel stand. My second one? Pure magic. The recipe I’m sharing below is the version I now make on repeat, and honestly, it beats anything I’ve ordered at a coffee shop.
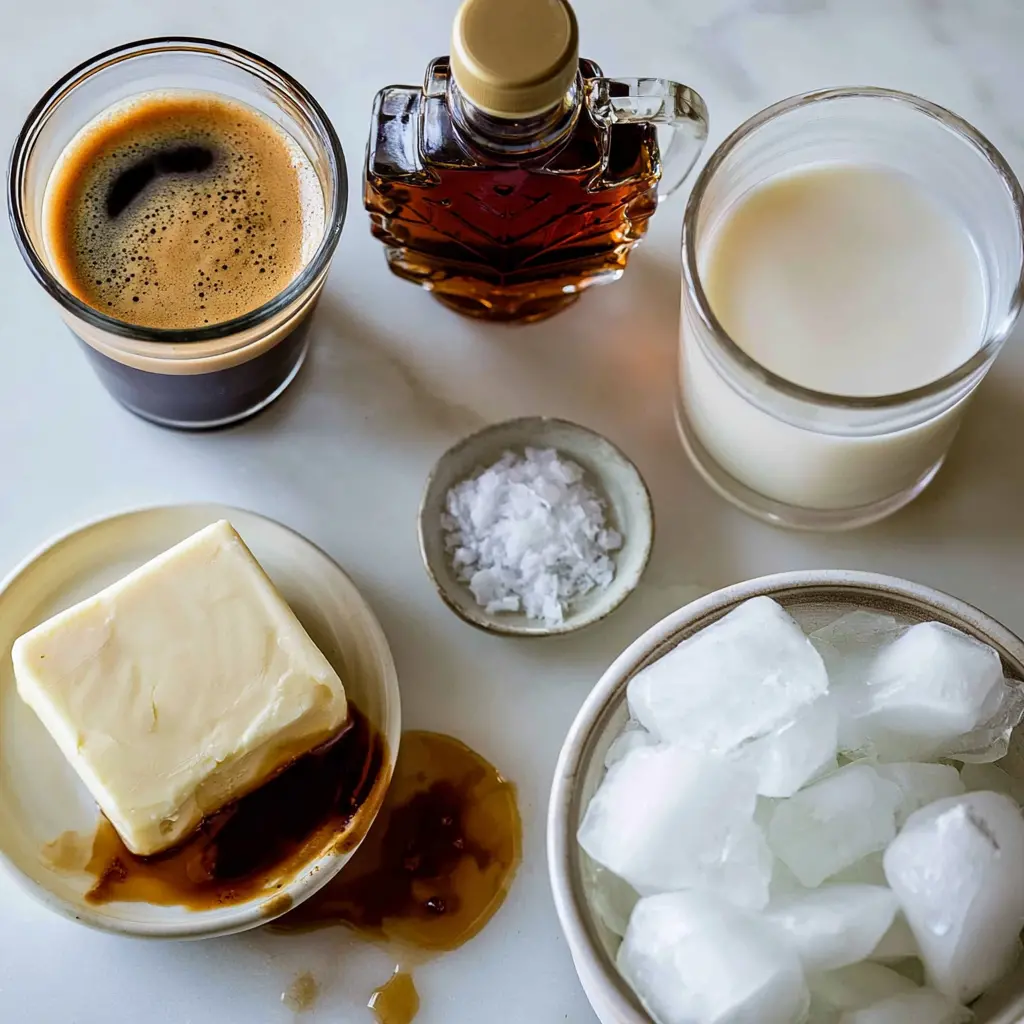
Salty Canadian Iced Latte Ingredients
The ingredient list is short. Refreshingly short. Six things, most of which probably live in your kitchen already.
- Hot espresso, freshly pulled or strongly brewed
- Pure maple syrup, not the pancake kind
- Unsalted butter, cut into small pieces
- Flaky sea salt or fine salt
- Cold whole milk, or your favorite nondairy milk
- Ice cubes
The espresso is the backbone. Regular drip coffee is too weak to hold up against the butter and maple, so this maple syrup coffee recipe needs that bold, concentrated base. If you don’t have an espresso machine, stir 2 teaspoons of instant espresso powder into 2 fluid ounces of hot water and let it cool slightly. Cold brew concentrate works too, as long as it’s strong.
Speaking of maple, use the real stuff. There’s a big difference between maple syrup vs pancake syrup, and this drink will absolutely tell on you if you cheap out. Grade A dark maple is my pick, it has that deep, almost woodsy flavor that stands up to espresso.
As for the ratio, 1 1/2 teaspoons of maple syrup to one generous pinch of flaky sea salt is the sweet spot. Trust me on this. The salt doesn’t make the drink taste salty. It makes the maple taste sweeter and the espresso taste smoother. It’s the quiet hero of every salty Canadian iced latte.
How to Make a Salty Canadian Iced Latte
The method is dead simple, but a few details make the difference between a good drink and a great one. Here’s how the four stages break down. Each one matters, trust me.
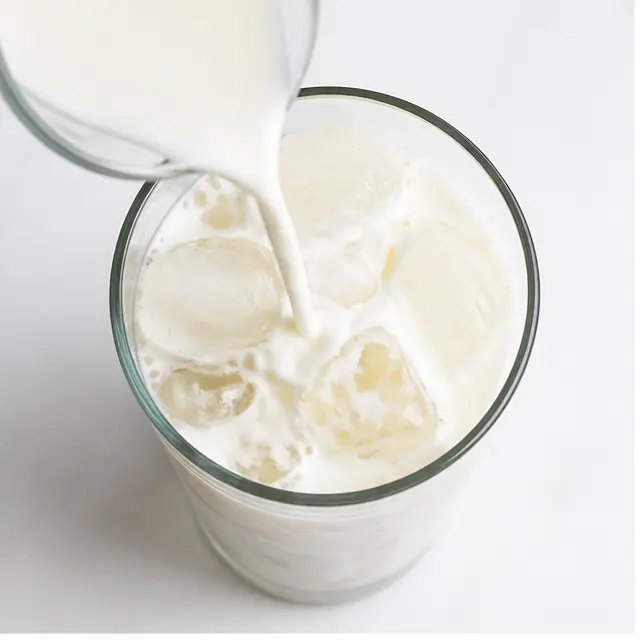
Stage one: build the cold base. Fill a tall glass about three quarters full with ice, then pour cold milk over the top. Why cold milk? Because it keeps the ice from melting instantly when the hot espresso hits. Set the glass aside and let it chill while you work.
Stage two: combine the hot stuff. Add the hot espresso, maple syrup, butter, and flaky sea salt to a measuring cup or a narrow jar with plenty of headspace. Things are about to get foamy, so you need room to work. The hot espresso melts the butter and dissolves the salt, which is exactly what you want.
Stage three: froth it. Use a handheld frother or immersion blender to blend the mixture right away. Give it 20 to 30 seconds until the butter is fully melted and a thick, light foam forms. You’ll watch it go from flat and greasy-looking to silky and golden. That transformation is the whole point of this drink.
Stage four: pour and serve. Slowly pour the foamy espresso mixture over the iced milk and stir gently. Serve immediately, with or without a straw. The maple cold foam will be tall and creamy for about five glorious minutes, so don’t let it sit around.
Pro Tip for Frothing the Butter Mixture
The most common mistake happens before you even start frothing. If your jar or measuring cup doesn’t have enough headspace, the foam will overflow the moment the blender kicks in. Use a narrow jar that’s at least double the volume of the liquid inside.
And don’t over-blend. Thirty seconds max. Any longer and the foam gets grainy while the butter separates back out. You want that thick, glossy, maple-kissed foam, not a mess.
Salty Canadian Iced Latte Variations
This salty Canadian iced latte is fantastic as written, but it’s also a great base for riffing. Here are a few ways I’ve played with it, and they all worked.
Dairy-Free Iced Latte
Use plant-based butter sticks, not the spreadable kind, and swap the whole milk for oat or almond milk. Barista-style oat milk gives the thickest, creamiest texture and froths beautifully. One note: taste before adding extra salt. Dairy-free butters vary a lot in sodium, so what worked with regular butter might suddenly be way too salty. It’s a simple swap that turns this into a dairy-free iced latte without losing any of the magic.
Vegan Salted Maple Cold Foam
For a fully vegan version, stick with dairy-free butter and a creamy non-dairy milk like oat milk. The frothing step works exactly the same, and you’ll get that gorgeous maple cold foam effect that makes this drink look so stunning on camera. Honestly, an oat milk iced latte version of this might be even more photogenic than the original.
Warm Version
Craving this in sweater weather? Skip the ice and heat the milk instead, then pour the foamy espresso over the top. Finish with a small pinch of flaky salt on the foam. It’s like a maple-flavored hug in a mug, and it’s perfect for those chilly mornings.
Tips for the Best Results
Serve immediately. This cannot be overstated. The frothy butter will separate and the ice will melt if you let it sit, leaving you with a watery, sad version of what you meant to make. This drink is a now situation.
Use espresso-strength coffee. Regular coffee won’t cut it. If you’re going the no-machine route, instant espresso powder is your best friend. Cold brew concentrate works in a pinch, but it needs to be strong.
Prep ahead smartly. You can make the espresso and measure the milk the night before, but froth the butter mixture only when you’re ready to serve. The foam doesn’t wait for anyone. If you’re making a round for friends, batch the espresso and milk, then froth each glass right before pouring.
If you want to get extra fancy, use coffee ice cubes so the drink doesn’t water down as it sits. It’s a small touch, but it makes a real difference on a hot day.
How to Store Leftover Iced Latte
Here’s the honest truth: this drink doesn’t store well. The foam collapses, the butter separates, and the ice melts into everything. It’s a serve-immediately situation, and that’s okay. Some things are meant to be enjoyed fresh.
What you can do is prep the components. Brew the espresso, stir in the maple syrup, and keep it chilled in the fridge for up to a day. Keep the milk cold too. When you’re ready, warm the espresso mixture slightly, add the butter and salt, and froth fresh. It takes two minutes, and the result tastes just as good as the first time.
Freezing isn’t recommended. The butter and milk do strange things when they thaw. This is not a make-ahead kind of drink, and that’s part of its charm. You make it, you drink it, you bask in it.
Common Mistakes to Avoid
I’ve made every mistake in the book so you don’t have to. Here’s what not to do.
- ❌ Letting the drink sit before serving. The foam deflates and the butter separates. ✅ Serve immediately while that foam is tall and creamy.
- ❌ Using spreadable dairy-free butter. Too much water, won’t froth properly. ✅ Stick-style plant-based butter is the move.
- ❌ Using regular drip coffee. It’s not concentrated enough and the drink turns watery. ✅ Espresso or instant espresso powder only.
- ❌ Skipping the salt. It genuinely changes everything. ✅ Flaky sea salt makes the maple brighter and rounds out the espresso’s bitterness.
- ❌ Using imitation maple syrup. Thin, cloying, fake-tasting. ✅ Pure maple syrup all the way.
- ❌ Overfilling your glass. There’s no room for foam. ✅ Leave about an inch of space at the top for that beautiful layered look.
Salty Canadian Iced Latte FAQ
There it is, the viral drink everyone’s talking about, made right in your own kitchen. If you save one recipe from your feed this summer, make it this one. Go make a salty Canadian iced latte before summer ends, and tell me how many you’ve made by Labor Day. I’m already on number fifteen.
Want to keep this one close? Save this salty Canadian iced latte to your favorite coffee board on Pinterest so it’s waiting for you when the craving hits.
Source: Learn More About This Dish







4 Responses
I was skeptical about butter in coffee but this is genuinely delicious! The maple and salt balance perfectly. I used oat milk since that’s what I had and it still got beautifully foamy. My new favorite summer pick-me-up!
This looks amazing! Quick question – I don’t have an espresso machine, just a strong brewed coffee. Do you think that would work as a substitute? Also, could I skip the butter for a lighter version or is that what makes it frothy?
Great questions! Yes, strongly brewed coffee works fine in a pinch – just use about 4 oz. That said, the butter really does help create that velvety foam and adds richness, but you can absolutely skip it if you prefer a lighter drink. You might want to add an extra pinch of salt to compensate!
I made this with salted butter and it turned out a bit too salty for me. Next time I’ll use unsalted and add a pinch to taste. The flavor is really unique though – much better than the standard iced latte. Five stars if you customize it right!