
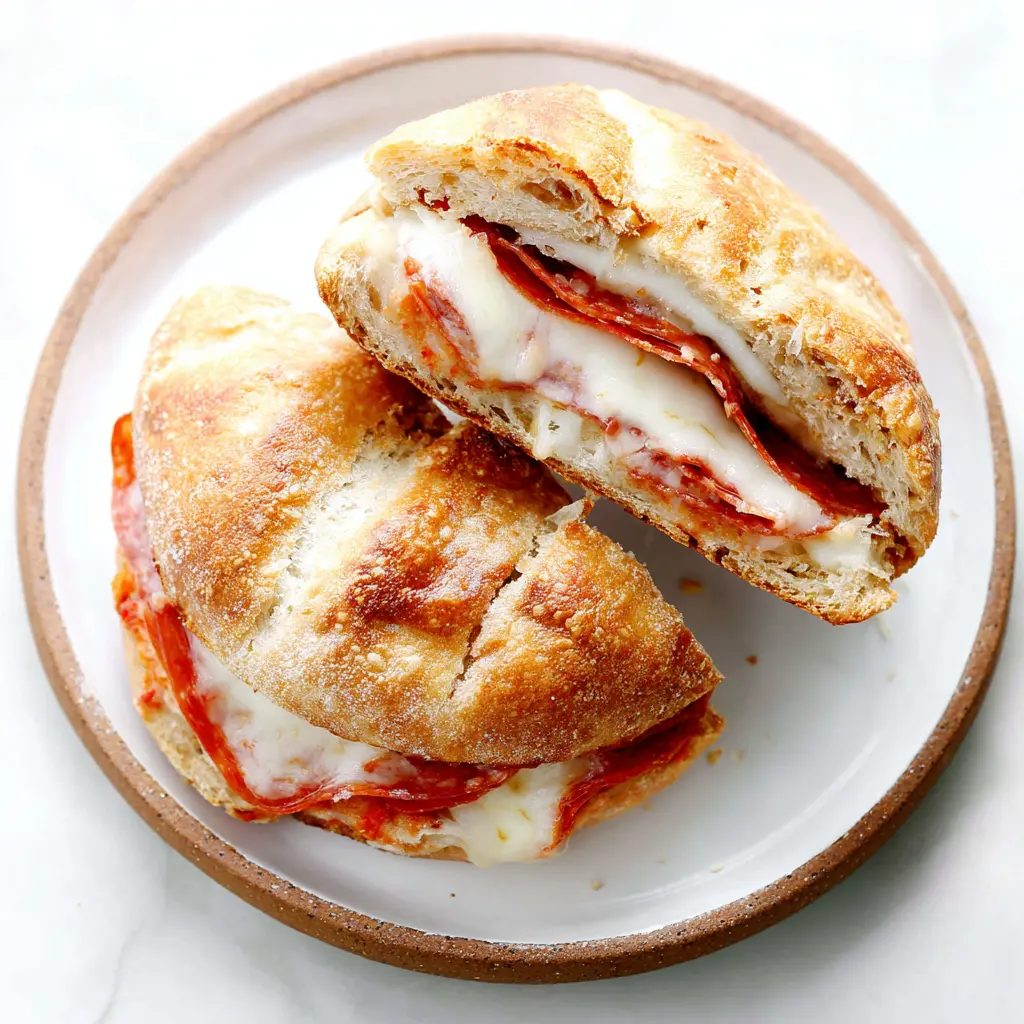
Why You’ll Love This Uncrustables Burger Sandwich
I have a confession. For the longest time, I was totally jealous of those store-bought sealed sandwiches. You know the ones. Perfect little crustless pockets of goodness that stay intact until lunchtime. No squished bread. No leaked fillings. Just pure, portable perfection.
But here’s the thing. My kids? They’re not PB&J fans. They want something savory. Something that feels like a treat. And honestly? I wanted to make something that felt a little more exciting than another cold sandwich.
So I started experimenting. And after a few epic fails (more on those later), I landed on this uncrustables burger sandwich. It’s a sealed, crustless burger-inspired sandwich that’s perfect for lunchboxes. It’s quick, it’s easy, and it stays together. Trust me, once you make these, you’ll never go back to regular sandwiches.
Here’s why this recipe works:
- It’s ready in 15 minutes. Seriously. From start to finish.
- No mess. The sealed edges keep everything inside. Perfect for lunchbags.
- Kid-approved. It looks like a fun treat, not a boring sandwich.
- Freezer-friendly. Make a batch on Sunday, grab them all week.
- Customizable. Swap the fillings to match what your family loves.
I promise, once you see how easy this is, you’ll be making it every week. Let’s get into it!
Ingredients for California Uncrustables Burger
So what do you need to make this uncrustables burger sandwich? The ingredient list is short and sweet. That’s the beauty of it. You probably have most of this stuff already.
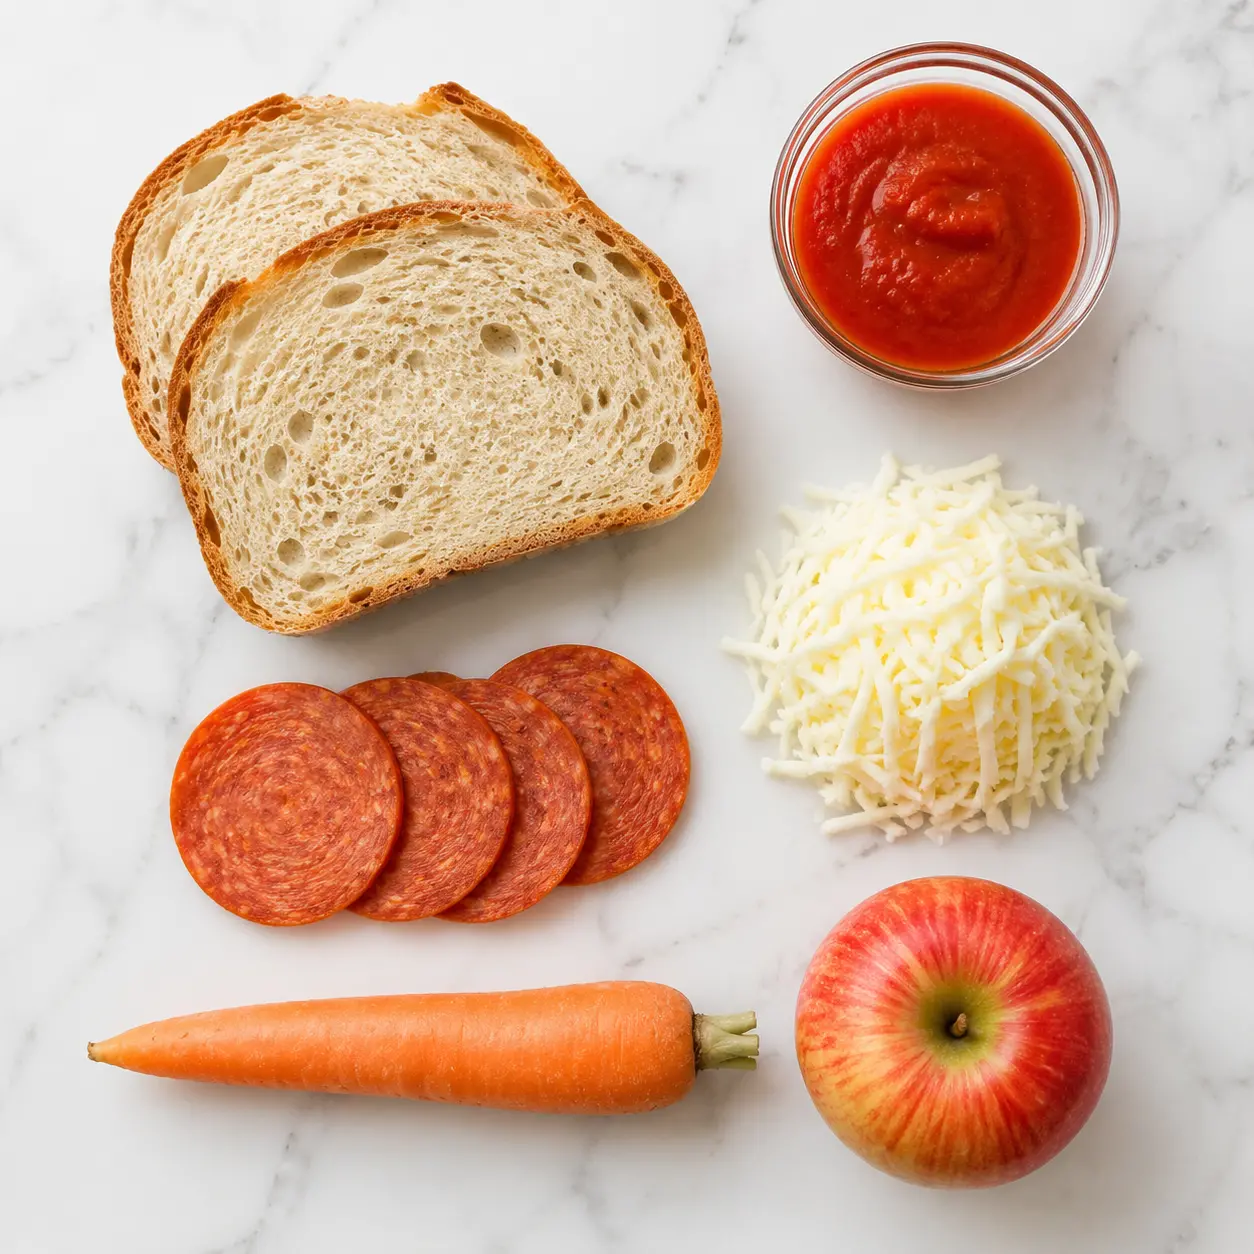
Here’s what you’ll need for one sandwich:
- 2 slices sourdough bread San Francisco-style is my go-to. It’s sturdy enough to hold up to the pressing without tearing. Thick, sturdy slices work best. Don’t use that flimsy pre-sliced stuff, okay?
- 2 tablespoons tomato sauce Just plain tomato sauce. Not marinara with chunks. You want a smooth sauce that spreads easily.
- 3 tablespoons shredded mozzarella cheese The melty factor. Shredded melts faster and more evenly than slices.
- 4 slices pepperoni These give you that mini burger vibe. They’re like tiny patties.
- 1 medium carrot Peeled and cut into sticks. For the lunchbox.
- 1 medium apple Sliced. Any variety works. Adds a sweet crunch.
That’s it. Six ingredients. Two of them are for the sides. Simple, right?
Now, a quick note on the bread. I love sourdough for this. It’s got that slight tang, it’s dense enough to hold the seal, and it toasts up beautifully. But you can use any sturdy bread. Just avoid anything too soft or airy. It’ll tear when you press it.
How to Make Uncrustables Burger Sandwiches
Alright, let’s get to the fun part. Making these uncrustables burger sandwiches is almost too easy. But there are a few tricks to get that perfect seal. Let me walk you through it.
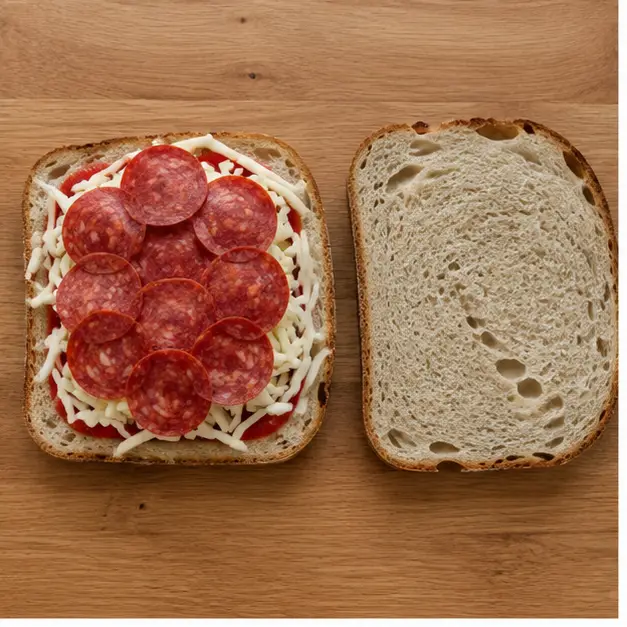
Step 1: Assemble the sandwich.
Lay your two slices of sourdough on a clean work surface. Spread the tomato sauce in the center of one slice. Don’t go all the way to the edges. Leave about a half-inch border. That border is what’s going to seal. Then top the sauce with the shredded mozzarella and the pepperoni slices. Place the second slice of bread on top. Press down gently to start the sandwich.
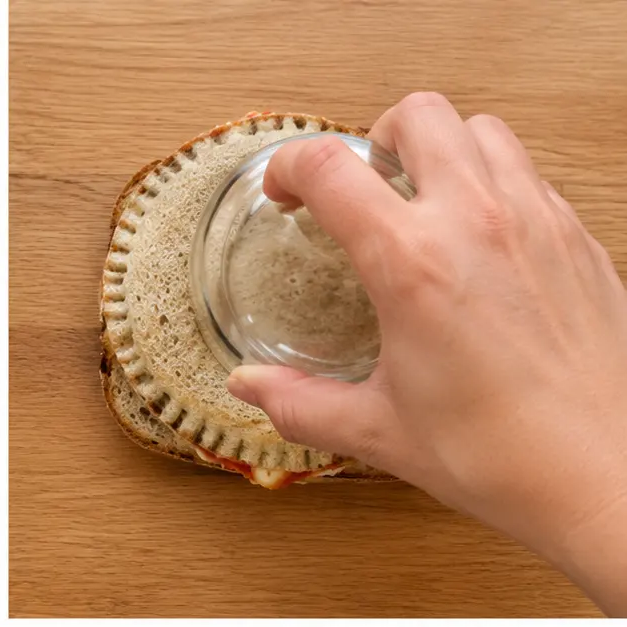
Step 2: Seal the edges.
This is the key step. You need a sandwich crimper or a round glass. If you have one of those dedicated uncrustable makers, great. If not, the rim of a sturdy drinking glass works perfectly. Press down firmly in the center of the sandwich. I mean really press. You want to seal the edges and cut through the crusts. You’ll hear a satisfying little pop as it seals. That’s the sound of success, my friend.
Step 3: Toast it (optional but recommended).
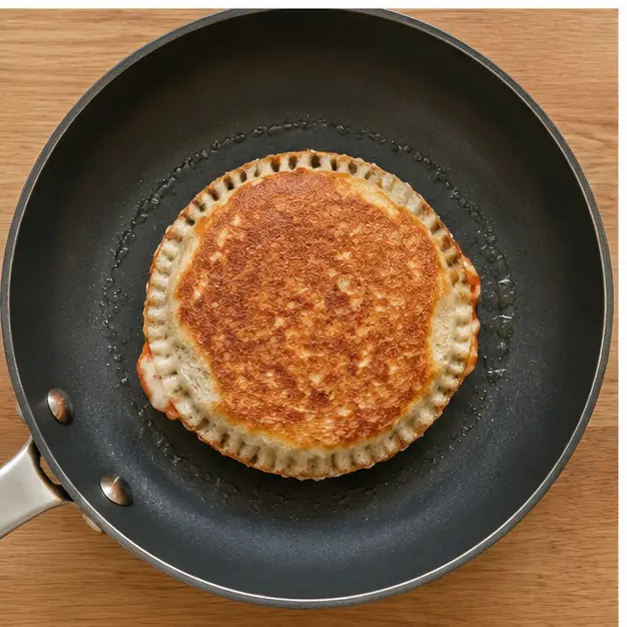
Heat a lightly greased non-stick skillet over medium heat. Place your sealed sandwich in the pan. Cook for 2-3 minutes per side until golden brown. This step is optional, but I highly recommend it. The toasting adds a crispy exterior that makes the sandwich feel extra special. Plus, it helps the cheese melt completely. Just let it cool completely to room temperature before packing. Otherwise, condensation will make the bread soggy.
Step 4: Pack it up.
Once the sandwich is completely cool, pack it in a lunch container. Keep it separate from the carrot sticks and apple slices. That way the moisture from the fruits and veggies doesn’t soften the bread. Seal the container and include an ice pack in the lunch bag. And you’re done. A perfect, mess-free lunch.
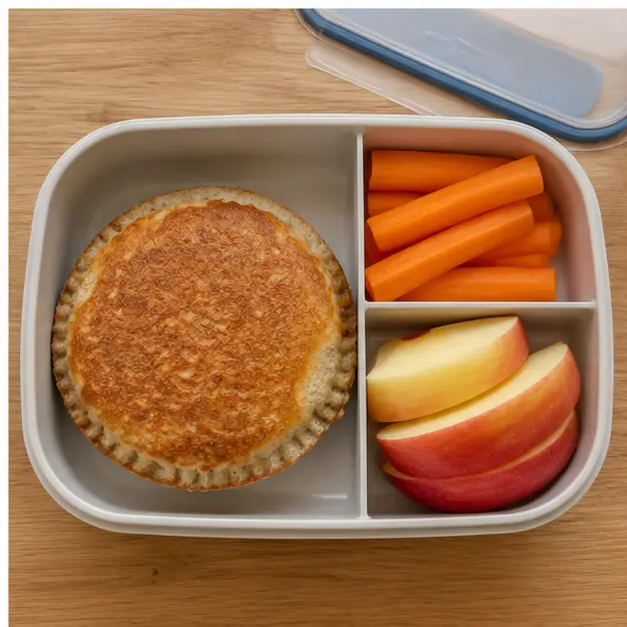
Honestly, the first time I made these, I was skeptical. Would it really stay sealed? Would the cheese leak out? But no. It worked perfectly. My kids opened their lunchboxes and their eyes went wide. “Mom, is this a Krabby Patty?” they asked. And honestly? It kind of looks like one. That sealed, round shape with the crusts removed. Total win.
Variations and Substitutions
One of the best things about this uncrustables burger sandwich is how easy it is to customize. Once you have the technique down, you can swap in pretty much any filling you want.
Here are some ideas to mix it up:
- Use ground beef or turkey. Cook up a small patty, crumble it, and use that instead of pepperoni. It’s more like a traditional burger.
- Switch the cheese. Cheddar, provolone, or even pepper jack all work great. Just make sure it’s shredded for even melting.
- Add veggies. Finely chopped bell peppers or mushrooms can sneak in there. Your kids won’t even notice.
- Try different sauces. A little pesto or barbecue sauce instead of tomato sauce. Totally changes the flavor profile.
- Make it breakfast. Use scrambled eggs and cheese. Perfect for a grab-and-go morning.
Just remember the golden rule: don’t overfill. Too much filling and the seal will burst. Keep it to about 3-4 tablespoons total. That’s the sweet spot.
Tips for the Best Uncrustables
After making about a million of these (okay, maybe a few dozen), I’ve picked up some tricks. Here’s what I’ve learned the hard way so you don’t have to.
❌ Mistake: Overfilling the sandwich.
✅ Solution: Keep fillings to the center of the bread. Leave a clean border for sealing. Too much filling = burst edges.
❌ Mistake: Using bread that’s too small.
✅ Solution: Larger sandwich bread loaves work best for proper sealing. If your bread is small, the crimper won’t have room to seal properly.
❌ Mistake: Not cooling before packing.
✅ Solution: Let the toasted sandwich cool completely to room temperature. Warm bread creates condensation in the container. Soggy bread is sad bread.
Here are a few more pro tips:
- Toast the bread lightly before assembling. This gives you a crispier crust and helps the seal hold better.
- Use a rolling pin to flatten the bread slightly. This makes the texture closer to store-bought uncrustables. Just don’t flatten too much.
- Make several at once. These freeze beautifully. Just flash freeze them on a cookie sheet for two hours, then transfer to a freezer bag.
- Avoid overfilling. I know I said this already, but it’s that important. A tablespoon of sauce is plenty.
How to Store and Freeze Uncrustables
This is where the magic happens. These uncrustables burger sandwiches are perfect for meal prep. You can make a whole batch and have lunch ready for days.
In the fridge: Store sealed sandwiches in an airtight container for up to 3 days. They’re best within the first 2 days though.
In the freezer: Flash freeze them individually on a cookie sheet for about two hours. Then transfer to a gallon freezer bag. Squeeze out as much air as possible. They’ll keep for up to 3 months.
Thawing: The easiest method is to just pack them frozen in the lunchbox. They’ll thaw by lunchtime. For a quicker option, microwave for 15 seconds. Or reheat in a skillet or air fryer for a crispy exterior.
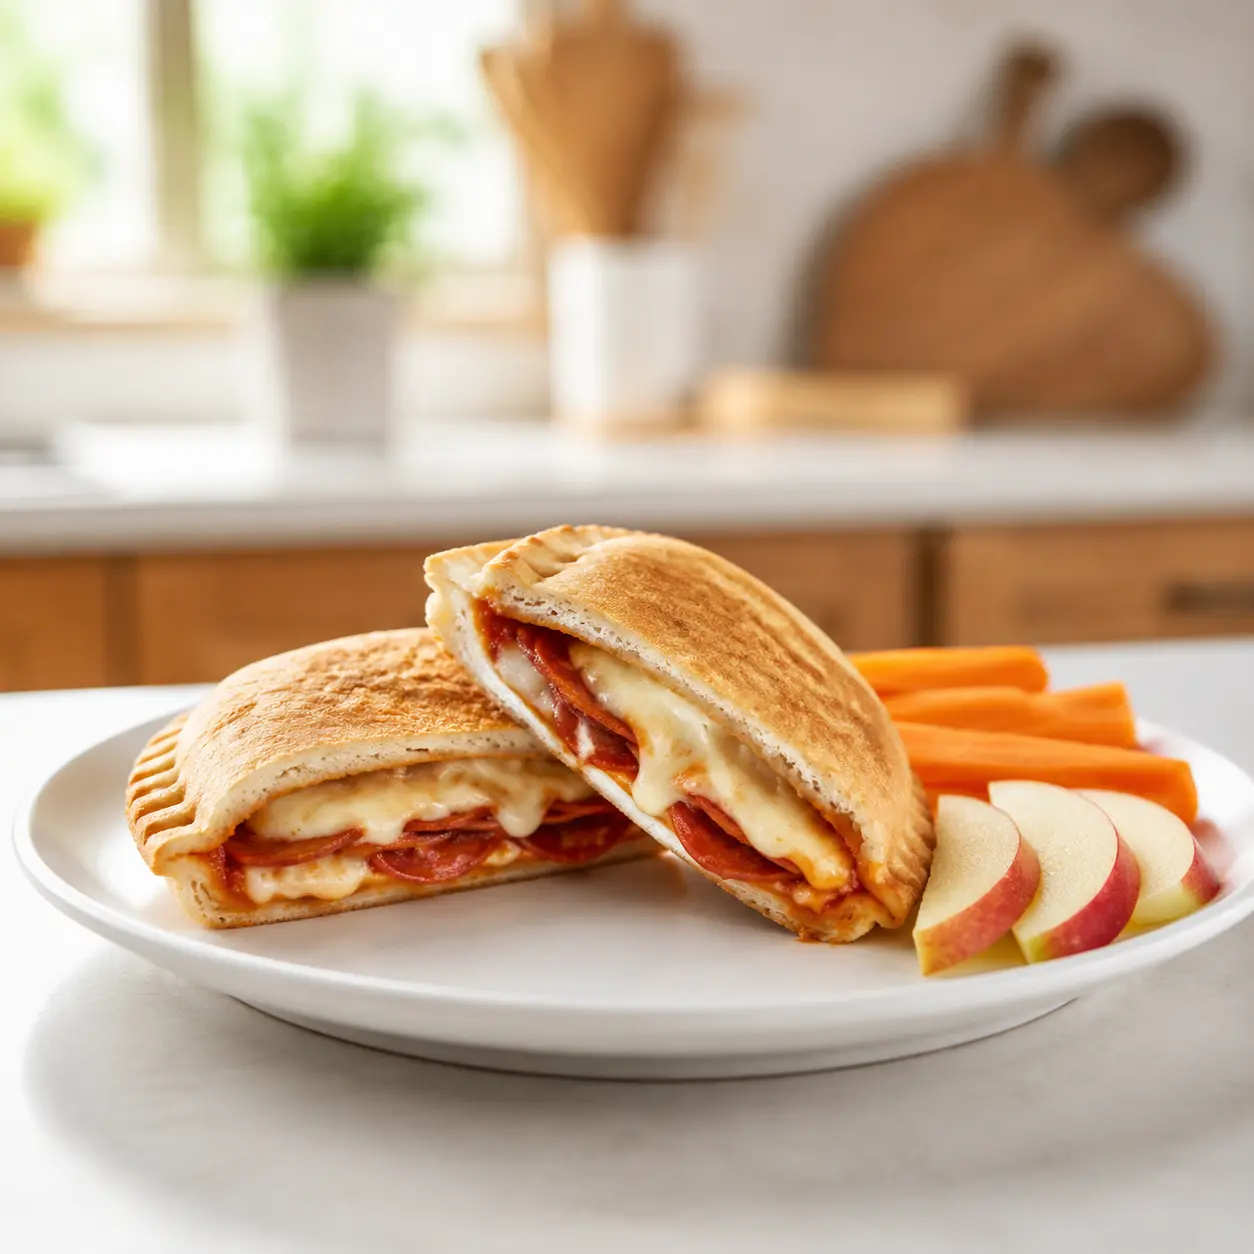
I usually make a double batch on Sunday evenings. My kids get to pick their fillings for the week. It makes mornings so much easier. Just grab, pack, and go.
Frequently Asked Questions
More Easy Lunch Ideas
If you love this uncrustables burger sandwich, you’ll probably enjoy these other quick lunch recipes. They’re all designed to make your mornings easier and your kids happier.
- Mini Pizza Quesadillas Same pizza flavors, different format. Ready in 10 minutes.
- Bento Box Lunch A mix of protein, fruit, veggies, and crackers. No cooking required.
- Thermos Mac and Cheese Homemade mac stays hot until lunch. Total comfort food.
- Roll-Up Sandwiches Tortillas filled with cream cheese, turkey, and spinach. Easy to hold.
And honestly? Once you get the hang of making these sealed sandwiches, you’ll start seeing possibilities everywhere. Leftover taco meat? Yes. Breakfast sausage and egg? Absolutely. The uncrustables burger sandwich is just the beginning.
So go ahead. Give it a try. I promise your kids will think you’re the coolest parent ever. And you’ll feel like a lunchbox hero. Win-win, right?
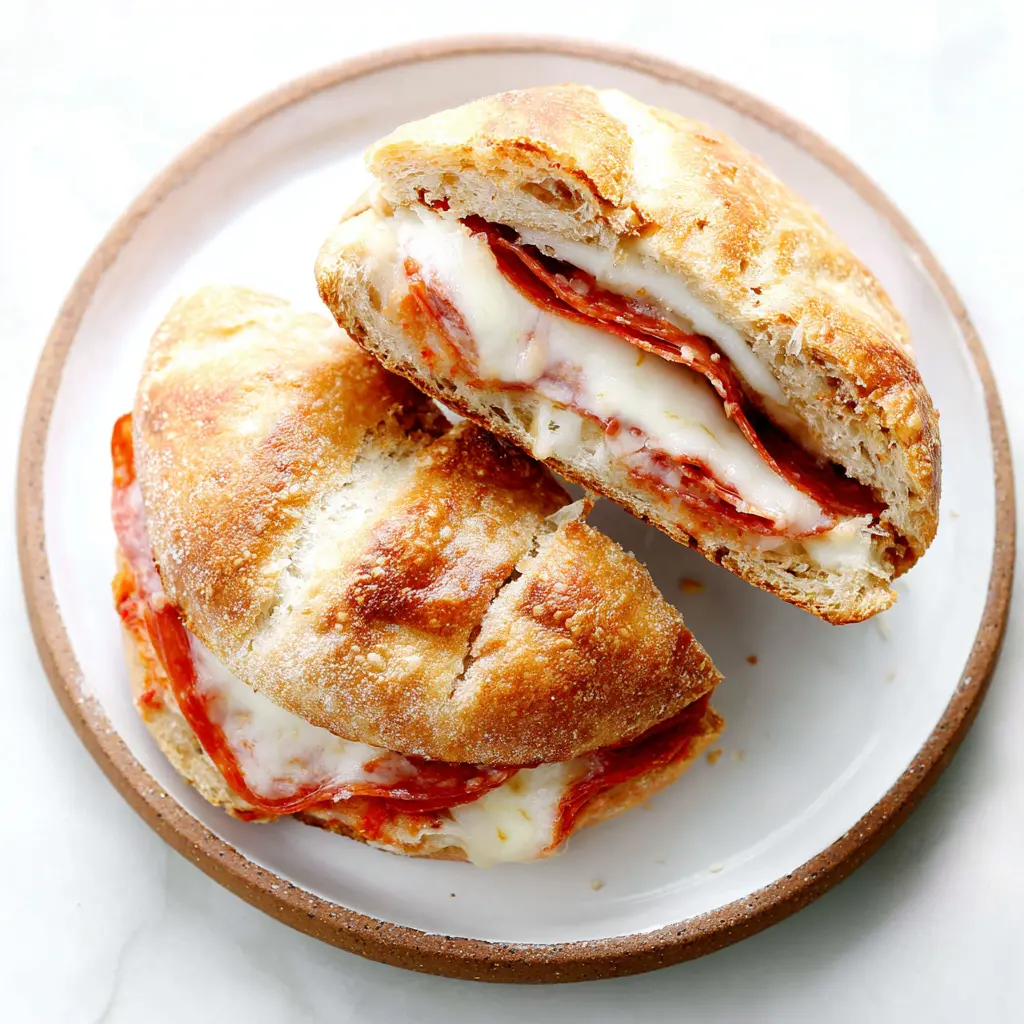
California Uncrustables Burger Sandwich
Ingredients
Method
- Lay the bread slices on a clean work surface. Spread the tomato sauce in the center of one slice, then top with shredded cheese and pepperoni. Place the second slice of bread on top.
- Using a sandwich crimper or the rim of a glass, press down firmly in the center of the sandwich to seal the edges and remove the crusts.
- Optional: Heat a lightly greased non-stick skillet over medium heat. Cook the uncrustable for 2-3 minutes per side until golden brown. Let it cool completely to room temperature.
- Pack the uncrustable in a lunch container, keeping it separate from the carrot sticks and apple slices. Seal the container and include an ice pack in the lunch bag.
Nutrition
Notes
Tried this recipe?
Let us know how it was!Source: Nutritional Information


4 Responses
These look amazing! My kids are also not PB&J fans, so I’m always looking for savory lunchbox ideas. Quick question though – do you think I could use a tortilla instead of bread to make these? I have a gluten-free kiddo and tortillas work better for us sometimes.
Great question! Tortillas can work, but they might not seal as tightly as bread since they’re thinner. I’d recommend using a bit more cheese to help bind the edges, and you might need to press them a little longer. Let me know how it goes!
Tried these today and they were a hit with my 4-year-old. I added a little extra pepperoni and used mozzarella. The only issue was the bread got a bit soggy from the sauce – any tips for that?
Glad your little one loved them! For the soggy bread issue, try toasting the bread very lightly before assembling, or spread the tomato sauce thinly and let it sit on a paper towel for a minute to remove excess moisture. That should help keep things crisp!