
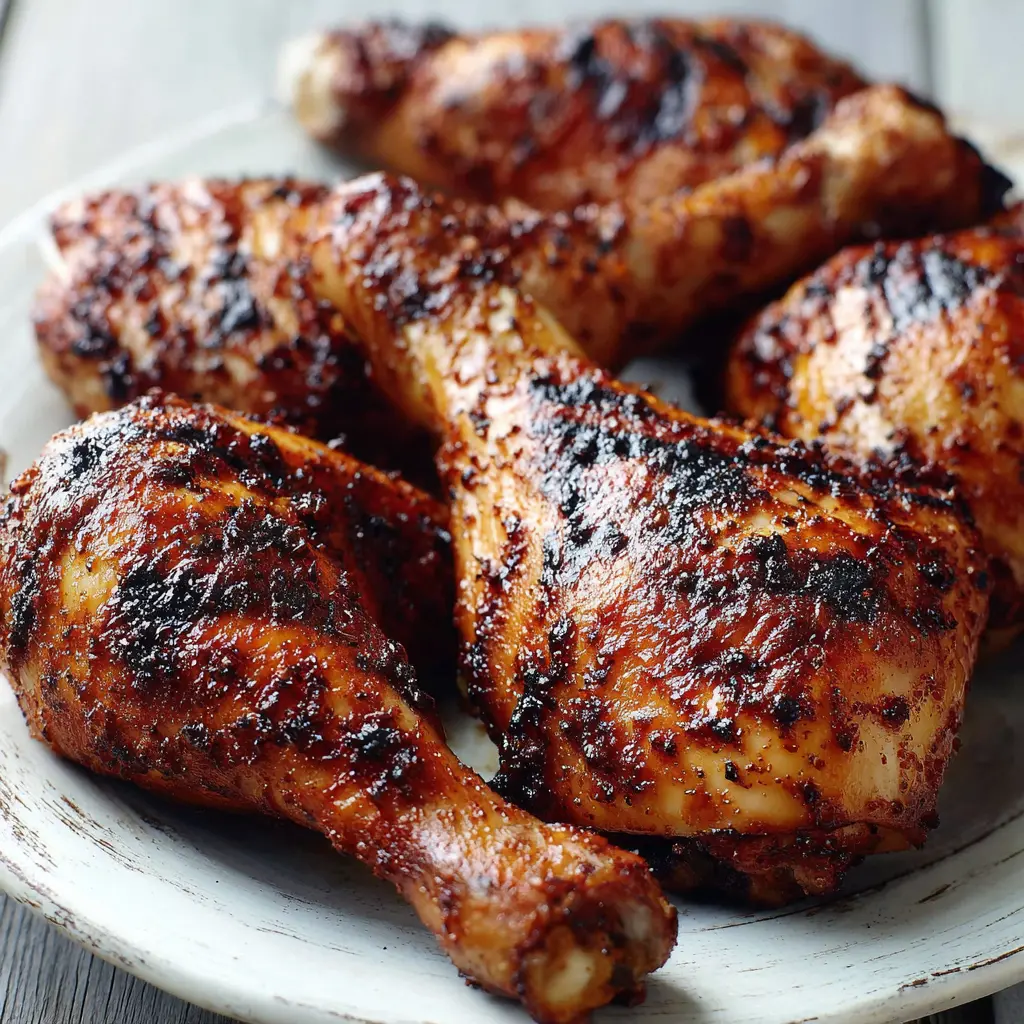
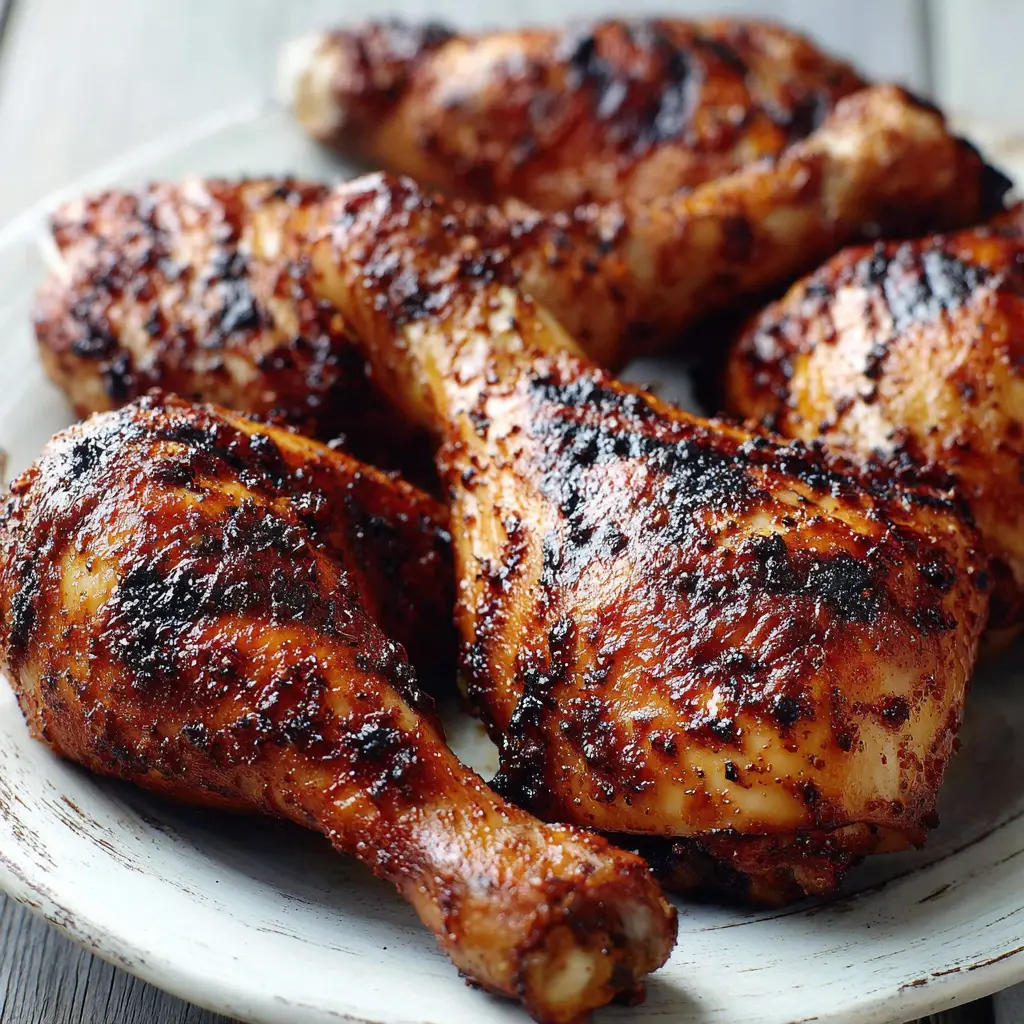
California-Style Grilled Chicken Quarters: Simplicity is Perfection
Ingredients
Method
- Preheat your gas or charcoal grill to medium-high heat, aiming for 300-350 degrees Fahrenheit at the grate level.
- In a small bowl, whisk together the kosher salt, dark soy sauce, 1 tablespoon olive oil, black pepper, granulated garlic, granulated onion, and cayenne pepper until well combined.
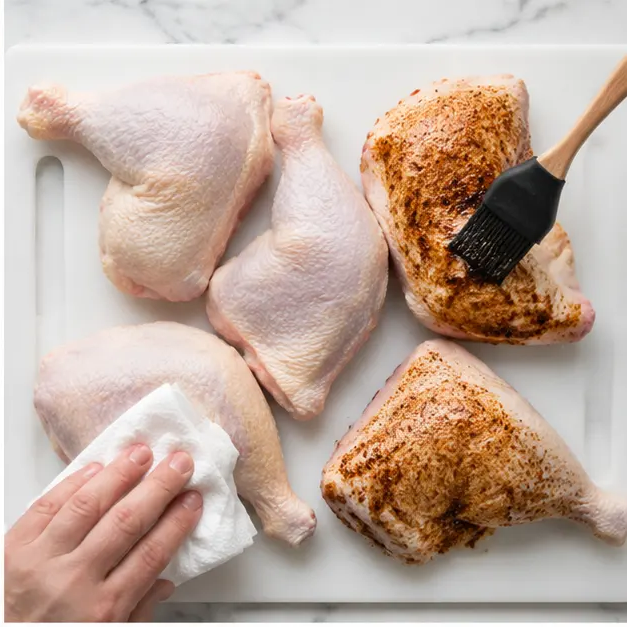
- Pat the chicken leg quarters dry with paper towels. Evenly apply the spice rub all over the chicken, pressing gently so it adheres. If the rub doesn't stick, lightly coat the chicken with a little extra olive oil first. Let the chicken sit at room temperature while the grill finishes preheating.
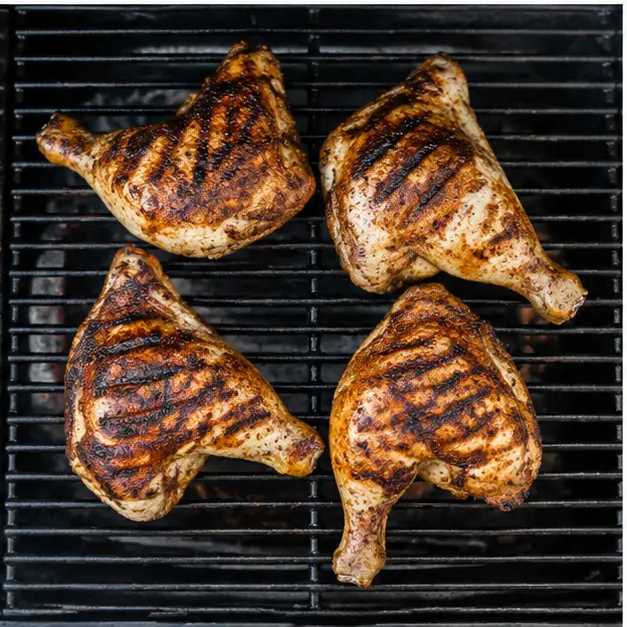
- Brush the grill grates with a little olive oil to prevent sticking. Place the chicken legs on the grill, skin side down, and close the lid. Cook covered for about 30 minutes, flipping every 8-10 minutes and moving them around to account for hot spots and ensure even browning. The chicken is done when the skin is nicely browned and a meat thermometer inserted into the thickest part reads 180-190 degrees Fahrenheit.
Nutrition
Notes
Tried this recipe?
Let us know how it was!Why This Recipe Works
I’ll be honest with you. For years, my grilled chicken quarters were a disaster. I’d get that beautiful char on the outside, slice into it, and find… raw meat near the bone. Or worse, I’d cook it to death trying to make sure it was safe, and end up with something drier than a California wildfire in August.
It was frustrating, right? You want that juicy grilled chicken with crispy chicken skin that tastes like it came from a restaurant. But it always felt like a gamble.
Then I figured out the secret. It’s not complicated. It’s not about fancy equipment. It’s about understanding how bone-in chicken thighs and leg quarters actually cook. Once you get that, everything changes. This recipe is my go-to for a quick summer dinner that feels special but takes almost no effort. And trust me, if I can nail it, you absolutely can too.
Ingredients You’ll Need
This is where the magic happens. You don’t need a pantry full of exotic spices. Just a few simple things that work together perfectly. The star here is the dry rub for chicken that I’ve tweaked over countless summer barbecues.
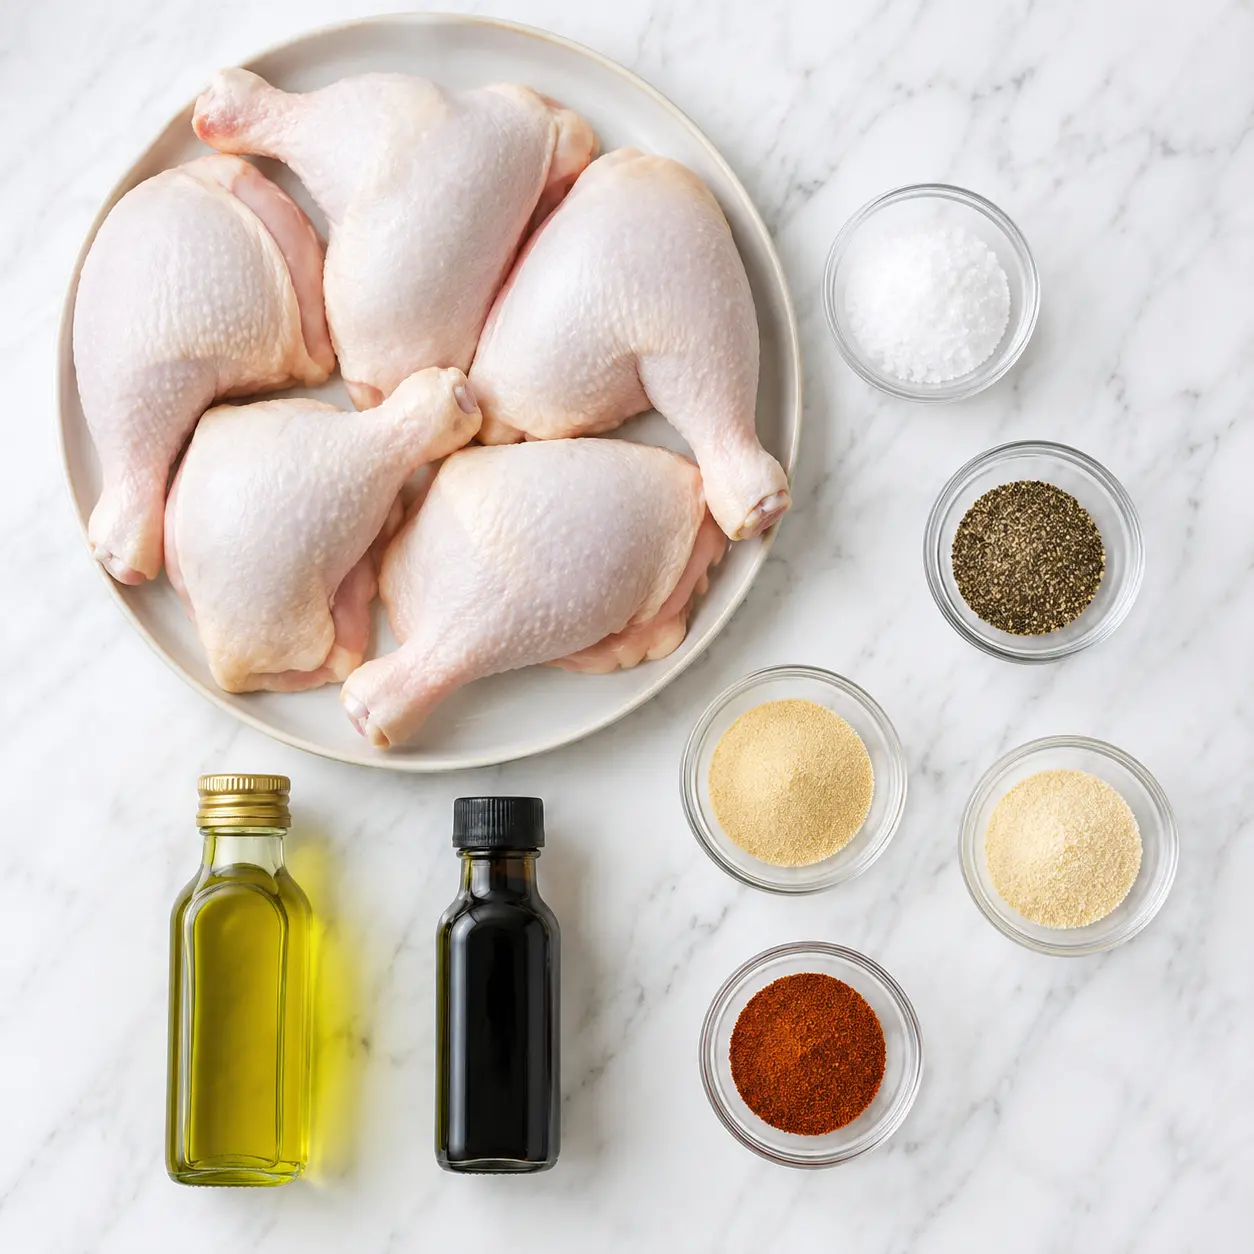
Here’s what you’re grabbing:
- Chicken leg quarters – about 2 pounds total, skin-on and bone-in. These are the hero of the show.
- Kosher salt – don’t skip this. It’s the foundation of flavor.
- Dark soy sauce – this adds a depth and umami that regular soy sauce just can’t match. It’s my secret weapon.
- California extra-virgin olive oil – a good quality one makes a difference.
- Black pepper – freshly ground, please.
- Granulated garlic and granulated onion – they’re not the same as powder. Trust me on this.
- Cayenne pepper – this gives a mild kick. You can adjust it up or down depending on your heat tolerance.
That’s it. Seven ingredients for the rub, plus the chicken. And you probably have most of these in your pantry right now. See? Simple.
How to Make the Spice Rub
This part takes about two minutes. Seriously. I’m not kidding. You’ll spend more time finding your measuring spoons than actually mixing the rub.
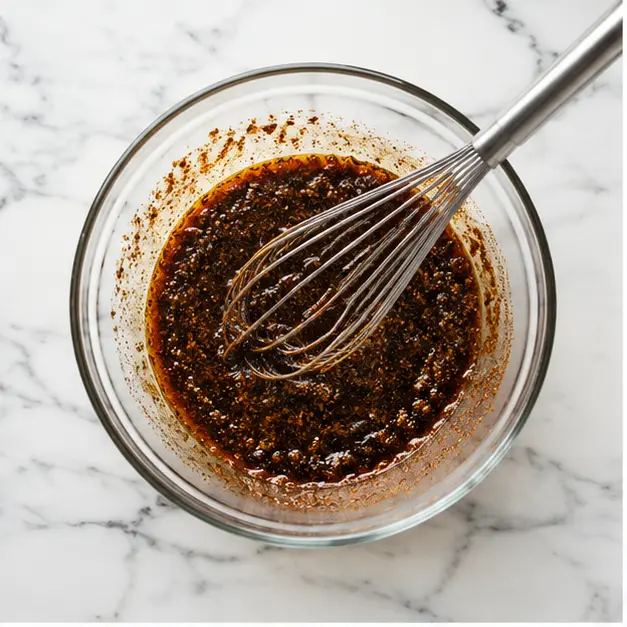
In a small bowl, whisk together the kosher salt, dark soy sauce, 1 tablespoon of that California olive oil, the black pepper, granulated garlic, granulated onion, and cayenne pepper. Whisk until it’s all combined into a sort of paste. It should smell amazing already – that earthy garlic and onion with the warmth of the cayenne.
Now, here’s where most people mess up. They don’t adjust the heat. The recipe calls for 1/2 teaspoon of cayenne, which gives a mild, pleasant warmth. But if you’re feeding kids or spice-sensitive folks, drop it to 1/4 teaspoon. Want a medium kick? Go with 1 teaspoon. Feeling brave? Use 1 1/2 teaspoons. I’ve done all three, and they all work. Just know your audience.
You can also make this rub in advance. Mix up a double or triple batch and store it in a sealed jar in the pantry for up to a week. Then you’re ready to go whenever the craving hits. That’s the kind of easy BBQ chicken prep I can get behind.
How to Grill Chicken Quarters
Okay, this is the main event. Let’s break it down into stages. I’m going to walk you through exactly what I do, and why I do it that way.
Stage 1: Prep the Grill and the Chicken
First, preheat your gas or charcoal grill to medium-high heat. You’re aiming for about 300-350 degrees Fahrenheit at the grate level. Don’t just trust the built-in thermometer on your grill lid – those are often way off. Use a separate grill thermometer if you have one. It’s worth it.
While the grill is heating up, pat your chicken leg quarters dry with paper towels. This is critical. Wet skin means the rub won’t stick, and you won’t get that crispy skin we’re after. I mean it. Really dry them off. Then apply the spice rub all over the chicken, pressing gently so it adheres. If the rub isn’t sticking, lightly coat the chicken with a little extra olive oil first. Let the chicken sit at room temperature while the grill finishes preheating. About 15-20 minutes is perfect.
Stage 2: The First Sear
Brush the grill grates with a little olive oil to prevent sticking. Then place the chicken on the grill, skin side down. This is non-negotiable. You want that skin to hit the hot grates first. Close the lid. Let it cook for about 8-10 minutes without touching it. You’ll hear that beautiful sizzle. The smell of the rub hitting the heat is intoxicating.
This first sear is where you get those gorgeous grill marks and start rendering the fat under the skin. Patience here pays off big time.
Stage 3: The Flip and Rotate
After 8-10 minutes, flip the chicken. You should see nice golden-brown marks on the skin side. Now, here’s the trick – don’t just flip and walk away. Every 8-10 minutes, flip the pieces and move them around the grill. Different spots on your grill have different temperatures. By moving them, you ensure even cooking and prevent burning.
Keep the lid closed as much as possible. This traps the heat and creates a sort of oven environment, which helps cook the chicken all the way through without drying it out. This is essentially indirect heat grilling after the initial sear.
Total cook time will be about 30 minutes. But don’t rely on the clock alone. We’re going to use science.
Stage 4: Check for Doneness
This is where most people guess, and most people get it wrong. Don’t guess. Use a meat thermometer. It’s the single best investment you can make for your grilling game.
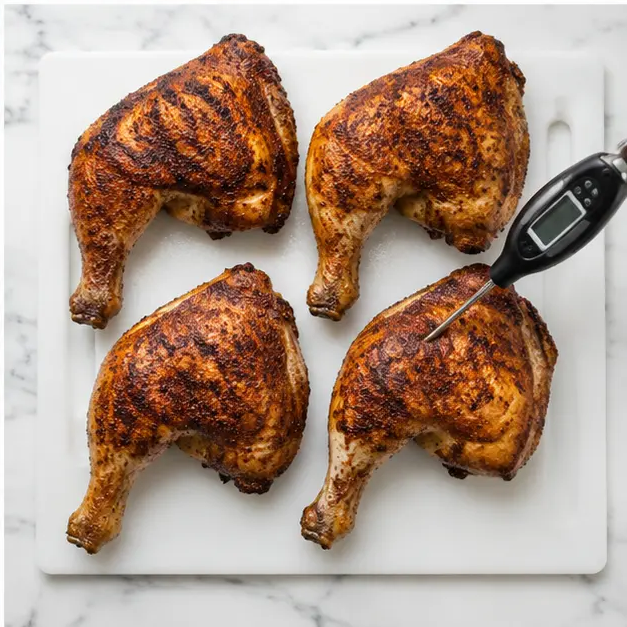
The chicken is done when a meat thermometer inserted into the thickest part of the leg (without touching the bone) reads 180-190 degrees Fahrenheit. I know, I know – you’ve heard 165°F for chicken. That’s for white meat like breasts. Dark meat, like these leg quarters, needs a higher temperature to break down the connective tissue and render the fat. If you cook them to only 165°F, they’ll be stringy and tough. At 180-190°F, they’re tender, juicy, and perfect.
You’ll also see the juices run clear when you pierce the thickest part. The skin should be nicely browned and crispy. That’s your visual cue.
Tips for Crispy Skin
Let’s be real. The skin is the best part. And getting it perfectly crispy is the goal. Here are the non-negotiables:
- Pat it dry. I can’t say this enough. Moisture is the enemy of crispiness.
- Start skin-side down. This renders the fat directly against the heat.
- Don’t use sugar in your rub. Sugar burns before the skin crisps. That’s why I use dark soy sauce instead of brown sugar. It adds depth without the char.
- Trim excess skin and fat. Hanging pieces will just burn and cause flare-ups. A clean trim prevents that.
- Let it rest for 5 minutes. After you take it off the grill, let it sit. The skin will stay crispy, and the juices will redistribute.
If you follow these, you’ll get that crackling, golden skin every single time. I promise.
How to Know When Chicken is Done
We touched on this, but let’s go deeper. Because this is where confidence comes from.
The most reliable method is the chicken internal temperature. A digital instant-read thermometer is your best friend. Insert it into the thickest part of the leg quarter, avoiding the bone. Look for 180-190°F.
Visual cues are helpful too, but they’re not foolproof. The skin should be golden brown and crispy. The juices should run clear when you pierce the meat. The meat should pull away from the bone easily. But honestly? The thermometer is the only way to be sure. It takes the guesswork out completely.
And here’s a pro tip: if you’re cooking multiple pieces, check each one. They can cook at different rates, especially on a charcoal grill where heat distribution isn’t perfectly even.
Ingredient Substitutions
I get it. Sometimes you don’t have exactly what the recipe calls for. No problem. Here are some swaps that work:
- Dark soy sauce: If you don’t have it, use regular soy sauce plus a pinch of brown sugar. It won’t be exactly the same, but it’ll be close.
- California olive oil: Any good extra-virgin olive oil works. Or avocado oil, which has a higher smoke point if you’re worried about burning.
- Granulated garlic/onion: Powder works in a pinch, but the granules give a better texture on the skin. If using powder, use half the amount.
- Cayenne pepper: You can use chili powder or red pepper flakes, but adjust the amount. Cayenne is more concentrated.
These are all options, not requirements. The base recipe is perfect as written, but it’s flexible enough to adapt to what you have on hand.
Storage and Reheating
If you have leftovers (which, honestly, is rare in my house), here’s how to handle them.
Store the chicken in an airtight container in the fridge for up to 3 days. Don’t leave it out for more than 2 hours after cooking. Food safety first.
For reheating, the oven is your best bet. Preheat to 350°F, place the chicken on a baking sheet, and heat for 12-16 minutes. Cover with foil if you’re worried about drying out. You can also reheat on the grill – just use low heat and watch it closely. The microwave works in a pinch, but it’ll soften the skin. Not ideal.
If you want to freeze them, flash freeze the cooked pieces on a tray first, then transfer to a freezer bag. They’ll keep for up to 3 months. Thaw in the fridge overnight before reheating.
What to Serve with Grilled Chicken Quarters
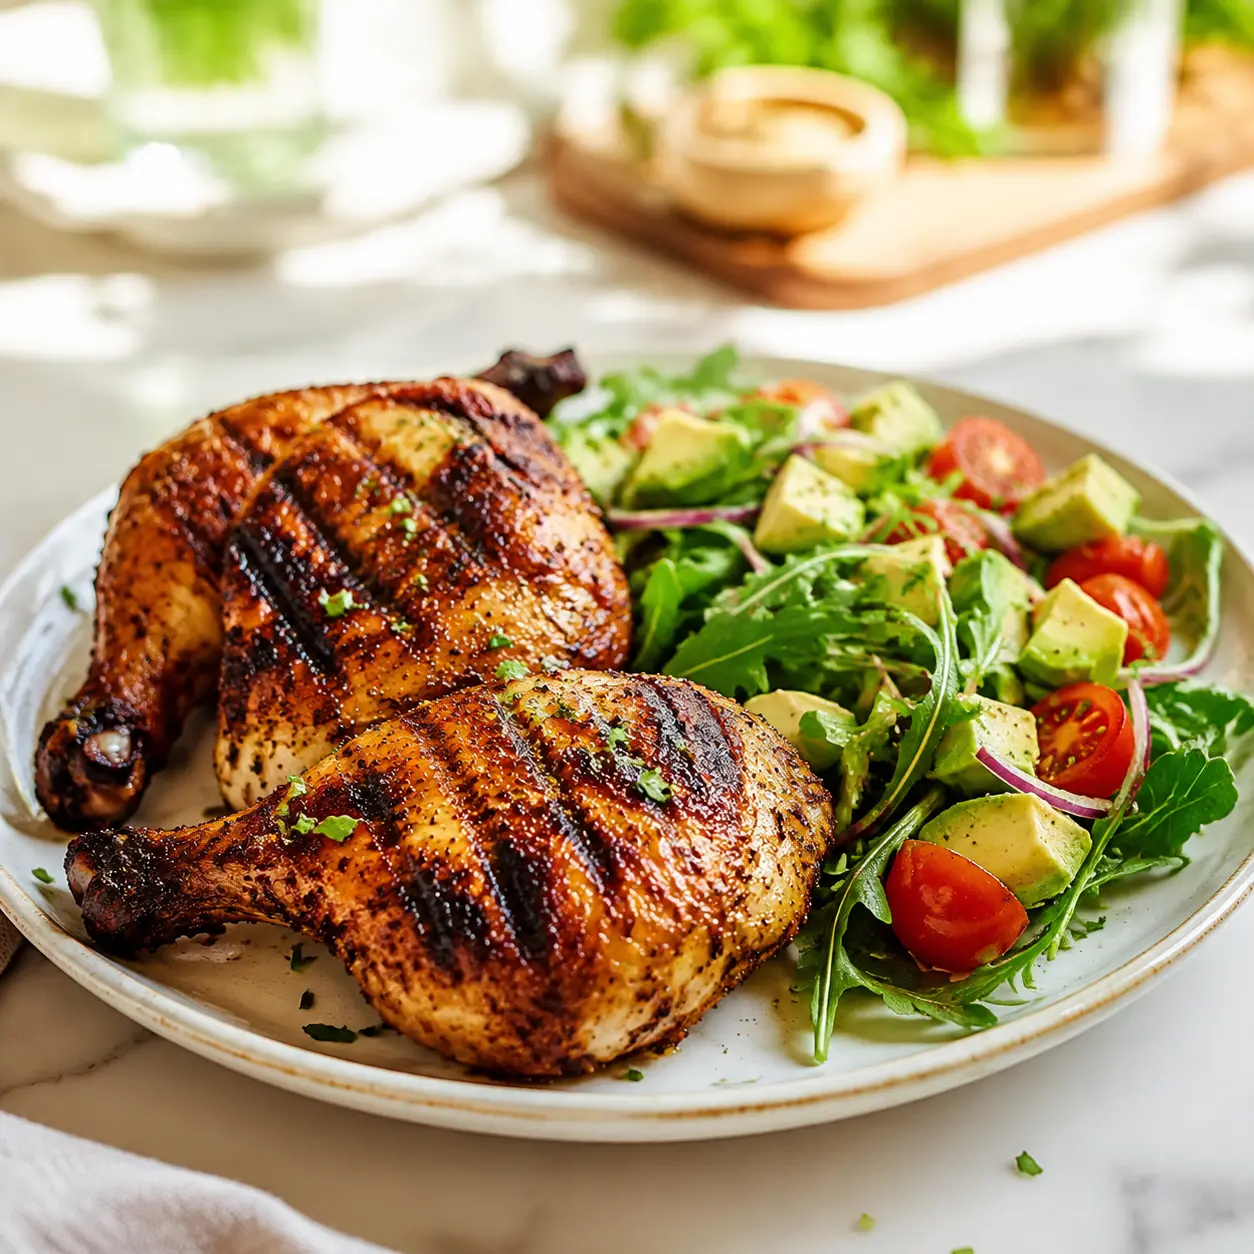
These grilled chicken leg quarters are versatile. They go with almost anything. But here are some of my favorite pairings:
- California-style salad: Arugula, avocado, grapefruit segments, and a light vinaigrette. The freshness cuts through the richness of the chicken perfectly.
- Roasted seasonal vegetables: Think zucchini, bell peppers, and cherry tomatoes tossed in olive oil and roasted until tender.
- Grilled corn on the cob: Brush with butter and a little salt. Summer perfection.
- Potato salad: A classic. Creamy or vinegar-based, both work.
- Simple rice or couscous: To soak up any juices from the chicken.
The beauty of this dish is that it’s a complete meal on its own, but it also plays well with others. Pick whatever’s in season or whatever you’re craving.
Frequently Asked Questions
I get these questions all the time. Let me clear them up for you.
You got this. Seriously. The first time you pull these grilled chicken quarters off the grill with that perfect golden skin and juicy meat, you’re going to feel like a pro. And the best part? You’ll know exactly how you did it, so you can do it again and again.
If you loved this recipe, I’d love for you to share it on Pinterest! Pin this recipe for later so you always have it handy for your next summer cookout.
Source: Nutritional Information

6 Responses
I made these for a weekend BBQ and they were a hit! The only issue was that the thighs took a bit longer to cook through than expected. Any tips for ensuring even cooking with bone-in pieces?
Great question, Sarah! I recommend using an instant-read thermometer—aim for 165°F in the thickest part. Also, try to arrange the pieces with the thicker side facing the cooler side of the grill to prevent burning before they’re done.
I’ve been grilling chicken for years, but your method of letting the rub sit for 15 minutes before grilling really made a difference. The flavor was deep and well-balanced. Definitely my new go-to recipe for summer dinners.
Great recipe, but I found the cayenne a bit too mild for my taste. Next time, I’ll double it as you suggested in the notes. Also, could I substitute the dark soy sauce with regular soy sauce? I only have that on hand.
Hi Linda, absolutely! Regular soy sauce works fine—just add a pinch more salt to compensate since dark soy is slightly saltier. And yes, feel free to amp up the cayenne; that’s what I do when I want extra heat!
Finally, a grilled chicken recipe that doesn’t dry out! I followed your instructions exactly, and the skin was perfectly crispy while the meat stayed juicy. The cayenne gave it just the right amount of heat for my family. Thanks for sharing the secret!